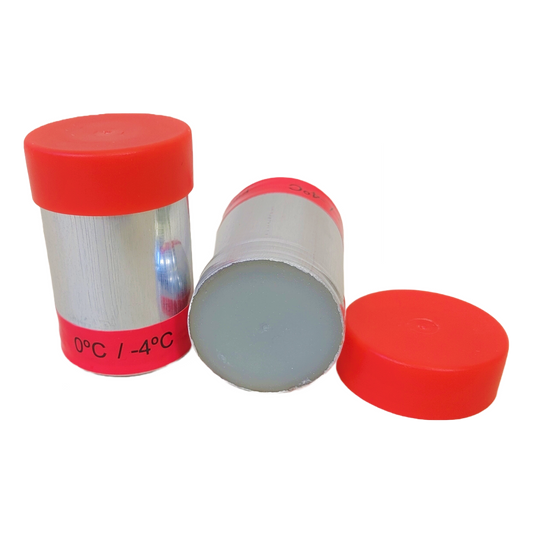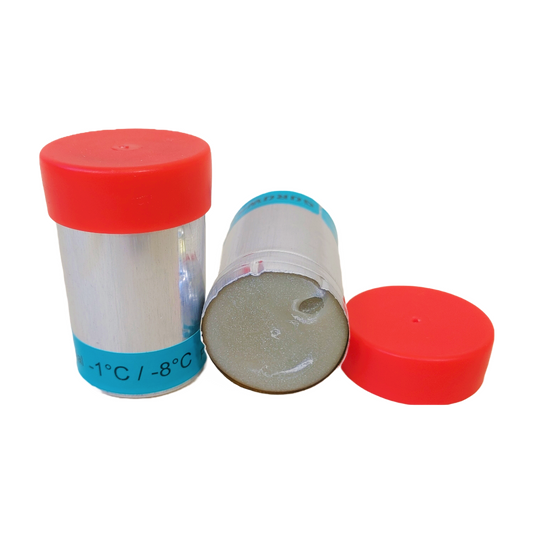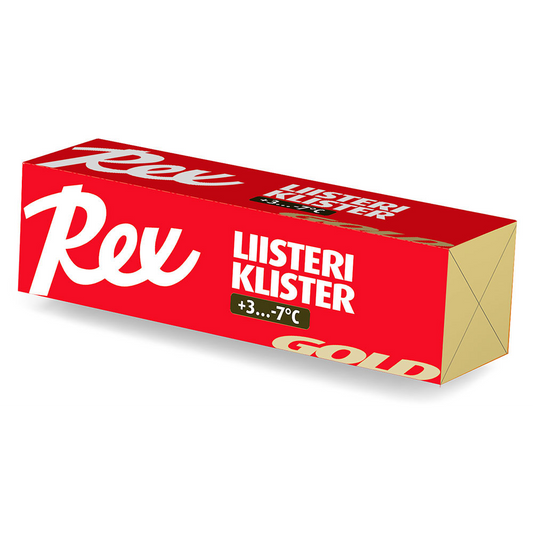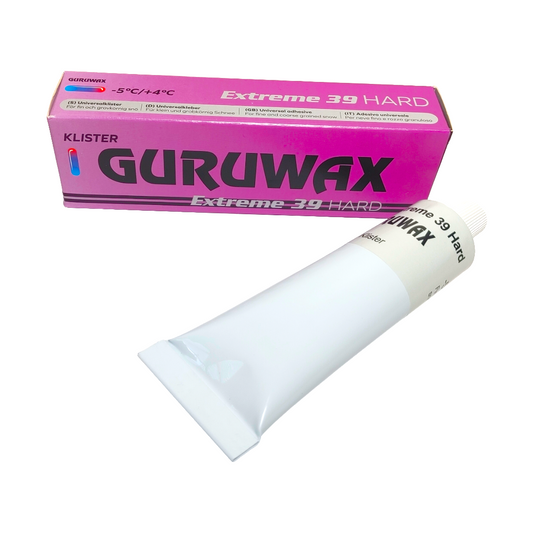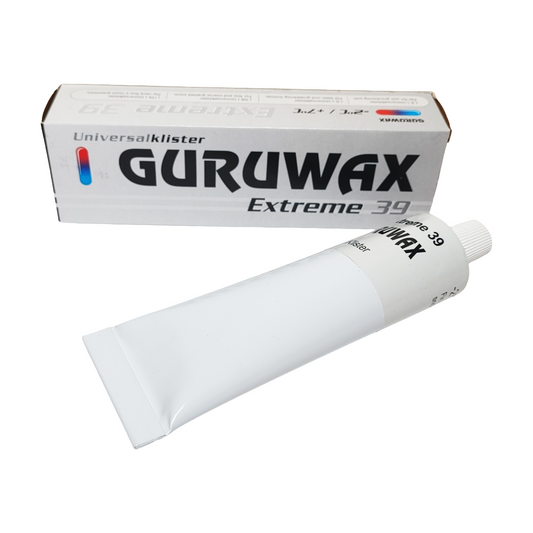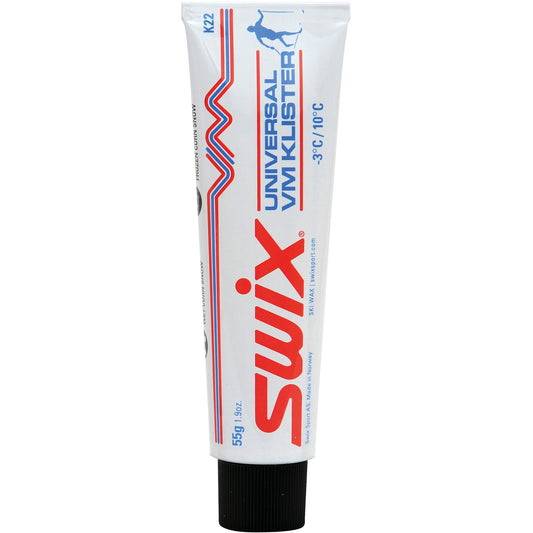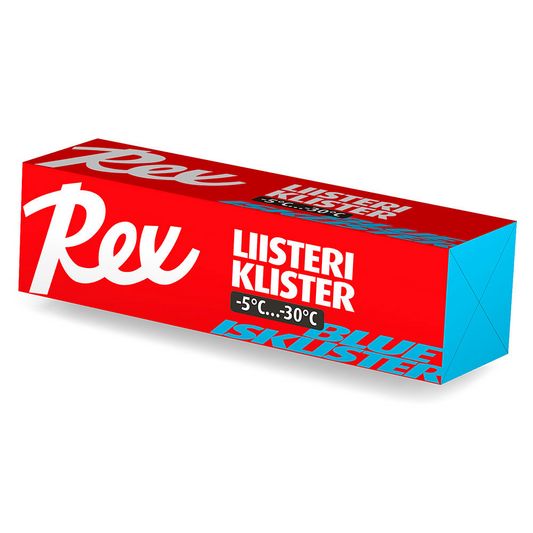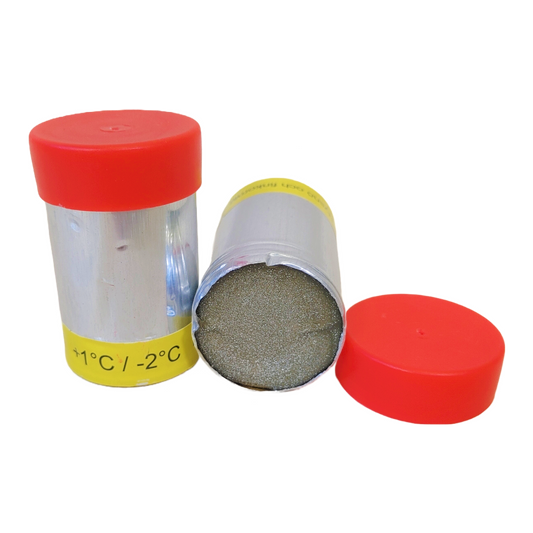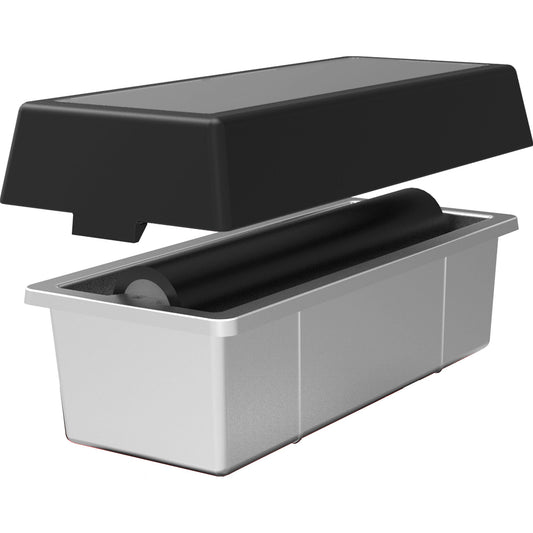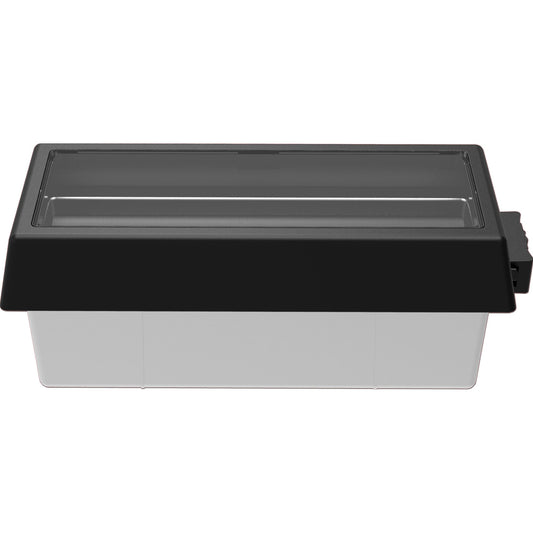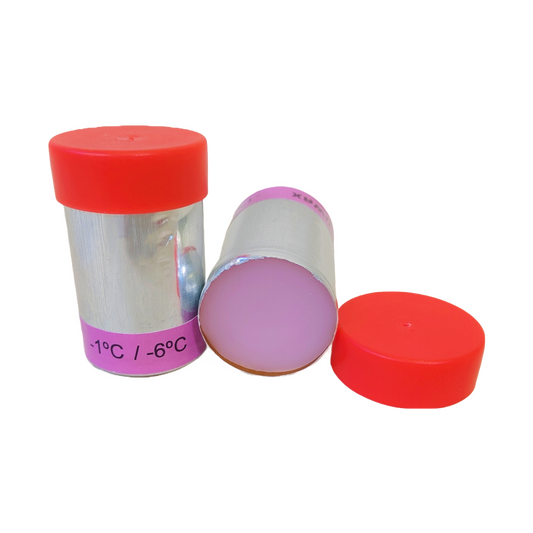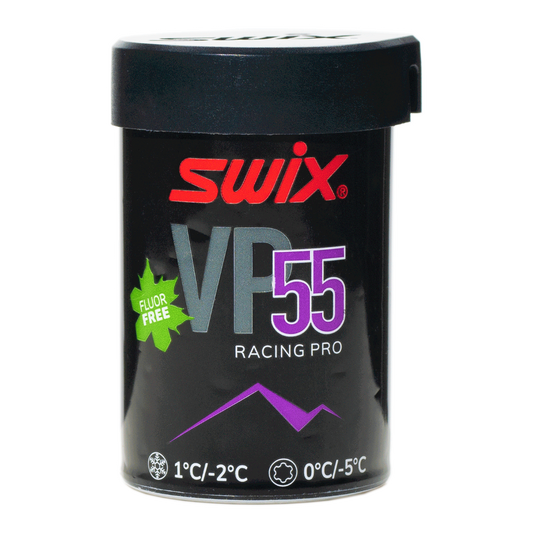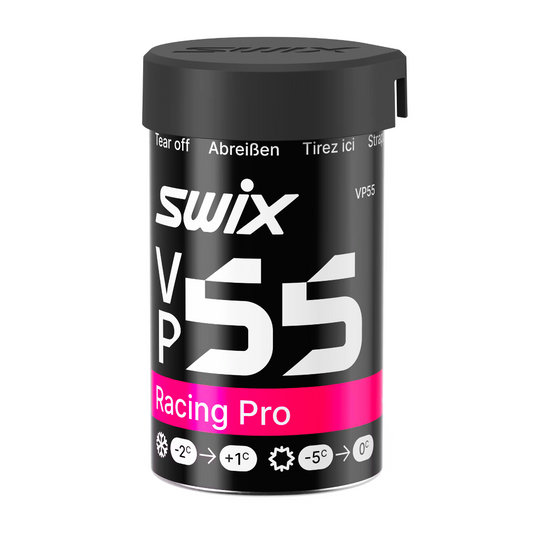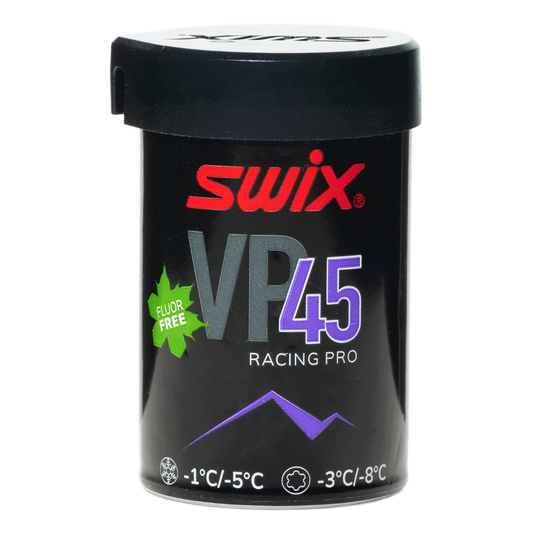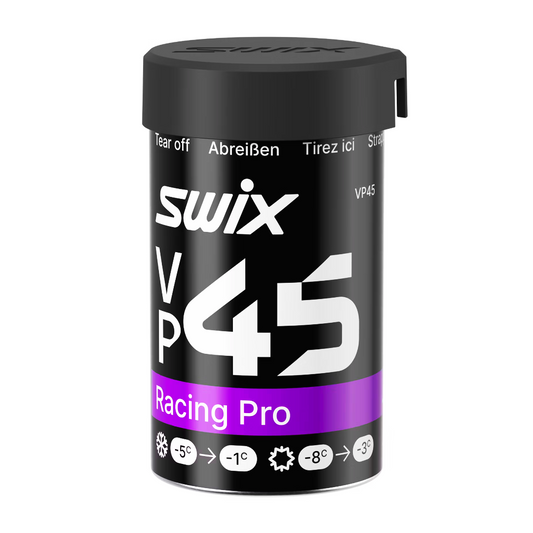
An image representing the Klister Cover Application product collection on | Skiwax.ca

Klister Cover Application: The Trickiest Grip Waxing Technique

One of the trickiest techniques you can do for classic grip waxing! This one is the art of putting a hardwax on top of a klister to increase the speed. Learn to finesse your waxing to give you this wax job most commonly used in tricky, near-zero conditions!

How-To Video

Steps may differ in the video from what we recommend!

Step-by-Step

1) Check your skis for grip zone markers on your classic wax skis. Kick wax is only applied to the zone under the binding of the ski leaving the tips and tails of the ski free for glide waxing. A good grip zone is between 40cm and 60 cm long but will vary depending on the stiffness of your skis (the camber). Your local ski shop can help you find your grip zones, or you can use the zones pre-marked on the sidewalls of your skis. Use a permanent marker to redefine your grip zones as often as you can and experiment with extending your grip zone further forwards or backward to find the right feel while skiing.

2) Prepare your grip zone by cleaning it with wax remover and roughing it with sandpaper. If you're unsure how to do this, check out the instructions here: https://skiwax.ca/collections/cleaning-grip-zones. To prevent grip and glide wax from mixing, use masking tape to separate your grip zone from your glide zone.

3) Optional: If the snow is coarse or you plan on skiing more than 10km, consider applying a base binder by following the steps here: https://skiwax.ca/collections/base-binder-application. Due to the steps to follow, you want this binder to be be pretty thin. Often the klister you put on will act as a binder, so this step is rarely used unless it is really needed.

4) With the klister tube, dab a thin layer in a chevron pattern. You may need to heat the tube with a heat gun or torch, or your body heat on softer klisters to make it flow nicely. If you have no binder, you will want to mix in a harder klister (such as a blue, purple, or hard universal) into your choice for the day to help increase the durability. Often klisters are mixed 50/50, 70/30 by wax techs depending on conditions. Get your desired mix ratio by dabbing the second klister between the gaps of the first chevron pattern.

5) Using a heat source such as a dedicated kick wax iron, heat gun, or torch, smooth out the klister. If you are using a heat gun or torch, use a cork, a small metal-bristled chef's brush, or your thumb to smooth out the klister. If you are using an iron, make sure you only ever use the iron for kick wax and NEVER in a glide zone.

6) Let the klister cool for a few minutes. Set the ski outside over the snow (but not touching the snow) to speed the cooling. If it is a sunny day, find the shadiest spot you can.

7) Once the klister is cooled, take a synthetic cork to VERY lightly cork the klister to "reheat it" to allow adhesion to your hardwax of the day. When you reheat, only cork until you feel some friction in your strokes; you do not want the binder to get malleable again.

8) Lightly crayon your hardwax on top. You don't want to use too much pressure to cause either globbing of hardwax or shifting of the klister base. A helpful tip is to stick your hardwax in the snow to chill it before applying. This will keep the hardwax from globbing onto the base.

9) Cork with a synthetic cork with even, light pressure taking care not to cause globs, ripples, or bumps in either the klister base or the hardwax topper. Your hardwax coats do not need to be thick due to how thick your klister is. You should only need the one layer, but a second may be needed depending on the camber of your ski.

You're now ready to head out and ski!

Products for Klister Cover Application: The Trickiest Grip Waxing Technique

23 products

Ski Waxing Safety Measures

Safe Ski Waxing: Protect Yourself While Prepping Your Skis

Ski waxing is key to great performance on the snow, but it involves chemicals, heat, dust, and fumes that require careful handling. Prioritizing safety protects your health and ensures the waxing process is both effective and responsible.

Follow these essential safety practices every time you wax:


1. Maximize Ventilation: Fresh Air is Crucial 🌬️

  • Why? Hot waxing, solvents, and brushing release fumes and fine dust particles that shouldn't be inhaled.
  • Best Practice: Wax outdoors whenever possible.
  • Indoors: Ensure excellent air exchange.
    • Work near open windows or doors.
    • Use powerful exhaust fans (like range hoods or dedicated extraction systems) vented directly outside.
    • Simple fans just circulating air within the room are not sufficient.
  • Speak Up: If you're in a shared facility (like a team wax room or event) and ventilation seems poor, notify staff or organizers immediately. If you can strongly smell fumes or wax, ventilation isn't adequate.

2. Protect Your Lungs: Use a Respirator 😷

  • Why? Waxing generates harmful airborne particles and fumes from multiple sources:
    • Smoke/fumes from hot waxing irons or machines.
    • Dust from scraping and brushing wax.
    • Vapors from evaporating solvents in liquid waxes and cleaners.
    • Dust from fleece/wool application methods.
    • Fumes from heating grip waxes and klisters.
  • Action: Wear a respirator suitable for both particulates (dust) and organic vapors (fumes/solvents).
    • Look for respirators with P100 particulate filters combined with organic vapor cartridges.
    • Ensure a proper fit. Facial hair can prevent a good seal.
    • Replace filters and cartridges according to the manufacturer's recommendations or when you notice smell/taste breakthrough or increased breathing resistance.

3. Protect Your Eyes: Wear Safety Glasses 👓

  • Why? Dust, flying wax particles, and potential splashes from cleaners can irritate or injure your eyes.
  • Action: Always wear safety glasses or goggles. A full-face respirator also provides eye protection.

4. Protect Your Skin: Wear Gloves 🧤

  • Why? Waxes and solvents contain chemicals that can be absorbed through the skin or cause irritation.
  • Action: Wear chemical-resistant gloves (nitrile gloves are a common and effective choice). This keeps your hands clean and prevents direct skin contact with potentially harmful substances.

5. Maintain a Safe Wax Room Environment 🚫

  • Control Access: Only those actively involved in waxing should be in the immediate waxing area to minimize exposure for others.
  • No Food or Drink: Never eat, drink, smoke, or store food in the waxing area. This prevents accidental ingestion of harmful residues.
  • Cleanliness: Keep your workspace tidy. Clean up spills immediately and manage wax scrapings (see next point).

6. Handle Wax Waste Responsibly ♻️

  • Why? Wax shavings and dust contain the same chemicals you're protecting yourself from during application. Proper disposal protects the environment and prevents contamination.
  • Action:
    • Collect all wax shavings, dust, and used cleaning materials (paper towels, rags).
    • Place them promptly into a sealed plastic bag or designated waste container.
    • Dispose of according to local regulations. (Note: Regulations for fluorinated wax disposal might be stricter in some areas – check local rules).

7. Control Your Iron Temperature 🔥

  • Why? Overheating wax creates significantly more fumes and can damage your ski base.
  • Action: Always use the wax manufacturer's recommended temperature for your specific wax. Don't guess!

8. Handle Cleaners & Solvents with Extra Care 🧪

  • Why? Base cleaners and liquid waxes often contain volatile organic compounds (VOCs) that are easily inhaled and can be flammable.
  • Action:
    • Use solvents and cleaners sparingly.
    • Ensure maximum ventilation when applying them.
    • Keep containers sealed when not in use.
    • Crucially: Keep solvents far away from heat sources like your waxing iron, space heaters, or open flames.

Your Health Comes First!

By consistently following these safety protocols, you protect yourself from potential respiratory issues, skin irritation, and other health effects. Safe waxing allows you to focus on getting the best performance from your skis and fully enjoy your time on the snow.