How to Shop for Cross-Country Ski Gear at a Ski Swap
Partager
Ski swaps are a goldmine for great deals — especially if you’re just getting into cross-country skiing, looking for rock skis or training skis, or need to outfit the whole family without breaking the bank. But with all those skis, boots, and poles piled high, it can feel a bit overwhelming. Here’s how to walk in prepared, find gear that fits, and walk out with skis that’ll make winter even better.
🧭 1. Know What Type of Skiing You’ll Do
Before you hit the swap, decide what kind of skiing you’re into:
- Classic skiing: Skis with grip zones for striding in tracks — choose between Skin Skis, Crown Skis, or Waxable Skis.
- Skate skiing: Shorter, stiffer skis for side-to-side gliding.
- Backcountry skiing: Wider skis (often metal-edged) for ungroomed trails.
Knowing your style helps narrow down the huge selection — and keeps you from leaving with something that doesn’t suit your trails.
📏 2. Check Ski & Pole Length
The biggest mistake at swaps? Buying skis that are too long, too short, too soft, or too stiff for your weight. Bring your height and weight written down.
- Classic skis: About 20–30 cm taller than your height. Beginners and kids can go shorter for easier handling.
- Skate skis: Around 10–15 cm taller than the skier (shorter for beginners).
- Poles: Classic poles ≈ 80–83% of height; Skate poles ≈ 90%. Beginners can go shorter for control; advanced skiers may prefer longer poles for power.
🧪 How to Test the Stiffness (Camber) of Skis at a Ski Swap
The stiffness of a ski determines how it glides and grips. Too soft and you lose glide or control on skate skis; too stiff and you lose grip on classic and lose glide on skate skis. Here’s how to test each type at a ski swap using a simple paper test.
🎯 What You’ll Need
- A flat surface (floor works fine)
- A sheet of paper or thin card
- Your body weight (stand in boots or shoes)
- A friend to help check camber
🧩 Classic Wax Skis
Goal: The kick zone (middle) should lift off the ground when gliding and press down fully when kicking.
- Place both skis base-down on a flat surface.
- Stand evenly on them in your boots, clipped into bindings if possible. Use some poles to steady yourself.
- Have a friend slide paper under the middle of one ski.
- The paper should slide easily between your feet when standing evenly. It should also slide approximately 30-45 cm from the balance point toward the tip, and about 15-20 cm toward the tails. This will be your hardwax zone.
- Do this for both skis and compare the differences. Sometimes, “paired” skis exhibit significantly different flexes!
- Shift all your weight onto one ski. The paper should stop, indicating your full weight is pressing the kick zone down.
If the paper is stuck even when standing on both skis → too soft.
If it slides freely even when standing on one ski → too stiff.
🐾 Skin Skis
Skin skis have a fixed grip zone (no wax), so stiffness is even more critical — it controls both grip and glide.
- Paper should slide lightly under the skin when standing evenly. (light contact is okay)
- Under full weight on one ski, the paper should stop.
- If skins drag too much when standing evenly, they’ll feel slow; if they barely touch under full weight, you’ll slip. If you can change the binding position, retry the test with the binding moved closer to the tails for more glide or towards the tips for more grip.
🌲 Crown (Fishscale) Skis
- Stand evenly — if you hear scales scraping on the paper, skis are too soft.
- Shift to one ski — the scales should make firm contact.
⛸️ Skate Skis
- When standing evenly, paper should slide about 40 cm toward the tip and 30 cm toward the tail.
- Under full weight, paper should slide less — about 33 cm forward, 20 cm back.
- Finally, balance on the ball of one foot to mimic a dynamic skate push. The paper should now slide approximately 20 cm toward the tip and 10 cm toward the tail.
- If the ski easily flattens to the floor, it’s too soft—the skis will feel unstable and hard to control on snow. Conversely, if the paper slides too far under full weight, the skis are too stiff—leading to poor glide, especially in soft snow.
🧠 Pro Tip: Feel the Spring
Press skis base-to-base. They should resist slightly and “spring apart” when released. No spring = too soft. Barely compressible = too stiff. It’s not as precise as the paper test, but it’s a quick way to narrow down choices when browsing a big rack of skis.
If you’re unsure, err on the side of slightly softer rather than too stiff — or ask a volunteer or coach at the swap for a quick check.
Higher-quality skis might still have factory labels that indicate the ideal skier weight range. If the skis have FA or MF numbers on the label or in the serial number, they should be around 60% of the skier's weight in kg for classic and 120% for skate.
🔍 3. Inspect Skis Closely
- Bases: Avoid deep gouges or white “dry” spots.
- Topsheets, Sidewalls and Delamination: Check for gouges. Pay close attention to the tips, tails and where the base meets the sidewall for delamination.
- Camber: Skis should spring apart when pressed base-to-base.
- Metal Edges: Light rust is fine; avoid peeling metal.
- Bindings: check for cracked plastic or loose levers and screws
- Poles: Make sure handles and baskets are firmly attached and don't twist. Check for scratches on the shafts.
- Boots: Check for broken zippers or cracked soles.
🥾 4. Match Boots and Bindings
Boots and bindings must be compatible:
- NNN & Prolink: Interchangeable.
- SNS: Mostly discontinued, thus best to avoid or immediately switch bindings to NNN.
- Check the sole of your boot for system markings.
🧰 5. Don’t Overpay for Old Tech
- Avoid skis with three-pin bindings (75 mm) unless you want vintage/backcountry gear.
- Check that the ski model still exists online.
- Inspect for flattened camber
💡 6. Bring or Borrow Expertise
Go with a coach, clubmate, or gear-savvy friend. Many swaps have volunteers or store reps who can help match skis to your size and ability — don’t hesitate to ask.
🧴 7. Budget for a Tune-Up
Believe it or not, used skis can sometimes be faster than new ones if the previous owner waxed them frequently and took good care of them. However, they may need a bit of TLC:
- Base cleaning and fresh glide wax
- Grip zone prep, skin ski waxing, or replace the skin inserts
- New bindings if worn
- New pole parts, if in need of replacement
A quick tune-up can make used skis glide like new.
🏁 8. Focus on Fit, Not Fancy
The best ski isn’t the newest or flashiest — it’s the one that fits your weight, skill, and goals. Ski swaps are about getting on snow affordably and comfortably.
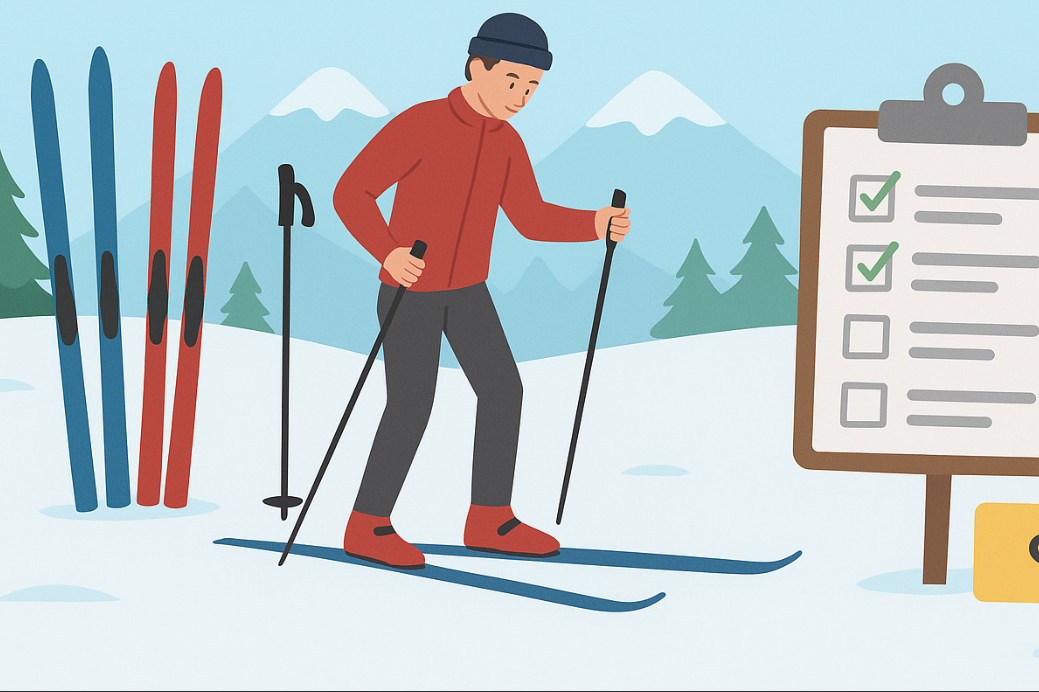
✅ Printable Checklist: What to Bring to a Ski Swap
🏔️ Final Tip
If you find a good pair that needs base preparation, we offer guides on cleaning, waxing, and prepping used skis for winter, along with all the supplies at Skiwax.ca. Alternatively, skip the hassle of ski swaps entirely and choose a pair of training or used and rock skis from our selection. If you don’t find what you need, we’ve got you covered with our clearance selection, whether it’s skis, poles, or boots!