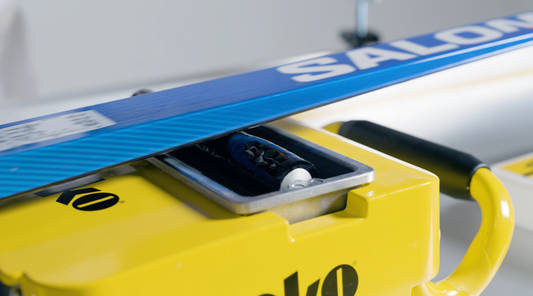
Base Binder Application
How-To Video
Step-by-Step
Products for Base Binder Application
-
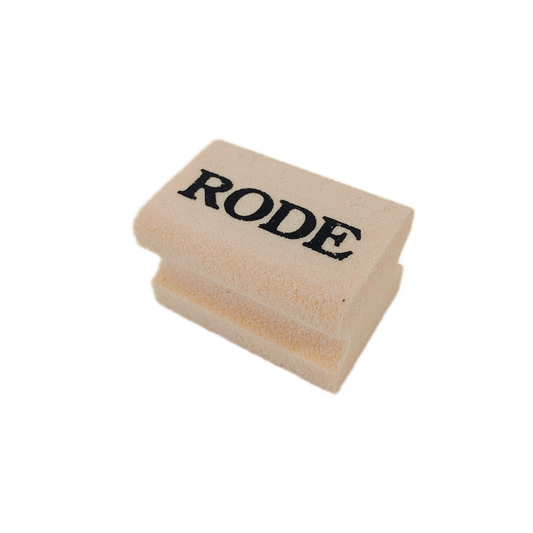
Rode Synthetic Cork
Regular price $12.00 CADRegular price -
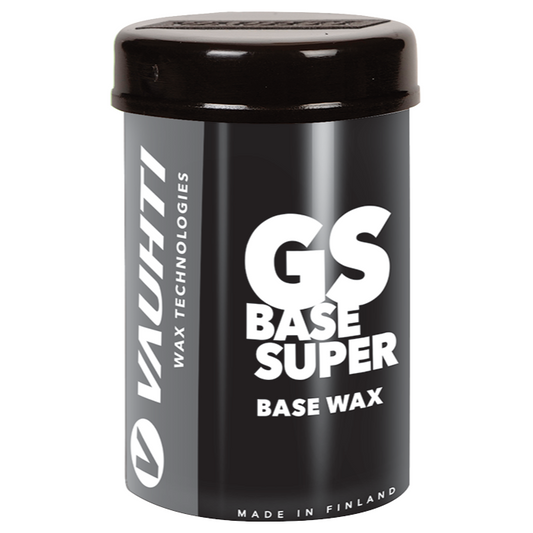
Vauhti GS BASE SUPER BASE Binder | 45g
Unit price $0.44 per gRegular price $20.00 CADRegular price -
Vauhti GS BASE AT BASE Binder | 45g
Unit price $0.44 per gRegular price $20.00 CADRegular price -
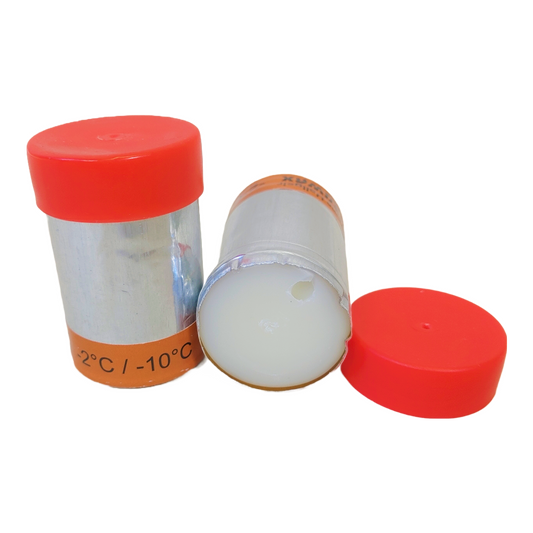
Guru Extreme Hallgeir Hardwax (-2C/-10C) | 45g
Unit price $0.89 per gRegular price $40.00 CADRegular price -
Guru Super Hallgeir Hardwax (-3C/-15C) | 45g
Unit price $0.89 per gRegular price $40.00 CADRegular price -
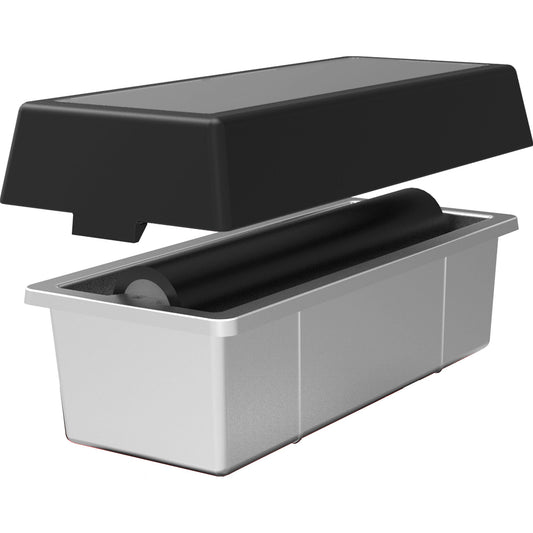
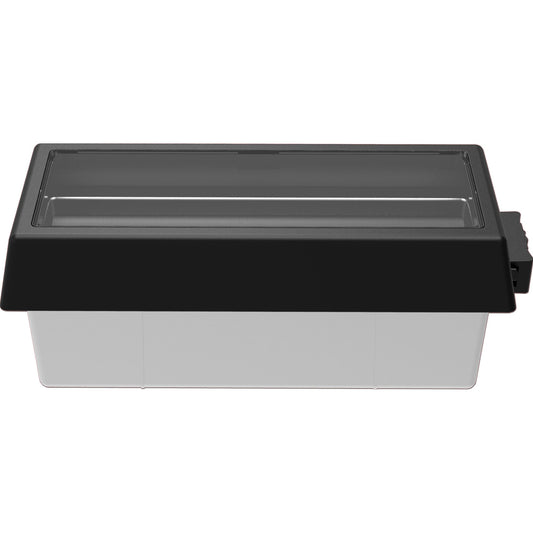
Swix Wax Machine Tray
Regular price $85.00 CADRegular price -
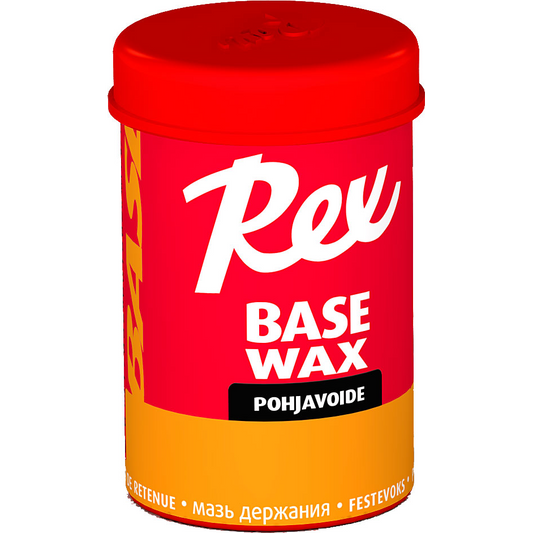
Rex Wax Basic Grip Orange Base Wax | 45g
Unit price $0.33 per gRegular price $15.00 CADRegular price -
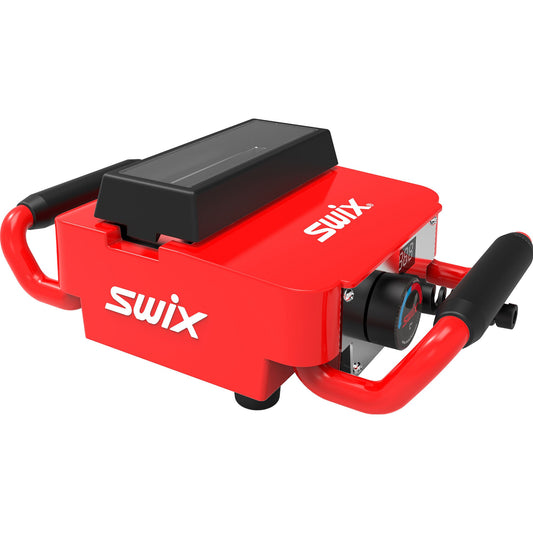
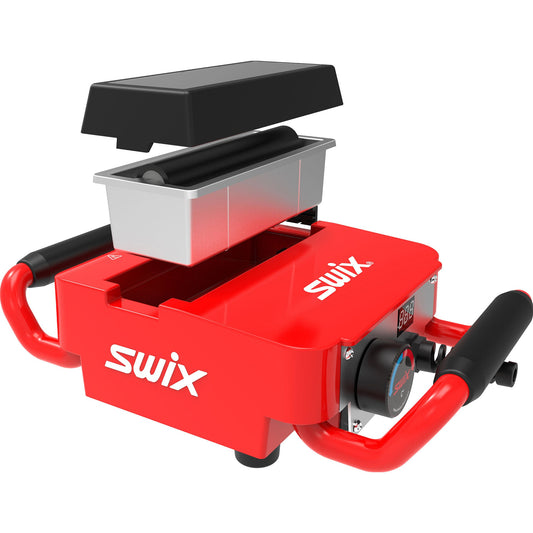
Swix T60 Wax Machine 110V
Regular price $600.00 CADRegular price -
Start Basewax Extra Base Binder Kickwax | 45g
Unit price $0.44 per gRegular price $20.00 CADRegular price -
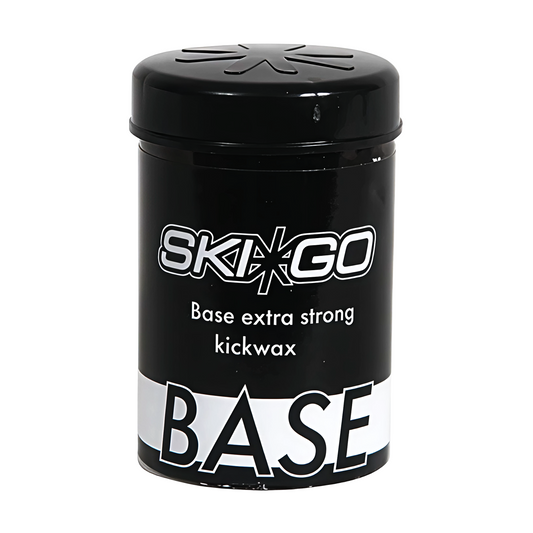
Ski*Go XC Base Binder Extra Strong | 45g
Unit price $0.89 per gRegular price $40.00 CADRegular price -
Start Basewax Base Binder Kickwax | 45g
Unit price $0.44 per gRegular price $20.00 CADRegular price -
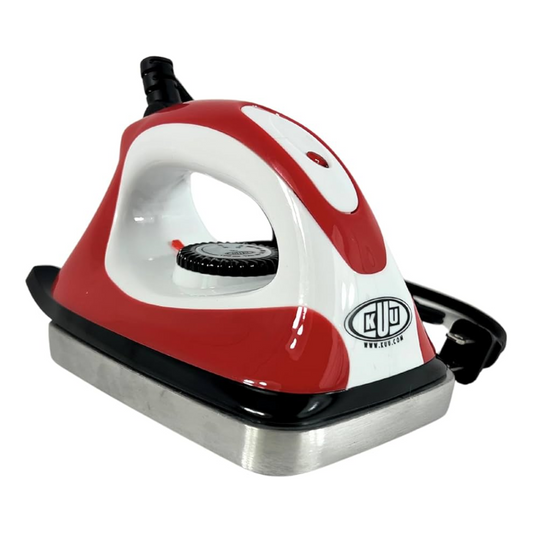
Kuu Iron Maiden Iron
Regular price $100.00 CADRegular price -
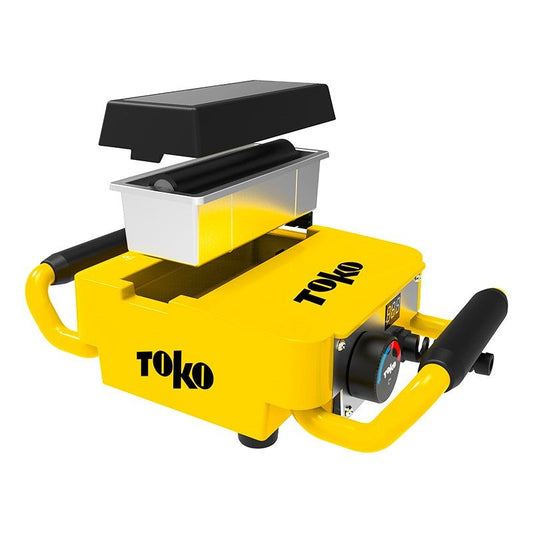
Toko Wax Machine 110V
Regular price $600.00 CADRegular price -
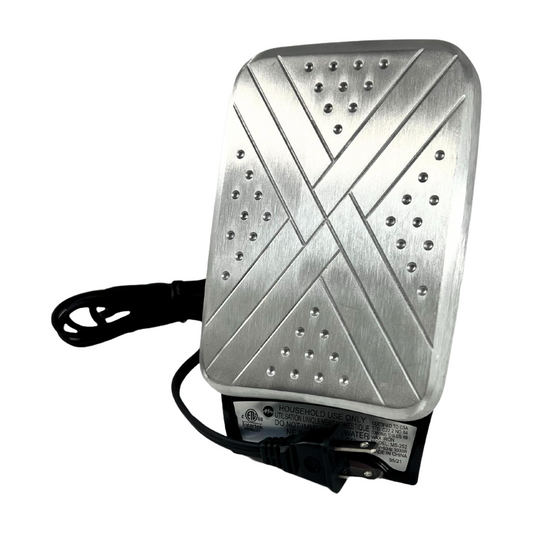
Kuu Iron Maiden Digital Iron
Regular price $144.00 CADRegular price