Applying Sticky Grip Waxes
How-To Video
Step-by-Step
Products for Applying Sticky Grip Waxes
-
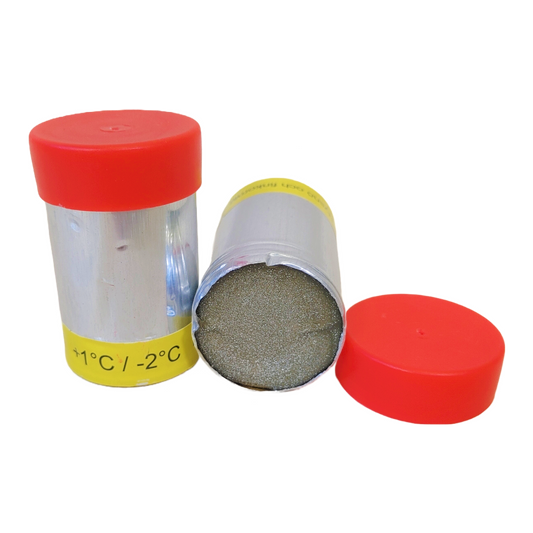
Rode Synthetic Cork
Regular price $12.00 CADRegular price -
STAR M21 BETA Hardwax | (1C/-5C)
Unit price $1.16 per gRegular price $52.00 CADRegular price -
STAR M16 BETA Hardwax | (-1C/-15C)
Unit price $1.16 per gRegular price $52.00 CADRegular price -
STAR M26 BETA Hardwax | (2C/-2C)
Unit price $1.16 per gRegular price $52.00 CADRegular price -
Guru Yellow Hardwax (1C/-2C) | 45g
Unit price $0.89 per gRegular price $40.00 CADRegular price -
Start Oslo Racing Special Kickwax (2C/-3C) | 45g
Unit price $1.07 per gRegular price $48.00 CADRegular price -
Start Oslo Racing Extra Kickwax (Old Formula) (-2C/-8C) | 45g
Unit price $1.07 per gRegular price $48.00 CADRegular price -
Start Terva (Tar) Two Red Kickwax (0C/-3C) | 45g
Unit price $0.49 per gRegular price $22.00 CADRegular price -
Start Terva (Tar) Zero Purple Kickwax (0.5C/-0.5C) | 45g
Unit price $0.49 per gRegular price $22.00 CADRegular price -
Start R-Series Red Kickwax (2C/-3C) | 45g
Unit price $1.07 per gRegular price $48.00 CADRegular price -
Start R-Series Purple Kickwax (-1C/-6C) | 45g
Unit price $1.07 per gRegular price $48.00 CADRegular price -
Start R-Series Blue Kickwax (-4C/-10C) | 45g
Unit price $1.07 per gRegular price $48.00 CADRegular price -
Start R-Series Hardwax Bundle
Unit price $43.20 per itemRegular price $129.60 CADRegular price -
Start Oslo Racing Extra Kickwax (-2C/-8C) | 45g
Unit price $1.07 per gRegular price $48.00 CADRegular price -
STAR BETA Hardwax Bundle
Unit price $49.40 per itemRegular price $148.20 CADRegular price