Ironing Melt Glide Waxes (aka Hot Waxing)
How-To Video
Step-by-Step
Products for Ironing Melt Glide Waxes (aka Hot Waxing)
-
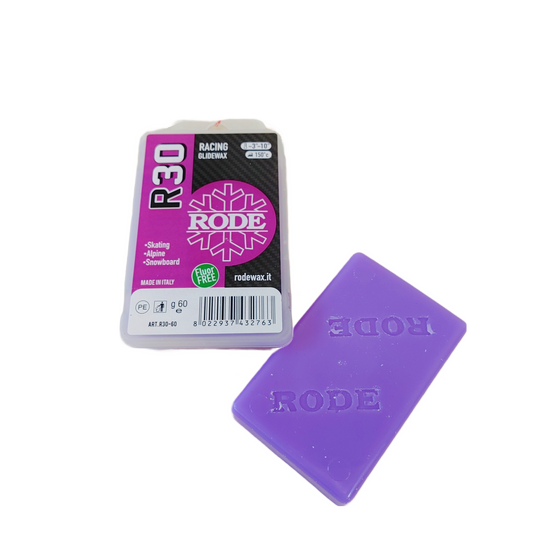
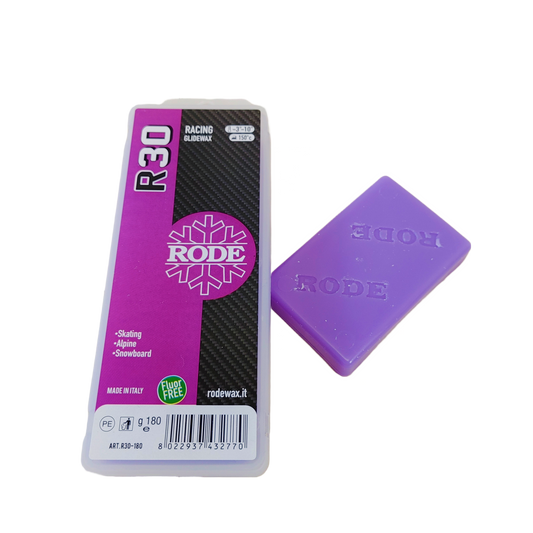
Rode R30 RACING GLIDER VIOLET MELT WAX (-3C/-10C)
Unit price $0.17 - $0.42 per gRegular price From $25.00 CADRegular priceRode R30 RACING GLIDER VIOLET MELT WAX (-3C/-10C)
Unit price $0.17 - $0.42 per gRegular price From $25.00 CADRegular priceRode R30 RACING GLIDER VIOLET MELT WAX (-3C/-10C)
Unit price $0.17 - $0.42 per gRegular price From $25.00 CADRegular price -
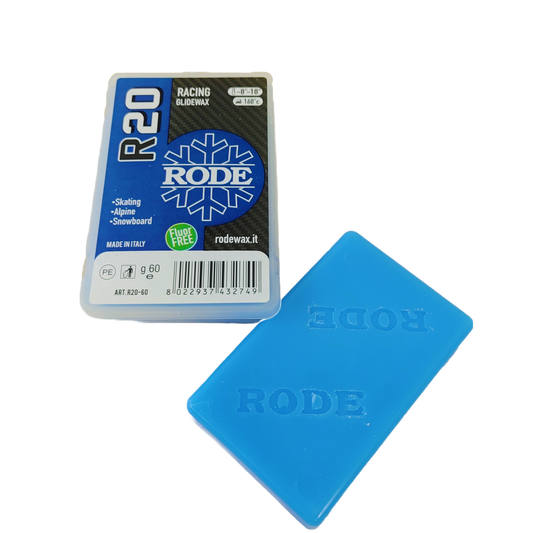
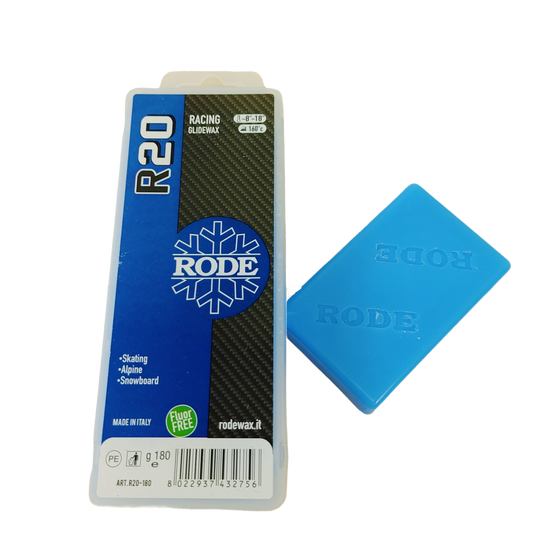
Rode R20 RACING GLIDER BLUE MELT WAX (-8C/-18C)
Unit price $0.17 - $0.42 per gRegular price From $25.00 CADRegular priceRode R20 RACING GLIDER BLUE MELT WAX (-8C/-18C)
Unit price $0.17 - $0.42 per gRegular price From $25.00 CADRegular priceRode R20 RACING GLIDER BLUE MELT WAX (-8C/-18C)
Unit price $0.17 - $0.42 per gRegular price From $25.00 CADRegular price -
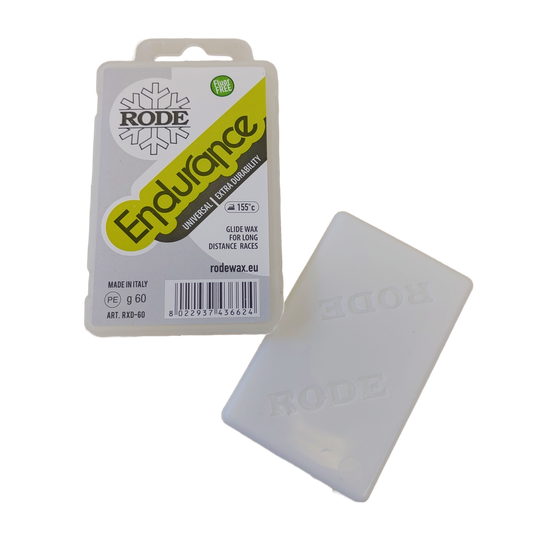
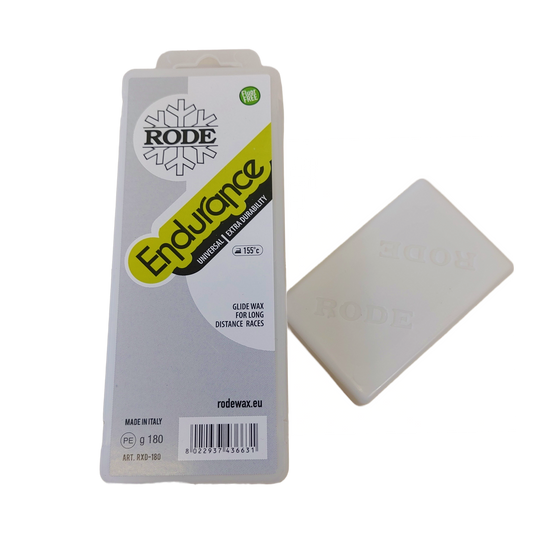
Rode RXD ENDURANCE GLIDER MELT WAX (10C/-20C)
Unit price $0.25 - $0.58 per gRegular price From $35.00 CADRegular priceRode RXD ENDURANCE GLIDER MELT WAX (10C/-20C)
Unit price $0.25 - $0.58 per gRegular price From $35.00 CADRegular priceRode RXD ENDURANCE GLIDER MELT WAX (10C/-20C)
Unit price $0.25 - $0.58 per gRegular price From $35.00 CADRegular price -
Red Creek Groove Scraper
Regular price $7.00 CADRegular price -
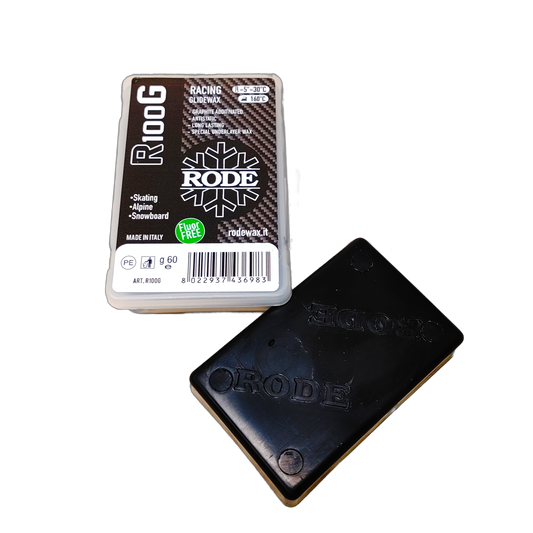
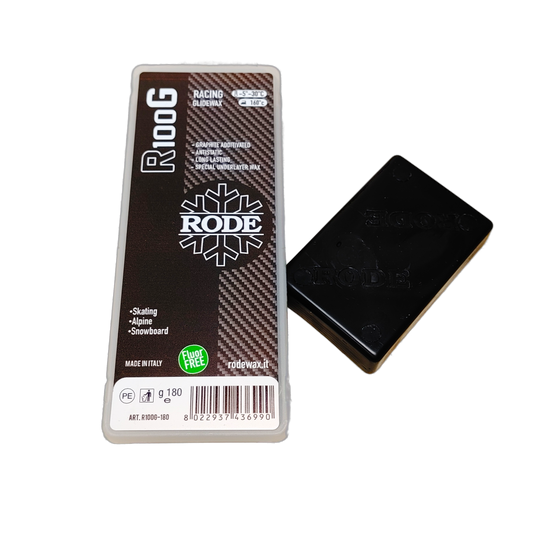
Rode R100G RACING GLIDER GRAFITE MELT WAX (-5C/-30C)
Unit price $0.25 - $0.58 per gRegular price From $35.00 CADRegular priceRode R100G RACING GLIDER GRAFITE MELT WAX (-5C/-30C)
Unit price $0.25 - $0.58 per gRegular price From $35.00 CADRegular priceRode R100G RACING GLIDER GRAFITE MELT WAX (-5C/-30C)
Unit price $0.25 - $0.58 per gRegular price From $35.00 CADRegular price -
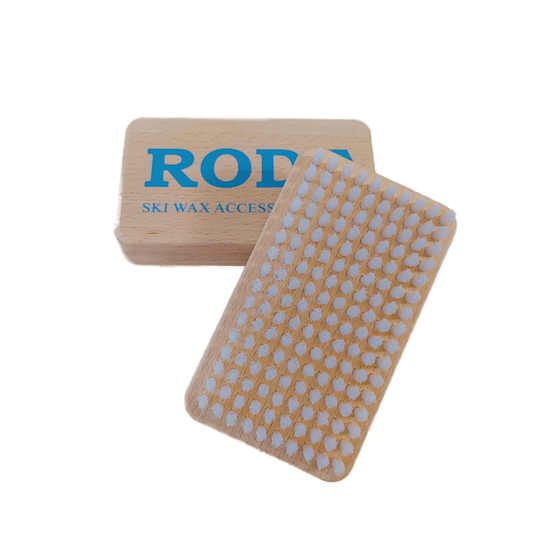
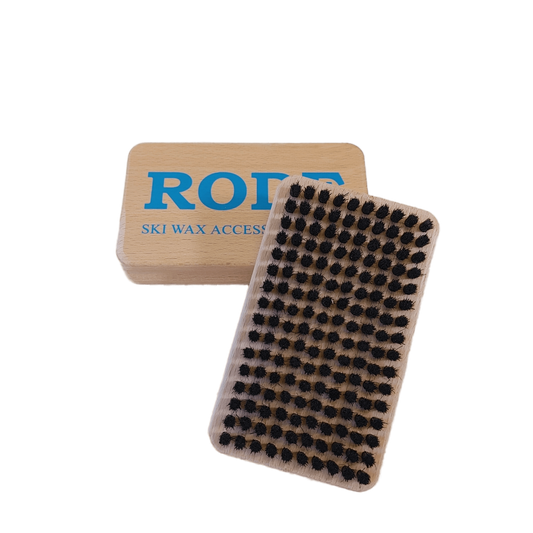
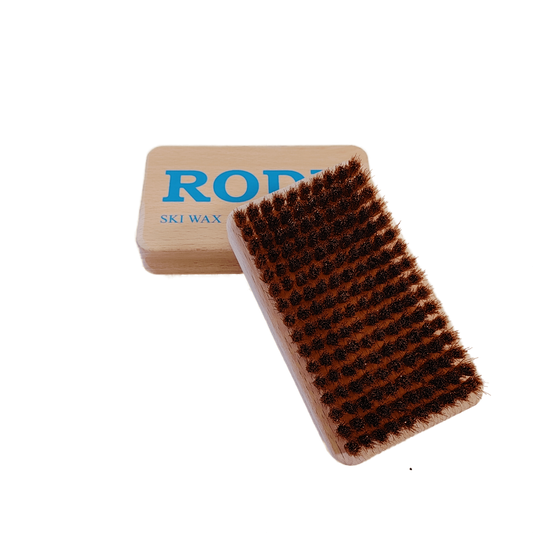
Rode Soft Nylon Handbrush
Regular price $26.00 CADRegular price -
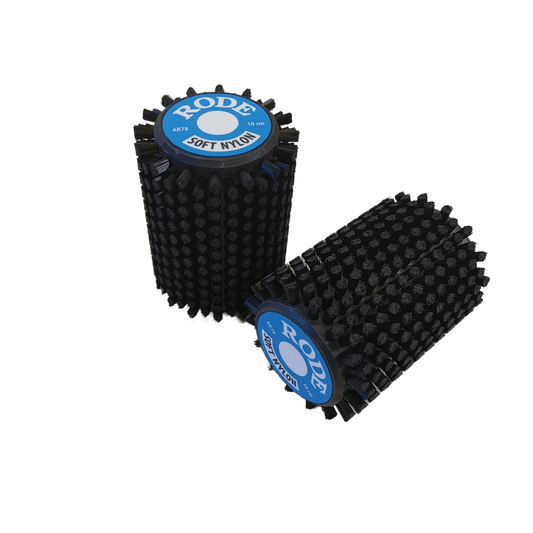
Rode Soft Nylon Roto Brush
Regular price From $70.00 CADRegular priceRode Soft Nylon Roto Brush
Regular price From $70.00 CADRegular priceRode Soft Nylon Roto Brush
Regular price From $70.00 CADRegular price -
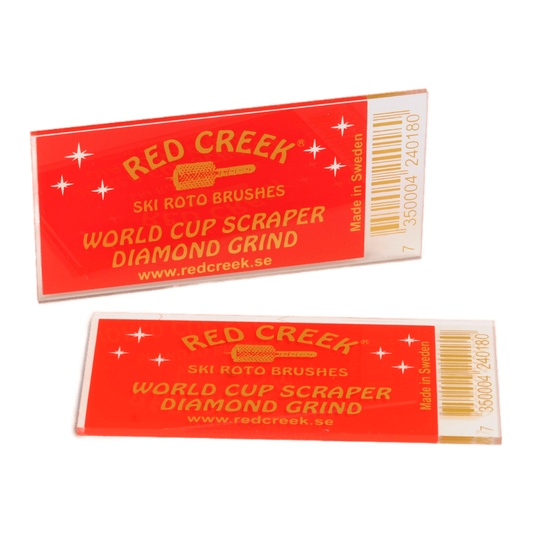
Red Creek Diamond 3mm Scraper
Regular price $14.00 CADRegular price -
Red Creek Diamond 5mm Scraper
Regular price $15.00 CADRegular price -
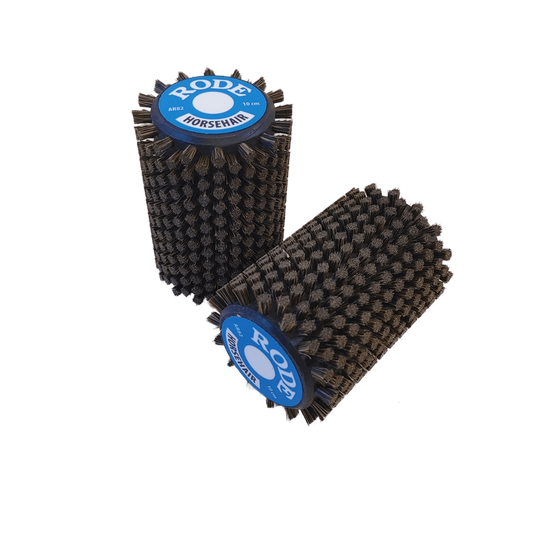
Rode Horsehair Roto Brush
Regular price From $70.00 CADRegular priceRode Horsehair Roto Brush
Regular price From $70.00 CADRegular priceRode Horsehair Roto Brush
Regular price From $70.00 CADRegular price -
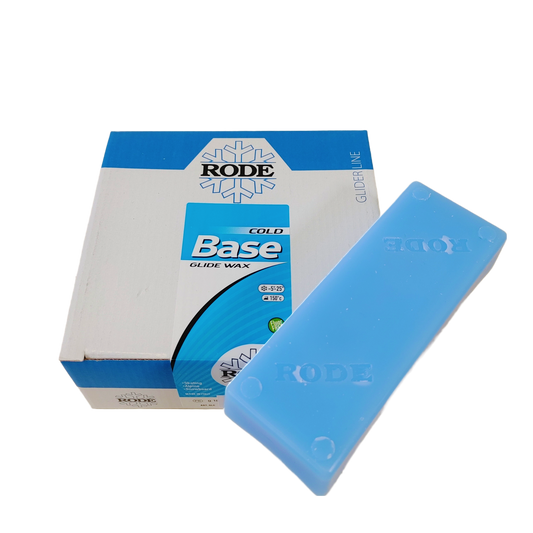
Rode BASE GLIDER COLD MELT WAX (-5C/-25C)
Unit price $0.08 - $0.20 per gRegular price From $36.00 CADRegular priceRode BASE GLIDER COLD MELT WAX (-5C/-25C)
Unit price $0.08 - $0.20 per gRegular price From $36.00 CADRegular priceRode BASE GLIDER COLD MELT WAX (-5C/-25C)
Unit price $0.08 - $0.20 per gRegular price From $36.00 CADRegular price -
Red Creek Fluoro-Free Cold Melt Glide Wax (-1C/-20C)
Unit price $0.71 per gRegular price $100.00 CADRegular price -
Rode Horsehair Handbrush
Regular price $26.00 CADRegular price -
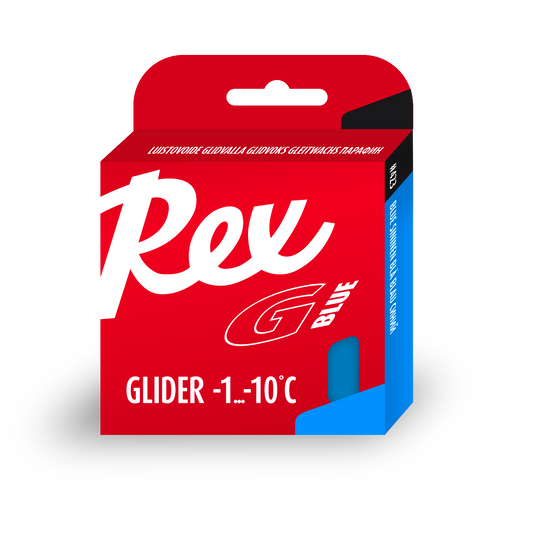
Rex Wax Racing Glide Blue Paraffin (-1C/-10C)
Unit price $0.20 - $0.28 per gRegular price From $24.00 CADRegular priceRex Wax Racing Glide Blue Paraffin (-1C/-10C)
Unit price $0.20 - $0.28 per gRegular price From $24.00 CADRegular priceRex Wax Racing Glide Blue Paraffin (-1C/-10C)
Unit price $0.20 - $0.28 per gRegular price From $24.00 CADRegular price -
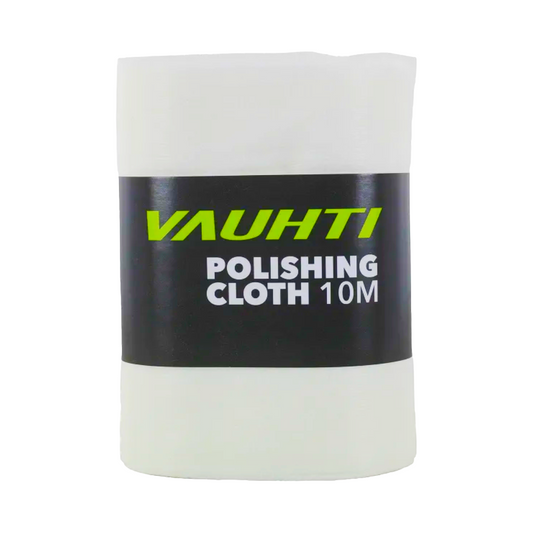
Vauhti Polishing Cloth
Unit price $1.30 - $1.60 per mRegular price From $16.00 CADRegular priceVauhti Polishing Cloth
Unit price $1.30 - $1.60 per mRegular price From $16.00 CADRegular priceVauhti Polishing Cloth
Unit price $1.30 - $1.60 per mRegular price From $16.00 CADRegular price -
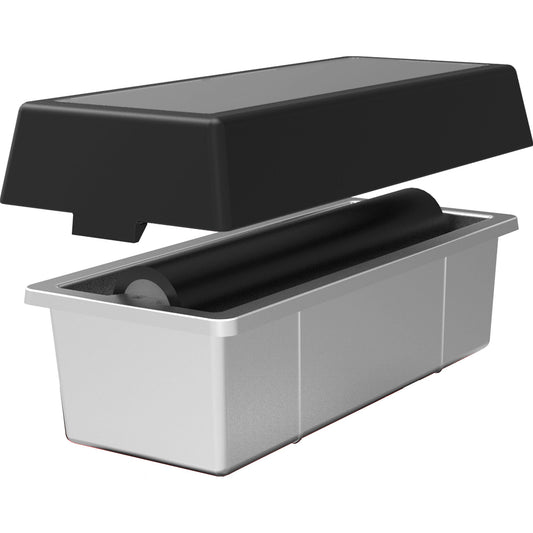
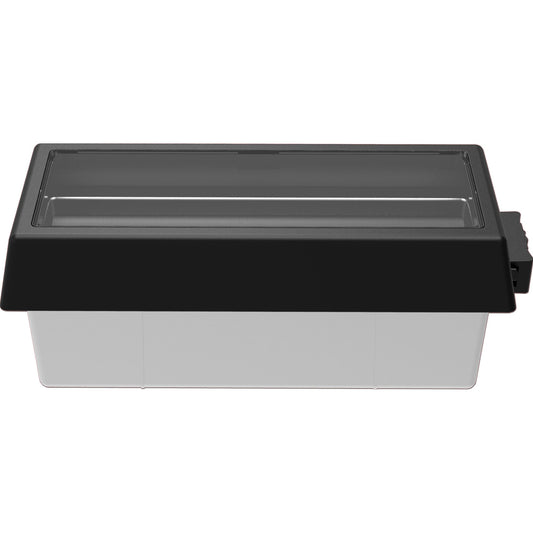
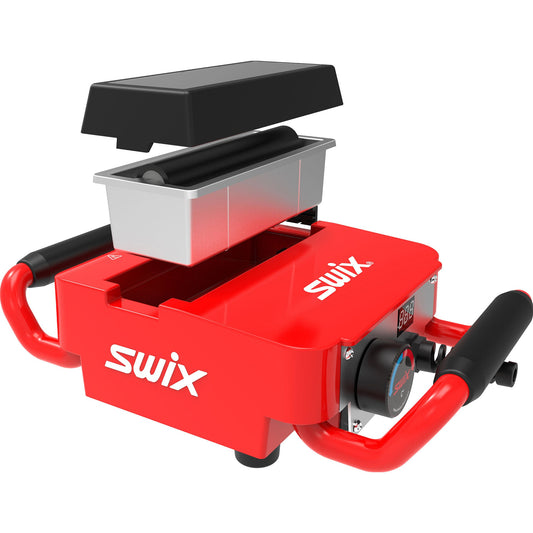
Swix Wax Machine Tray
Regular price $85.00 CADRegular price -
Rode Bronze Handbrush
Regular price $68.00 CADRegular price -
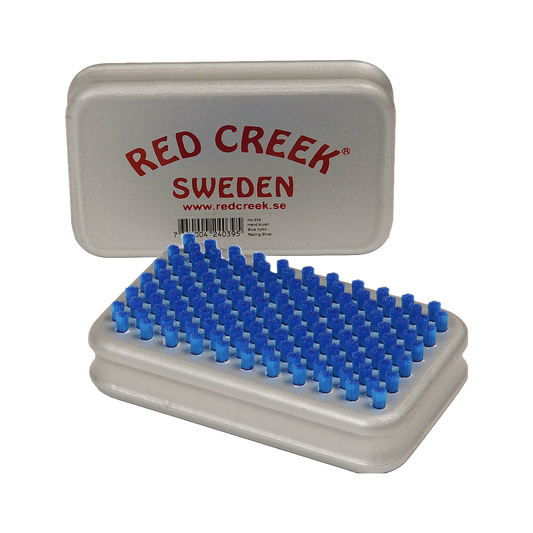
Red Creek Blue 6mm Nylon Racing Silver Hand Brush
Regular price $40.00 CADRegular price -
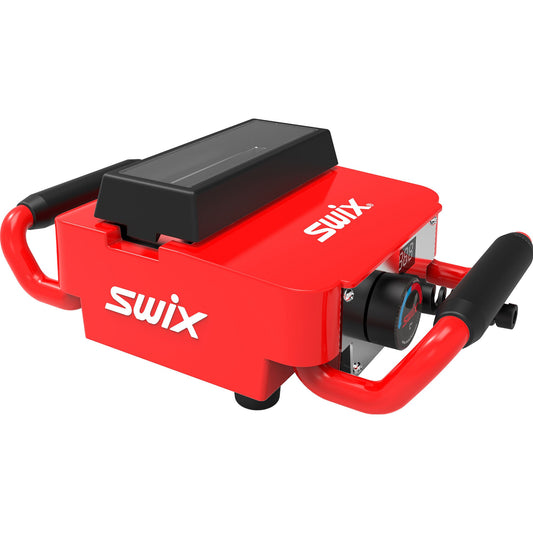
Swix T60 Wax Machine 110V
Regular price $600.00 CADRegular price -
Red Creek Fluoro-Free Warm (Silver Wet Snow) Melt Glide Wax (10C/-2C)
Unit price $1.00 per gRegular price $70.00 CADRegular price -
Toko Base Brush Copper
Regular price $50.00 CADRegular price -
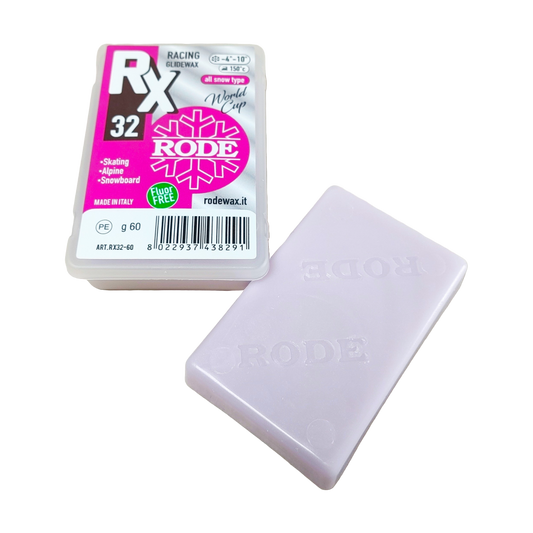
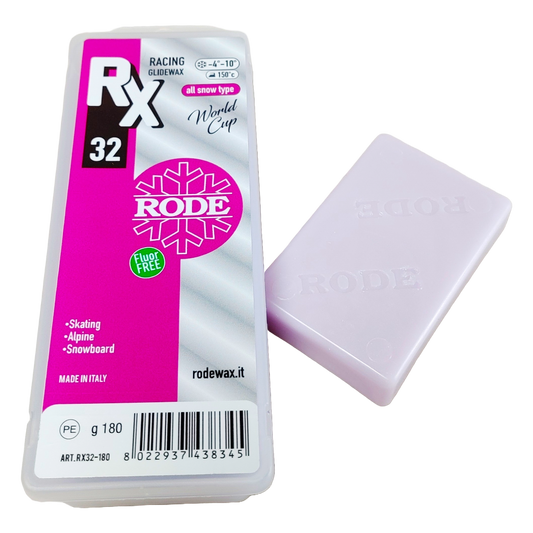
Rode RX32 WC Glider Violet Melt Wax (-4C/-10C)
Unit price $1.11 - $1.43 per gRegular price From $86.00 CADRegular priceRode RX32 WC Glider Violet Melt Wax (-4C/-10C)
Unit price $1.11 - $1.43 per gRegular price From $86.00 CADRegular priceRode RX32 WC Glider Violet Melt Wax (-4C/-10C)
Unit price $1.11 - $1.43 per gRegular price From $86.00 CADRegular price -
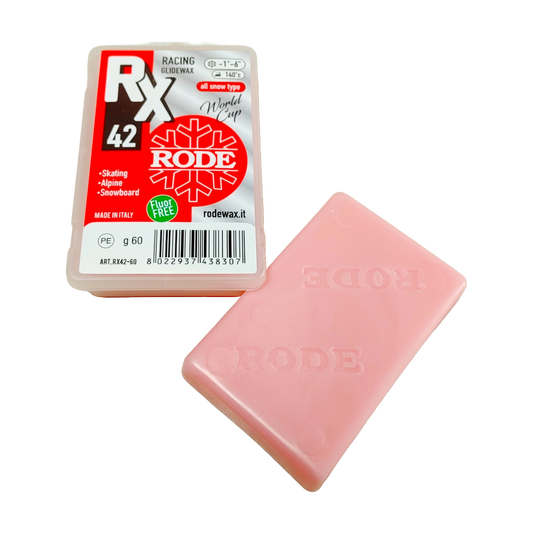
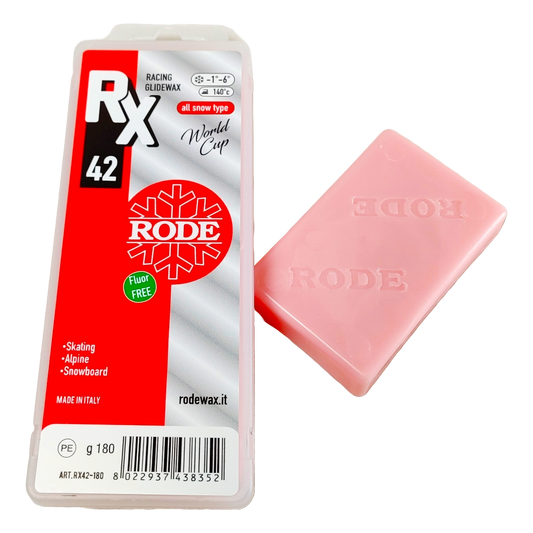
Rode RX42 WC Glider Red Melt Wax (-1C/-6C)
Unit price $1.11 - $1.43 per gRegular price From $86.00 CADRegular priceRode RX42 WC Glider Red Melt Wax (-1C/-6C)
Unit price $1.11 - $1.43 per gRegular price From $86.00 CADRegular priceRode RX42 WC Glider Red Melt Wax (-1C/-6C)
Unit price $1.11 - $1.43 per gRegular price From $86.00 CADRegular price -
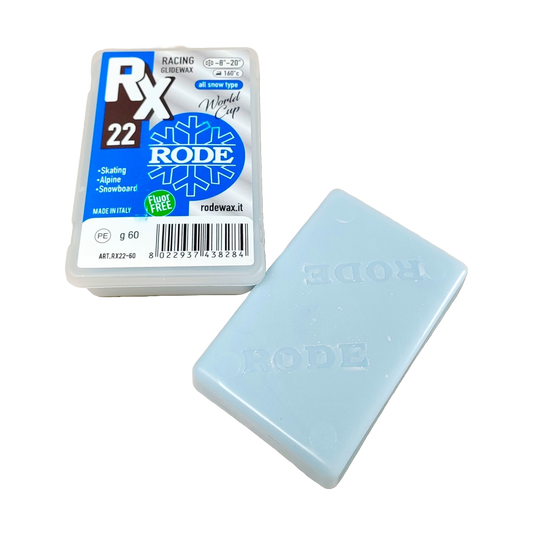
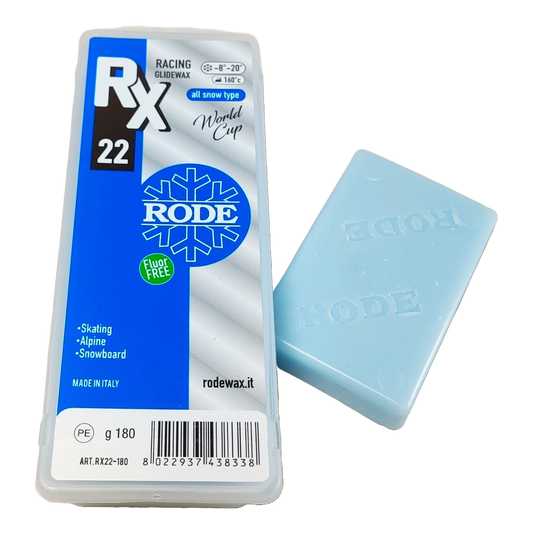
Rode RX22 WC Glider Blue Melt Wax (-8C/-20C)
Unit price $1.11 - $1.43 per gRegular price From $86.00 CADRegular priceRode RX22 WC Glider Blue Melt Wax (-8C/-20C)
Unit price $1.11 - $1.43 per gRegular price From $86.00 CADRegular priceRode RX22 WC Glider Blue Melt Wax (-8C/-20C)
Unit price $1.11 - $1.43 per gRegular price From $86.00 CADRegular price