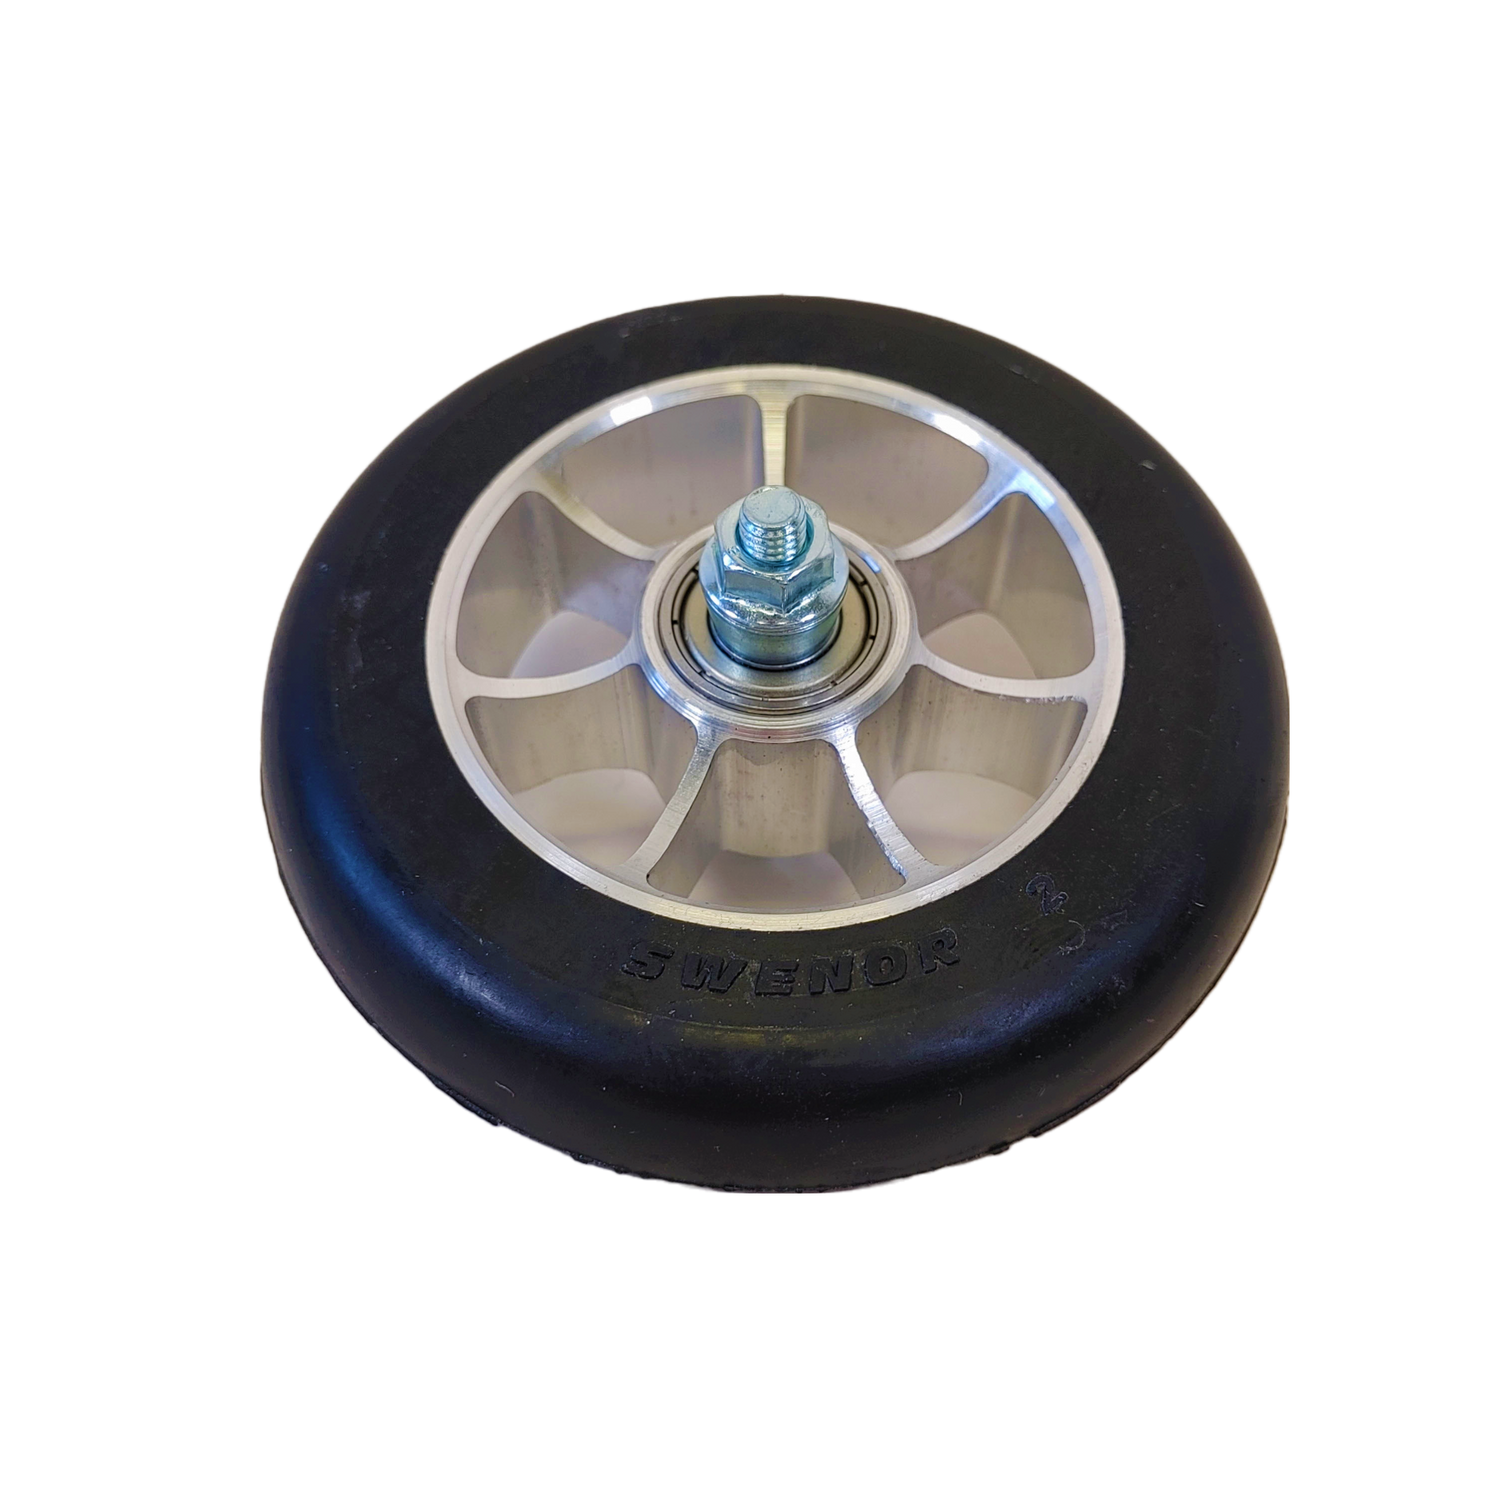
How to Replace SKATE Rollerski Wheels
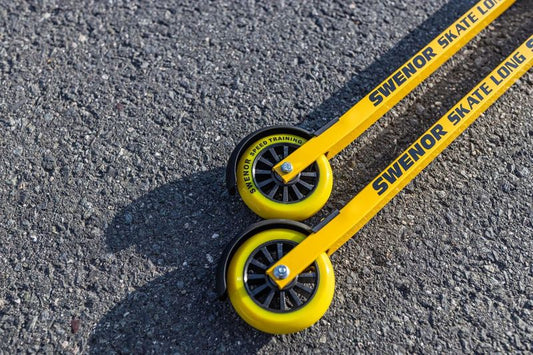
Here, you'll learn how to replace worn-out SKATE rollerski wheels. We use new wheels pre-assembled with new bearings. If your new wheels come without bearings, the process requires additional steps not covered in this guide.
How-To Video
Step-by-Step
Items Needed:
- A set of new rollerski wheels that are already assembled with new bearings
- 2 x 10mm wrenches or socket tools (may be different depending on your rollerski model)
Step 1: Removing the Old Wheels
Start by placing your rollerski on a stable surface. Use your wrench and/or socket tool to loosen and remove the nuts/bolts that secure the wheels. Keep the nuts, bolts, washers and spacers safe, as you may need them to attach the new wheels if the hardware included with your new wheels is not an exact fit for your rollerskis.
Step 2: Installing the New Wheels
Slide the new wheels with the spacers into the skis' forks, ensuring they are properly aligned with the holes in the forks. Insert the bolts, ensuring the washers are in place outside the forks. Tighten the nut and bolt with your wrench and/or socket tools, but be careful not to overtighten them, as this can damage the wheels or the rollerski frame. Hand-tight is perfect.
Step 3: Final Check
Give each wheel a spin to ensure it rotates freely and is securely attached. If it feels too tight or too loose, make any necessary adjustments.
Products for How to Replace SKATE Rollerski Wheels
-
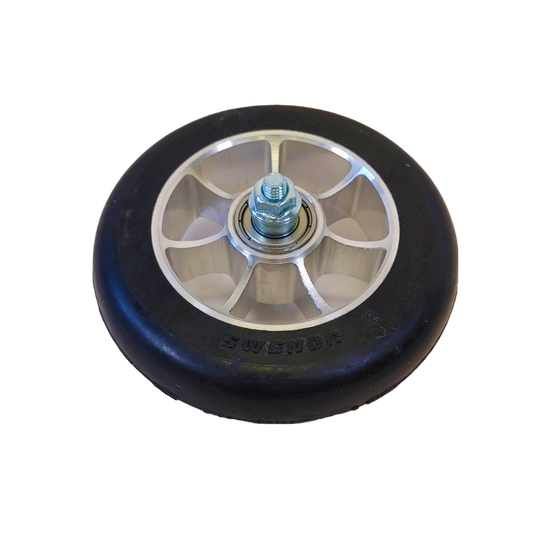
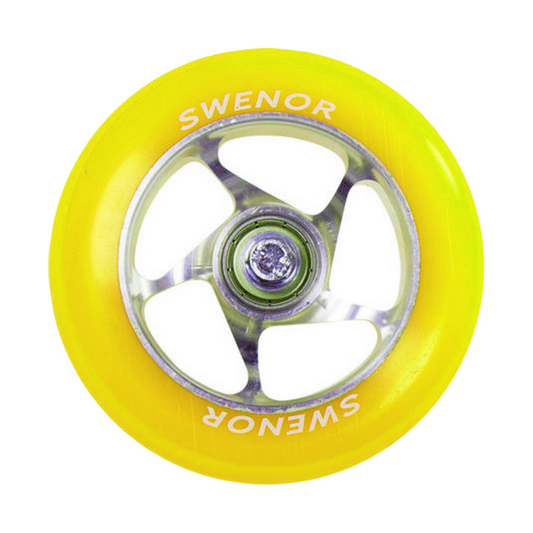
Swenor Skate Rollerski Wheels (Assembled with Bearings)
Regular price From $86.00 CADRegular priceUnit price / per$0.00 CADSale price From $86.00 CAD135 in stockSwenor Skate Rollerski Wheels (Assembled with Bearings)
Regular price From $86.00 CADRegular priceUnit price / per$0.00 CADSale price From $86.00 CADSwenor Skate Rollerski Wheels (Assembled with Bearings)
Regular price From $86.00 CADRegular priceUnit price / per$0.00 CADSale price From $86.00 CAD -
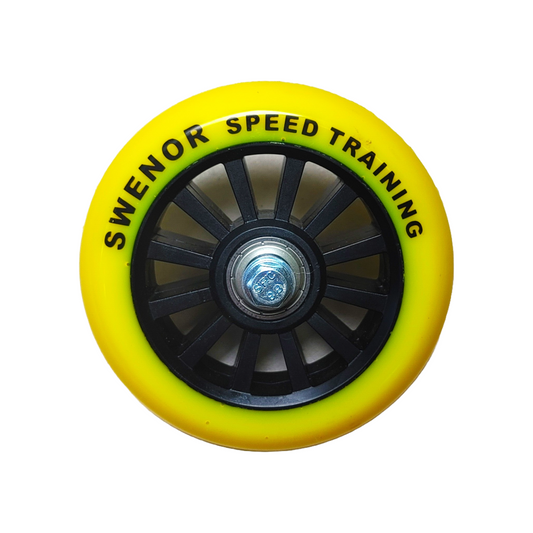
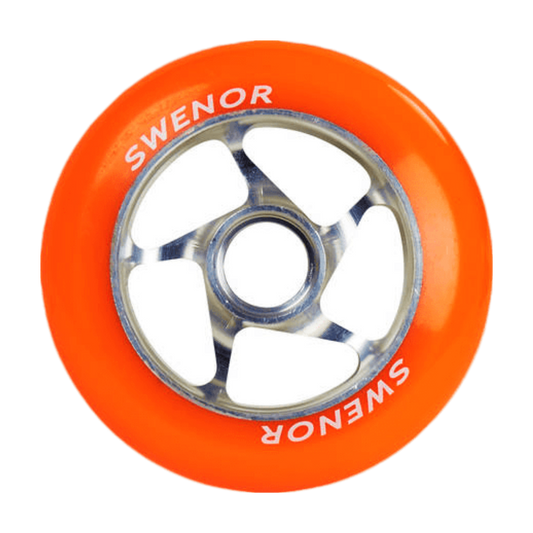
Swenor Speed Training Skate Wheel (Assembled with Bearings)
Regular price From $86.00 CADRegular priceUnit price / per$0.00 CADSale price From $86.00 CAD7 in stockSwenor Speed Training Skate Wheel (Assembled with Bearings)
Regular price From $86.00 CADRegular priceUnit price / per$0.00 CADSale price From $86.00 CADSwenor Speed Training Skate Wheel (Assembled with Bearings)
Regular price From $86.00 CADRegular priceUnit price / per$0.00 CADSale price From $86.00 CAD -
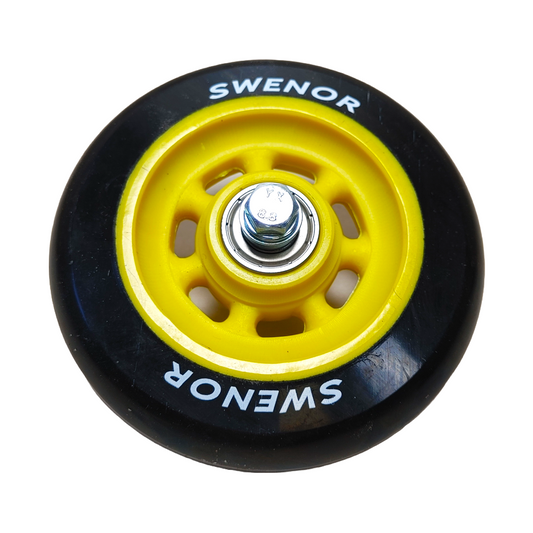
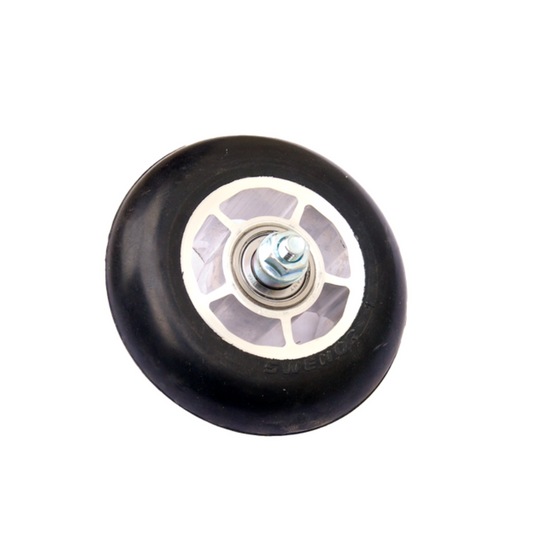
Swenor Wet Skate Wheel (Assembled with Bearings)
Regular price From $170.00 CADRegular priceUnit price / per$0.00 CADSale price From $170.00 CAD25 in stockSwenor Wet Skate Wheel (Assembled with Bearings)
Regular price From $170.00 CADRegular priceUnit price / per$0.00 CADSale price From $170.00 CADSwenor Wet Skate Wheel (Assembled with Bearings)
Regular price From $170.00 CADRegular priceUnit price / per$0.00 CADSale price From $170.00 CAD -
Swenor Polyurethane Skate Wheels
Regular price From $200.00 CADRegular priceUnit price / per$0.00 CADSale price From $200.00 CADSpecial OrderSwenor Polyurethane Skate Wheels
Regular price From $200.00 CADRegular priceUnit price / per$0.00 CADSale price From $200.00 CADSwenor Polyurethane Skate Wheels
Regular price From $200.00 CADRegular priceUnit price / per$0.00 CADSale price From $200.00 CAD -
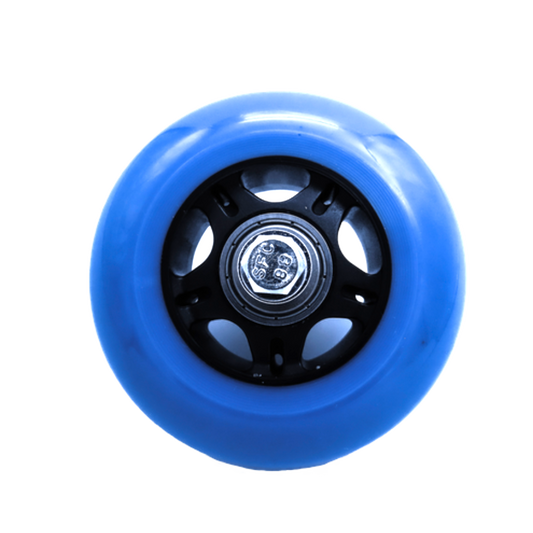
Swenor Junior Skate Wheel (Assembled with Bearings)
Regular price From $72.00 CADRegular priceUnit price / per$0.00 CADSale price From $72.00 CAD10 in stockSwenor Junior Skate Wheel (Assembled with Bearings)
Regular price From $72.00 CADRegular priceUnit price / per$0.00 CADSale price From $72.00 CADSwenor Junior Skate Wheel (Assembled with Bearings)
Regular price From $72.00 CADRegular priceUnit price / per$0.00 CADSale price From $72.00 CAD -
Swenor Polyurethane Junior Skate Wheel
Regular price From $72.00 CADRegular priceUnit price / per$0.00 CADSale price From $72.00 CAD5 in stockSwenor Polyurethane Junior Skate Wheel
Regular price From $72.00 CADRegular priceUnit price / per$0.00 CADSale price From $72.00 CADSwenor Polyurethane Junior Skate Wheel
Regular price From $72.00 CADRegular priceUnit price / per$0.00 CADSale price From $72.00 CAD
Ski Waxing Safety Measures
Safe Ski Waxing: Protect Yourself While Prepping Your Skis
Ski waxing is key to great performance on the snow, but it involves chemicals, heat, dust, and fumes that require careful handling. Prioritizing safety protects your health and ensures the waxing process is both effective and responsible.
Follow these essential safety practices every time you wax:
1. Maximize Ventilation: Fresh Air is Crucial 🌬️
- Why? Hot waxing, solvents, and brushing release fumes and fine dust particles that shouldn't be inhaled.
- Best Practice: Wax outdoors whenever possible.
-
Indoors: Ensure excellent air exchange.
- Work near open windows or doors.
- Use powerful exhaust fans (like range hoods or dedicated extraction systems) vented directly outside.
- Simple fans just circulating air within the room are not sufficient.
- Speak Up: If you're in a shared facility (like a team wax room or event) and ventilation seems poor, notify staff or organizers immediately. If you can strongly smell fumes or wax, ventilation isn't adequate.
2. Protect Your Lungs: Use a Respirator 😷
-
Why? Waxing generates harmful airborne particles and fumes from multiple sources:
- Smoke/fumes from hot waxing irons or machines.
- Dust from scraping and brushing wax.
- Vapors from evaporating solvents in liquid waxes and cleaners.
- Dust from fleece/wool application methods.
- Fumes from heating grip waxes and klisters.
-
Action: Wear a respirator suitable for both particulates (dust) and organic vapors (fumes/solvents).
- Look for respirators with P100 particulate filters combined with organic vapor cartridges.
- Ensure a proper fit. Facial hair can prevent a good seal.
- Replace filters and cartridges according to the manufacturer's recommendations or when you notice smell/taste breakthrough or increased breathing resistance.
3. Protect Your Eyes: Wear Safety Glasses 👓
- Why? Dust, flying wax particles, and potential splashes from cleaners can irritate or injure your eyes.
- Action: Always wear safety glasses or goggles. A full-face respirator also provides eye protection.
4. Protect Your Skin: Wear Gloves 🧤
- Why? Waxes and solvents contain chemicals that can be absorbed through the skin or cause irritation.
- Action: Wear chemical-resistant gloves (nitrile gloves are a common and effective choice). This keeps your hands clean and prevents direct skin contact with potentially harmful substances.
5. Maintain a Safe Wax Room Environment 🚫
- Control Access: Only those actively involved in waxing should be in the immediate waxing area to minimize exposure for others.
- No Food or Drink: Never eat, drink, smoke, or store food in the waxing area. This prevents accidental ingestion of harmful residues.
- Cleanliness: Keep your workspace tidy. Clean up spills immediately and manage wax scrapings (see next point).
6. Handle Wax Waste Responsibly ♻️
- Why? Wax shavings and dust contain the same chemicals you're protecting yourself from during application. Proper disposal protects the environment and prevents contamination.
-
Action:
- Collect all wax shavings, dust, and used cleaning materials (paper towels, rags).
- Place them promptly into a sealed plastic bag or designated waste container.
- Dispose of according to local regulations. (Note: Regulations for fluorinated wax disposal might be stricter in some areas – check local rules).
7. Control Your Iron Temperature 🔥
- Why? Overheating wax creates significantly more fumes and can damage your ski base.
- Action: Always use the wax manufacturer's recommended temperature for your specific wax. Don't guess!
8. Handle Cleaners & Solvents with Extra Care 🧪
- Why? Base cleaners and liquid waxes often contain volatile organic compounds (VOCs) that are easily inhaled and can be flammable.
-
Action:
- Use solvents and cleaners sparingly.
- Ensure maximum ventilation when applying them.
- Keep containers sealed when not in use.
- Crucially: Keep solvents far away from heat sources like your waxing iron, space heaters, or open flames.
Your Health Comes First!
By consistently following these safety protocols, you protect yourself from potential respiratory issues, skin irritation, and other health effects. Safe waxing allows you to focus on getting the best performance from your skis and fully enjoy your time on the snow.

