Ski Base Preparation of the Glide Zones
How-To Video
Step-by-Step
Products for Ski Base Preparation of the Glide Zones
-
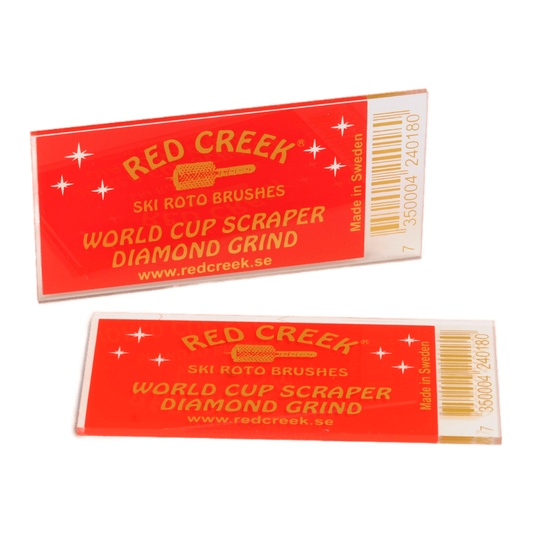
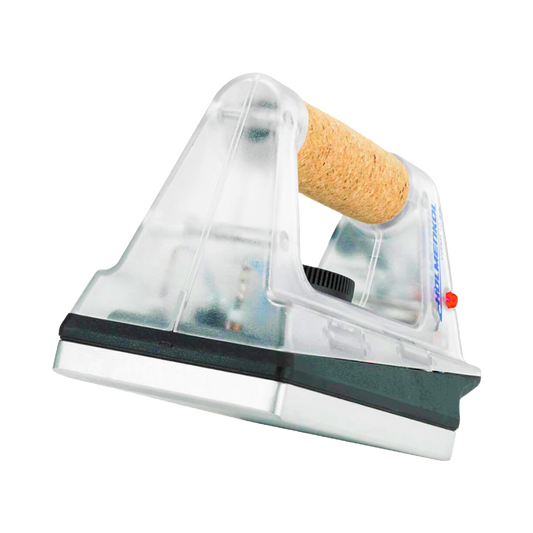
Red Creek Groove Scraper
Regular price $7.00 CADRegular price -
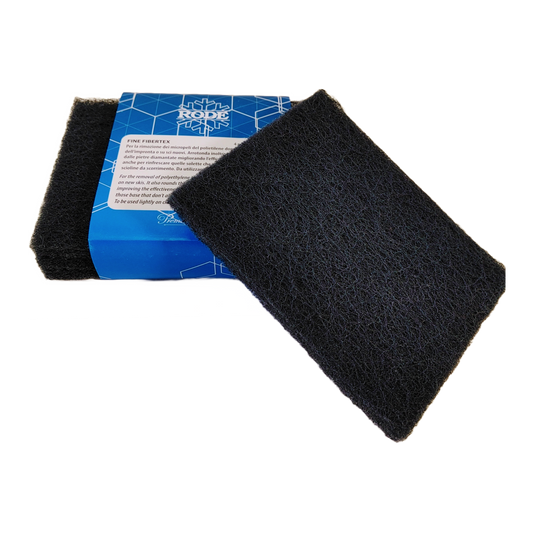
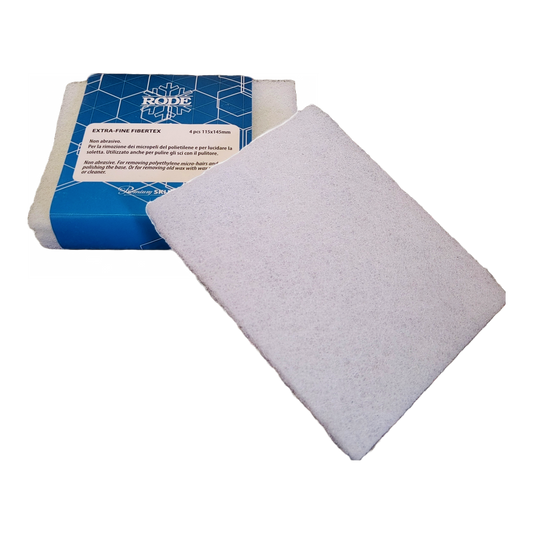
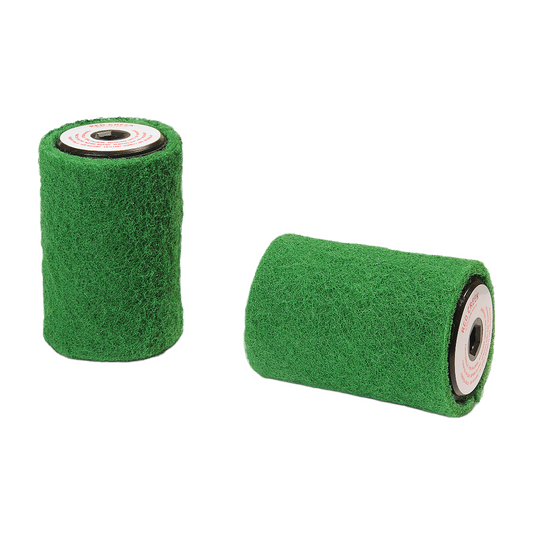
Rode FiberTex
Regular price From $14.00 CADRegular priceRode FiberTex
Regular price From $14.00 CADRegular priceRode FiberTex
Regular price From $14.00 CADRegular price -
Red Creek Diamond 3mm Scraper
Regular price $14.00 CADRegular price -
Red Creek Diamond 5mm Scraper
Regular price $15.00 CADRegular price -
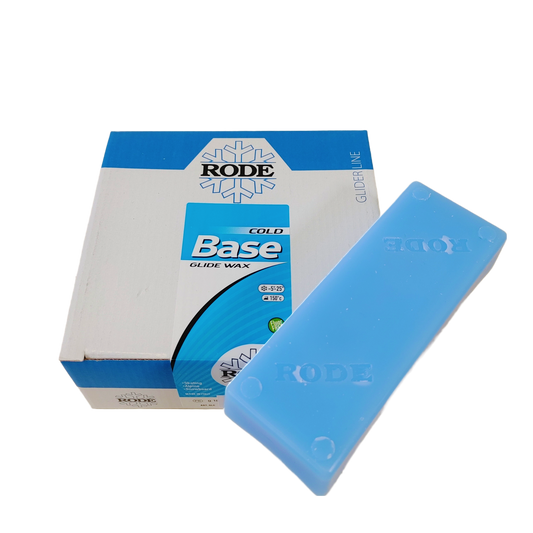
Rode BASE GLIDER COLD MELT WAX (-5C/-25C)
Unit price $0.08 - $0.20 per gRegular price From $36.00 CADRegular priceRode BASE GLIDER COLD MELT WAX (-5C/-25C)
Unit price $0.08 - $0.20 per gRegular price From $36.00 CADRegular priceRode BASE GLIDER COLD MELT WAX (-5C/-25C)
Unit price $0.08 - $0.20 per gRegular price From $36.00 CADRegular price -
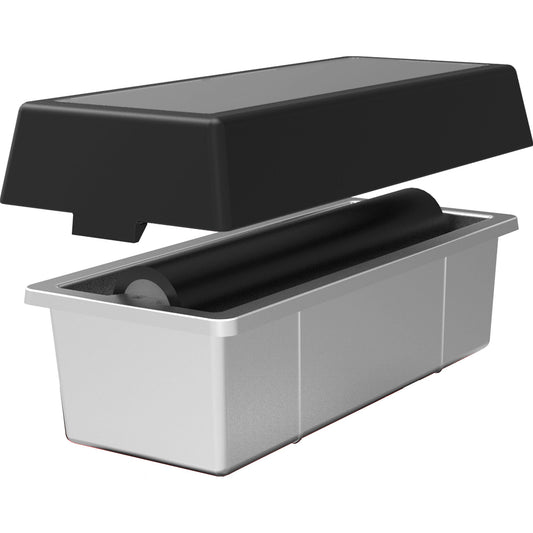
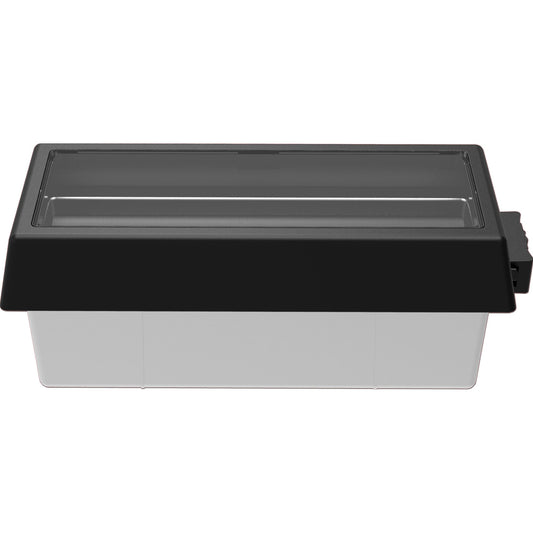
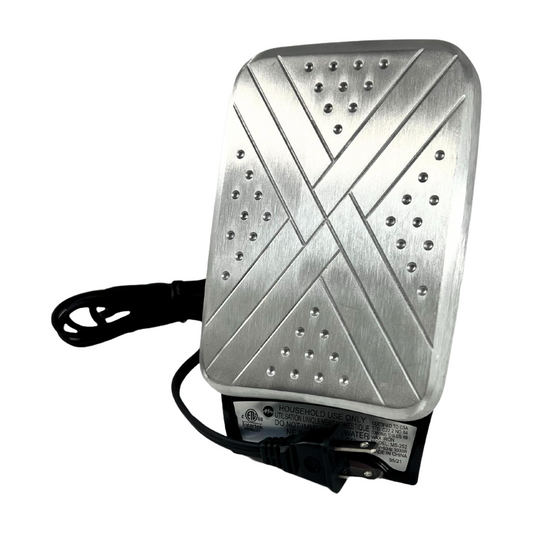
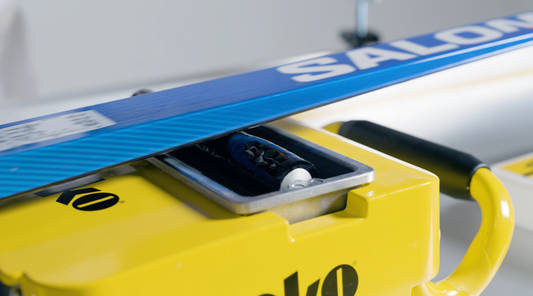
Swix Wax Machine Tray
Regular price $85.00 CADRegular price -
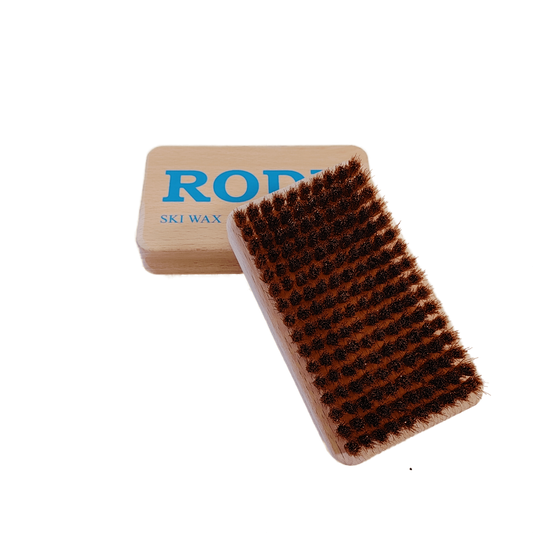
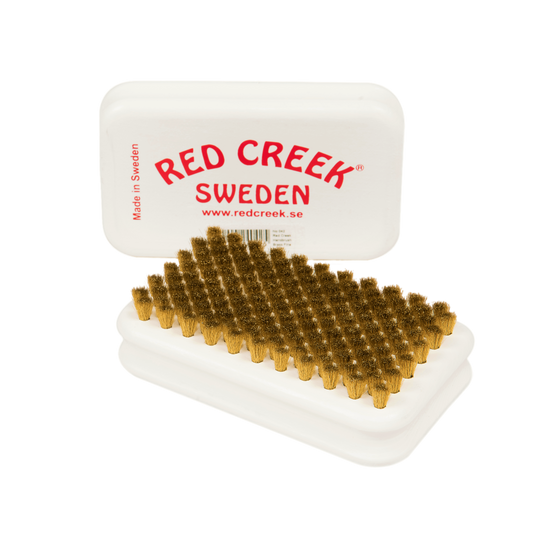
Rode Bronze Handbrush
Regular price $68.00 CADRegular price -
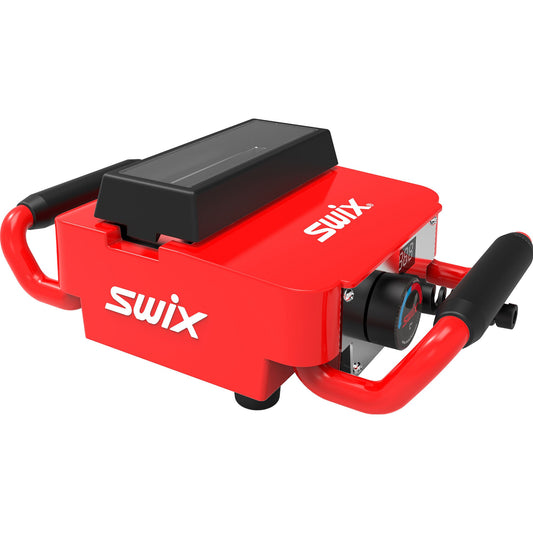
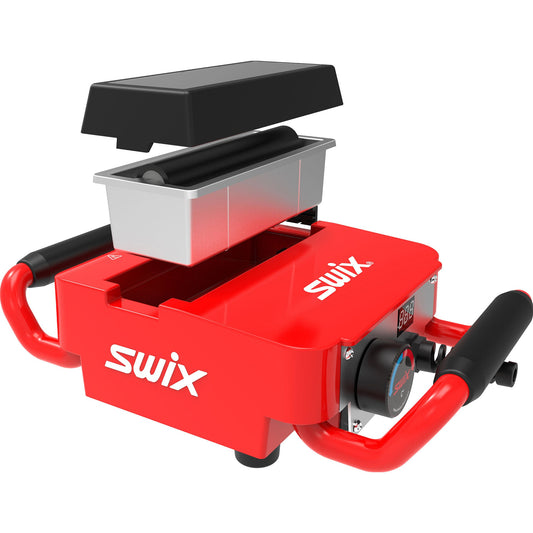
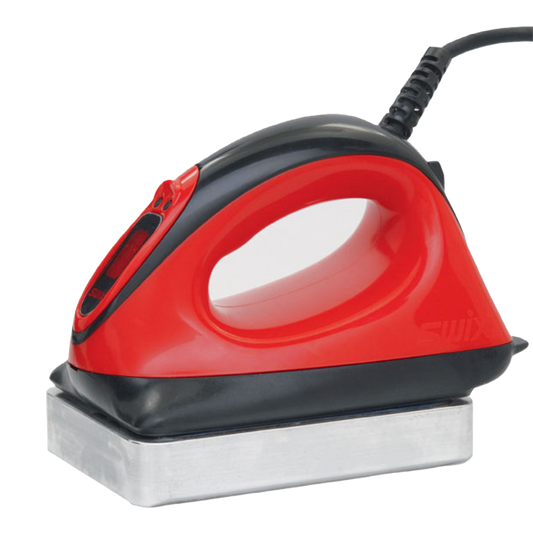
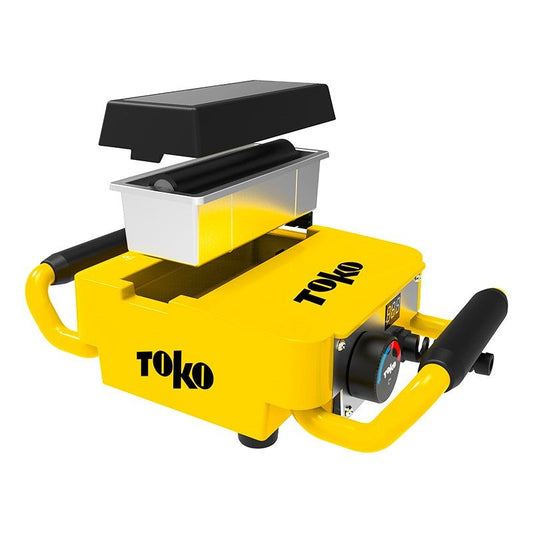
Swix T60 Wax Machine 110V
Regular price $600.00 CADRegular price -
Toko Base Brush Copper
Regular price $50.00 CADRegular price -
Red Creek Diamond 4mm Scraper
Regular price $14.50 CADRegular price -
Red Creek Fine Brass Hand Brush
Regular price $100.00 CADRegular price -
Holmenkol Metal Groove Scraper
Regular price $49.00 CADRegular price -
Red Creek Roto Velcro 100mm
Regular price $120.00 CADRegular price -
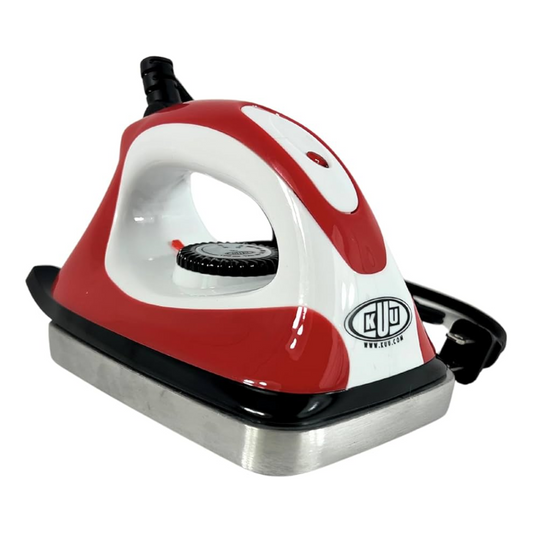
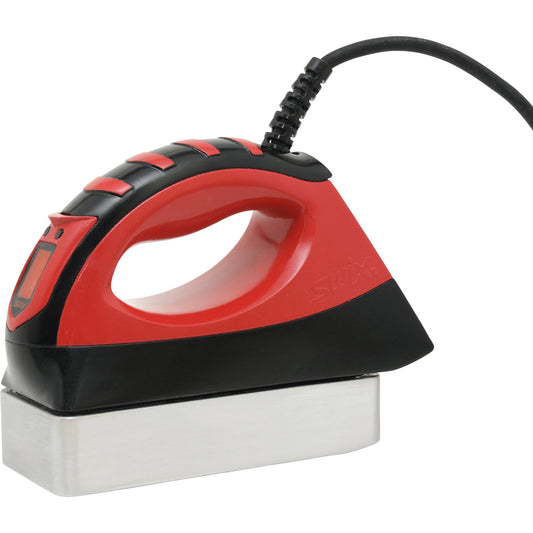
Kuu Iron Maiden Iron
Regular price $100.00 CADRegular price -
HWK ALU Groove Scraper
Regular price $75.00 CADRegular price -
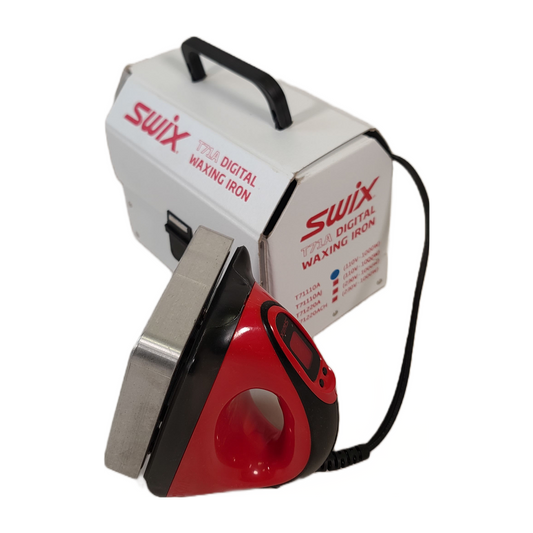
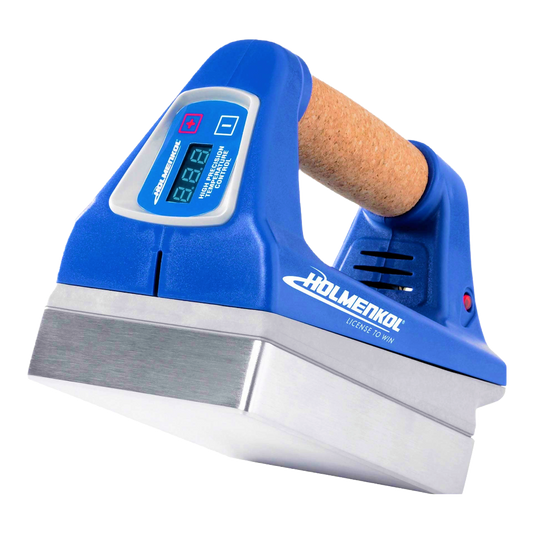
Swix T71 Alpine WC Digital Waxing Iron
Regular price $800.00 CADRegular price -
Holmenkol Electric RacingWaxer 110V
Regular price $351.00 CADRegular price -
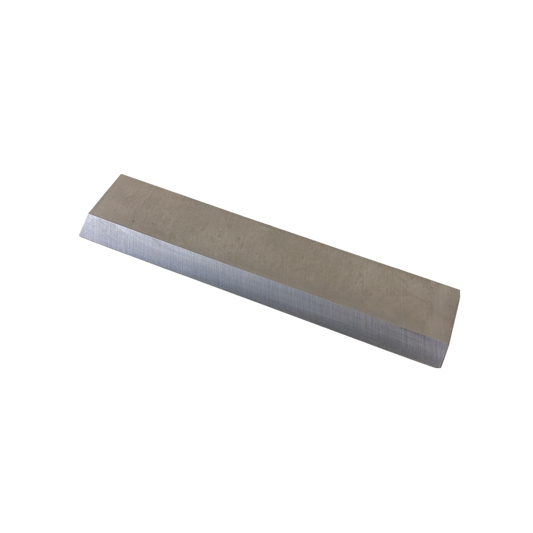
Rode Steel Blade
Regular price $62.00 CADRegular price -
Swix T70 Extreme Digital Waxing Iron
Regular price $990.00 CADRegular price -
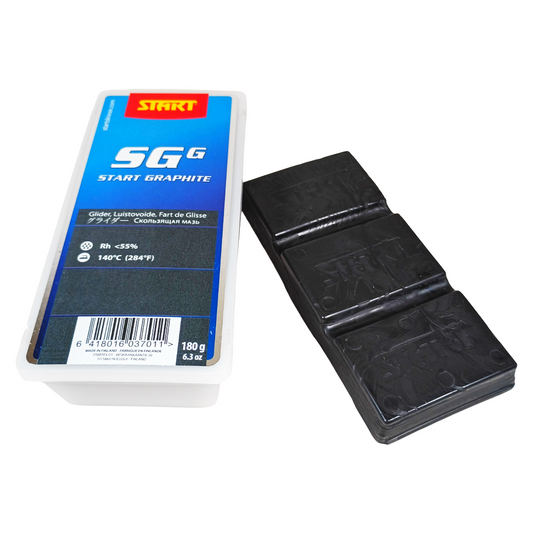
Start SG Glider Graphite Melt Wax
Unit price $0.29 - $0.33 per gRegular price From $30.00 CADRegular priceStart SG Glider Graphite Melt Wax
Unit price $0.29 - $0.33 per gRegular price From $30.00 CADRegular priceStart SG Glider Graphite Melt Wax
Unit price $0.29 - $0.33 per gRegular price From $30.00 CADRegular price -
Toko Wax Machine 110V
Regular price $600.00 CADRegular price -
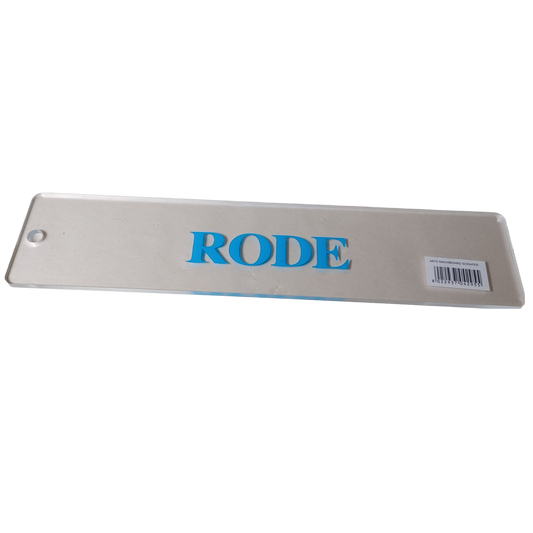
Rode Snowboard Plexiglass Scraper
Regular price $48.00 CADRegular price -
Kuu Iron Maiden Digital Iron
Regular price $144.00 CADRegular price -
Holmenkol Digital RacingWaxer 25mm Plate 110V
Regular price $1,035.00 CADRegular price