Ski Base Preparation of the Glide Zones
Whether you have a brand new pair of skis, freshly stone ground skis, or skis requiring maintenance after 200-300km on the trails, going through a base preparation process will clean out any dust or dirt, saturate and harden the base and get the skis prepped for speed. The base glide wax preparation process is the best way to maintain the health of your ski bases so they'll treat you to many years of fast glide. You'll also get the most out of any subsequent wax applications since a saturated and hardened base will provide an optimal anchor or any waxes you apply on top. Do not do this process to the 45cm to 70cm long kick zone on your waxable classic skis - glide wax and kick wax should not be mixed!
How-To Video
Step-by-Step
1) Begin by scraping a brushing out your base as thoroughly as possible. Use metal brushes if you have them.
2) Clean your entire base with a liquid base cleaner or wax remover. Wipe as much dirt and dust off with Fiberlene or a shop towel.
3) Using a piece of Fibertex, energetically rub down the entire glide zone to remove any microscopic hairs or burrs in the base. Pink paper is also great for this. Then, repeat step 2 with a liquid base cleaner or wax remover and wipe away the dirt & dust. Let the solvents dry before continuing.
4) Next, apply a base preparation wax. You can use a hot box for this, or use a base preparation oil. Most people melt a thick layer of the softest yellow paraffin wax they can find with an iron set to the temperature recommended by the wax manufacturer.
5) Optionally, before the yellow wax has had a chance to cool, you can gently scrape and observe how much dust/dirt comes up with the not-quite-solid wax. This is called hot-scraping and it's a way to clean even more dirt or dust from your ski bases. If a lot of dirt comes up, melt and hot-scrape another layer of yellow wax. No need to brush.
6) Once, the yellow wax comes off clean, apply another layer of yellow wax and let it cool for about 10 minutes. Scrape off the wax. There's no need to brush yet.
7) Harden the base: Iron on a layer of a harder melt wax. A blue, green, graphite or base wax is ideal for this. Some folks sandwich a layer of violet wax between the yellow and blue/green/base or graphite wax. Let the layer of wax cool for 10 minutes then scrape and brush with a metal brush.
8) Repeat step 7 up to two more times. The more layers of hard blue, green, graphite or base wax you get into the ski base the better. Returns diminish after the third layer of hard melt wax. Finish the process with a nylon brush.
Products for Ski Base Preparation of the Glide Zones
-
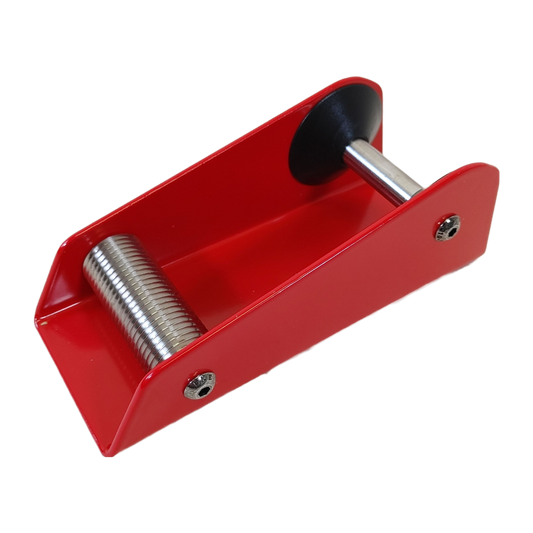
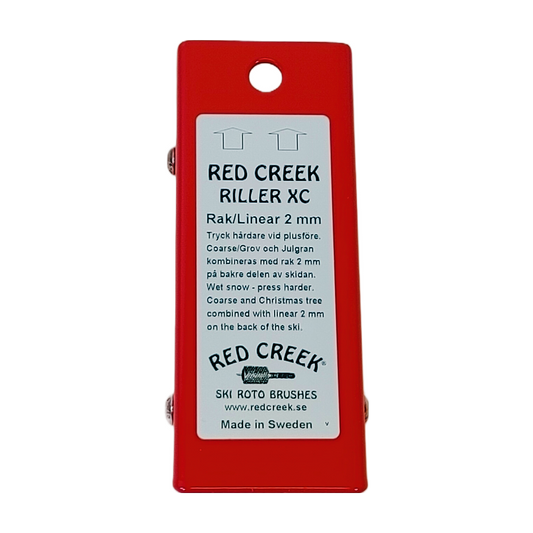
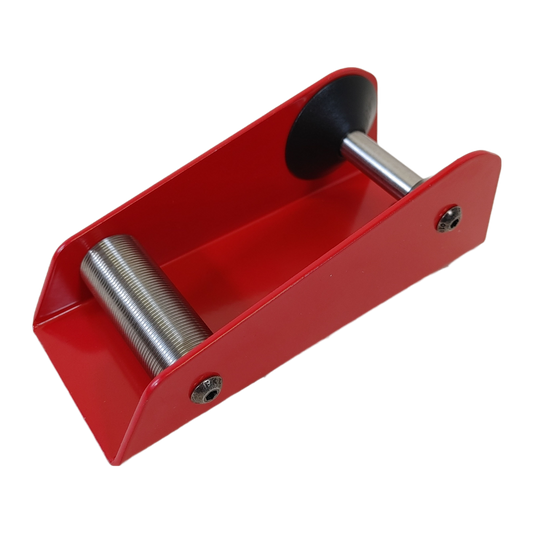
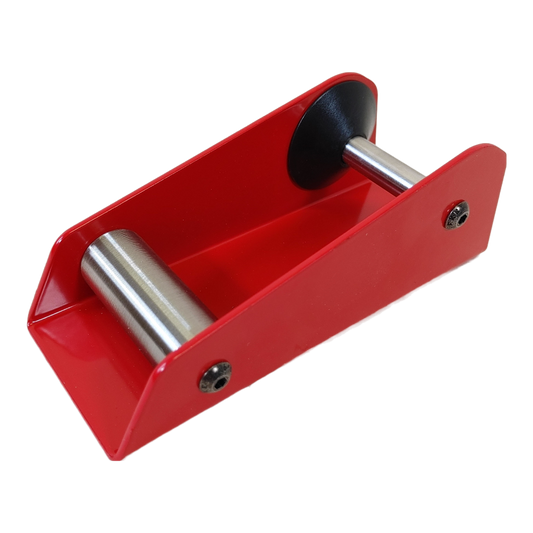
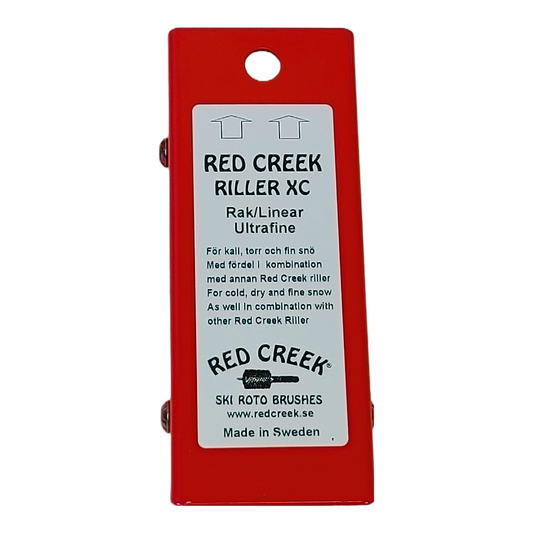
Red Creek Riller: Linear 2 mm
Regular price $209.97 CADRegular priceUnit price / per$0.00 CADSale price $209.97 CAD2 in stock -
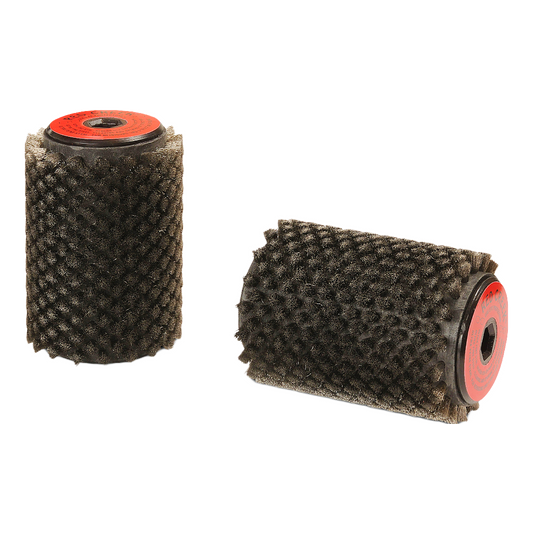
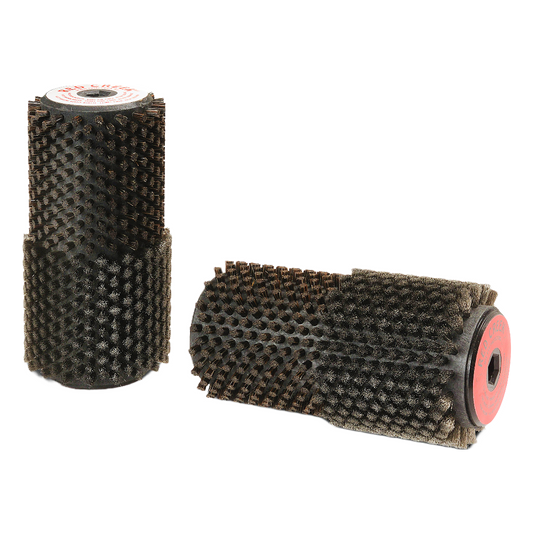
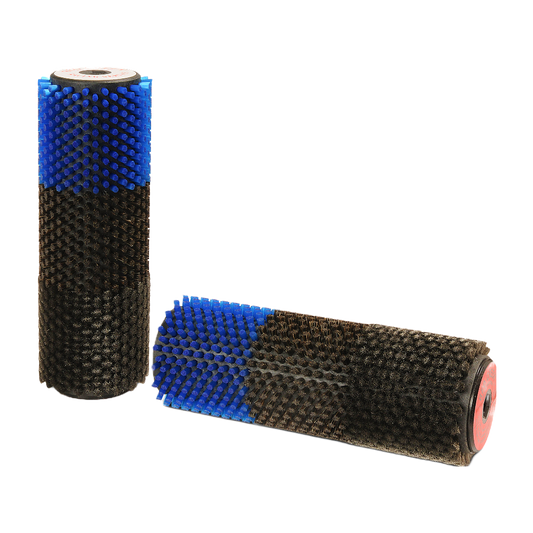
Red Creek Ultrafine Curled Steel 100mm Roto Brush
Regular price $379.97 CADRegular priceUnit price / per$0.00 CADSale price $379.97 CAD2 in stock -
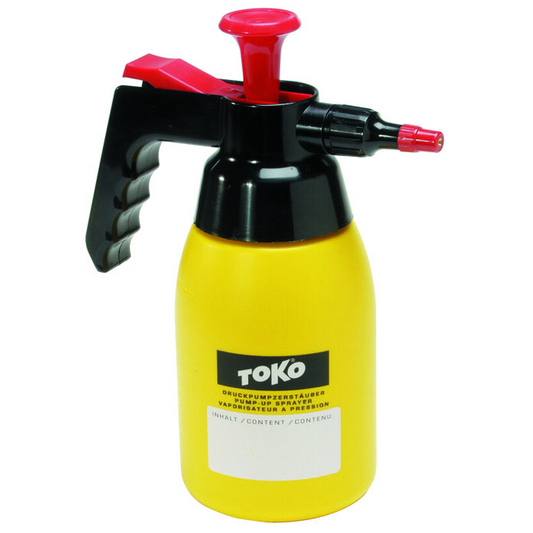
Toko Pump-Up Sprayer
Regular price $80.00 CADRegular priceUnit price / per$0.00 CADSale price $80.00 CAD3 in stock -
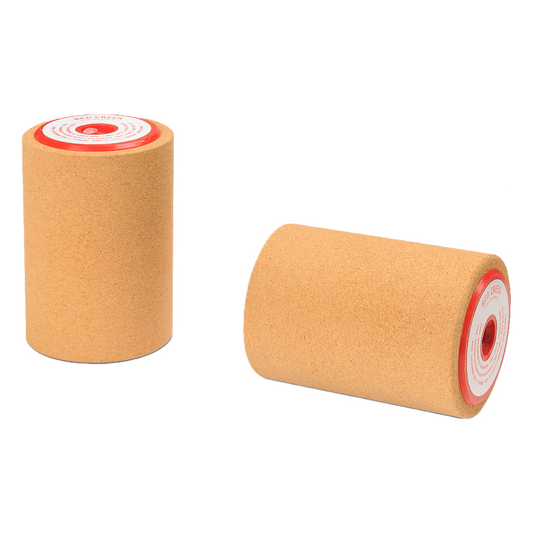
Red Creek Roto Cork 100mm
Regular price $119.97 CADRegular priceUnit price / per$0.00 CADSale price $119.97 CAD3 in stock -
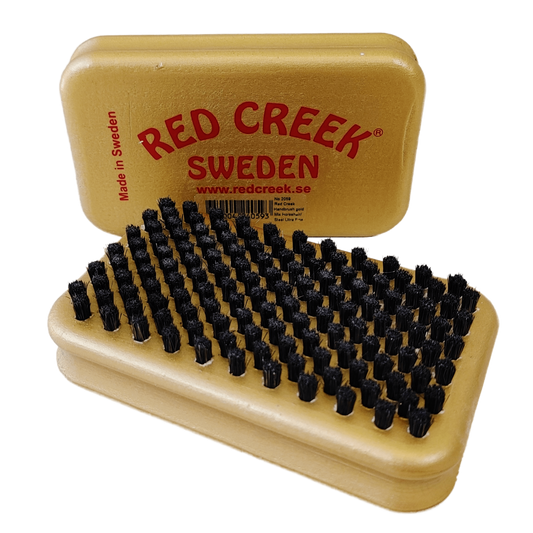
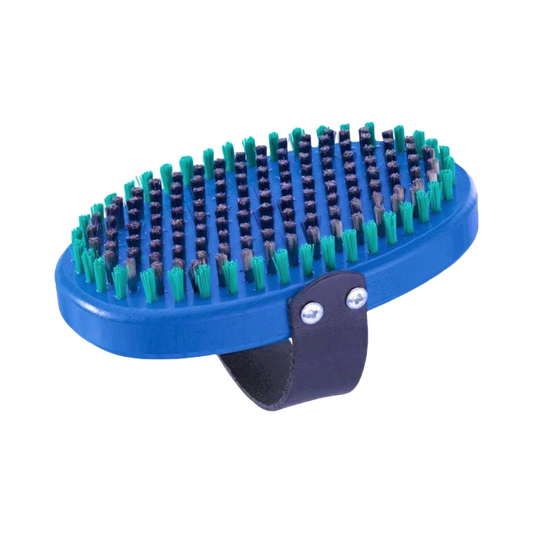
Red Creek Ultrafine Steel/Horsehair Mix Gold Hand Brush
Regular price $119.97 CADRegular priceUnit price / per$0.00 CADSale price $119.97 CAD3 in stock -
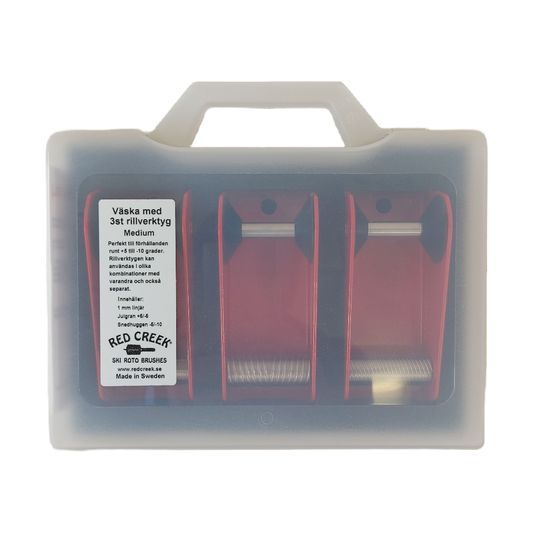
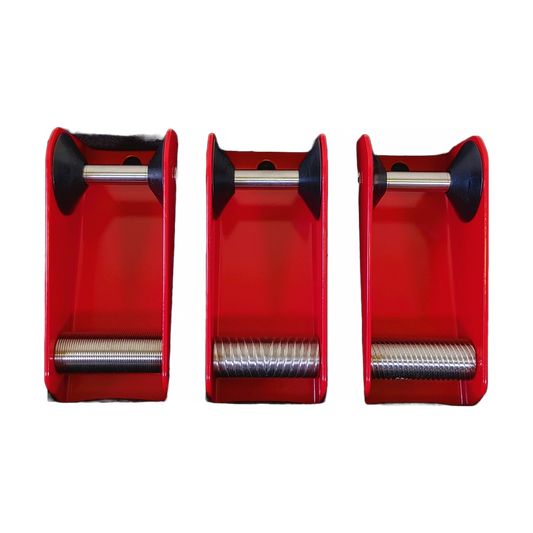
Red Creek Rilling Kit with 3 Rillers (XC Medium)
Regular price $599.97 CADRegular priceUnit price / per$0.00 CADSale price $599.97 CAD2 in stock -
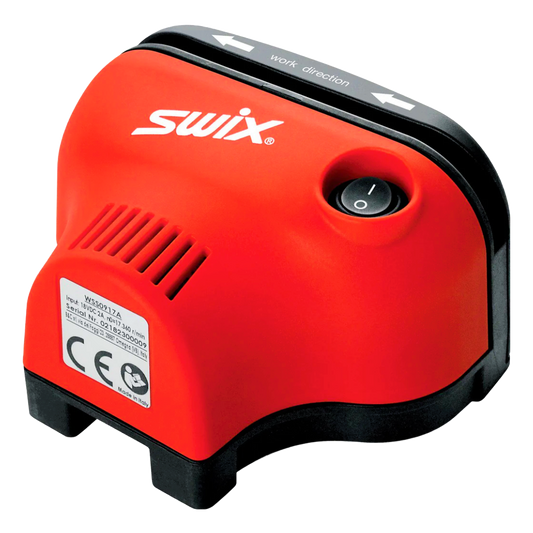
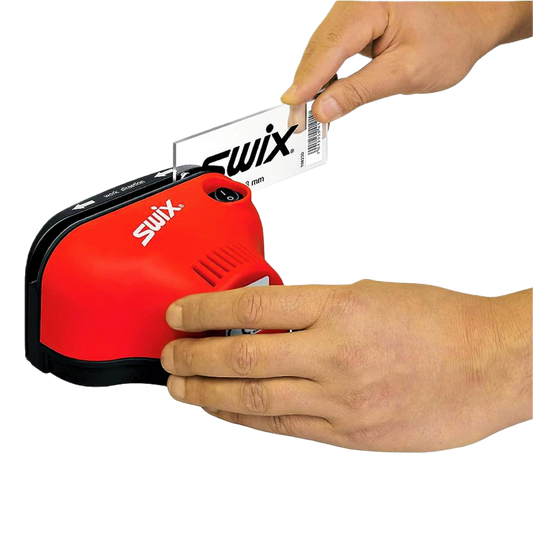
Swix Electric Scraper Sharpener 110V
Regular price $400.00 CADRegular priceUnit price / per$0.00 CADSale price $400.00 CAD2 in stock -
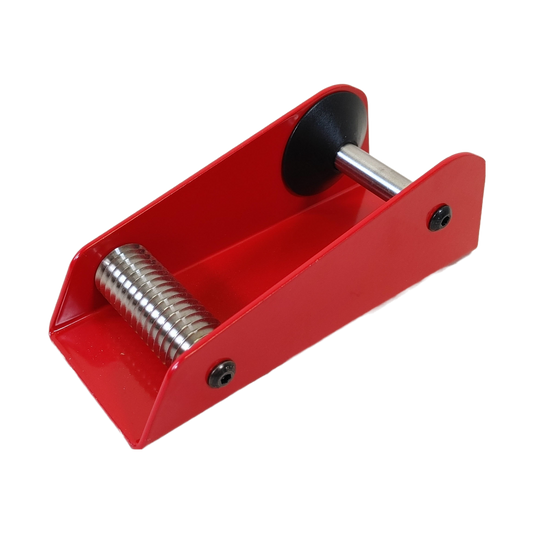
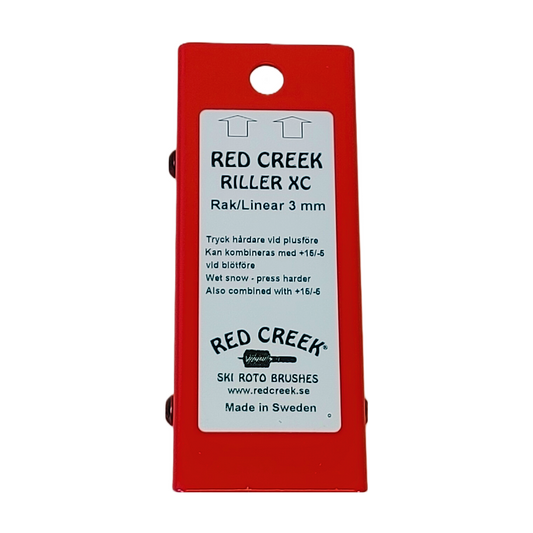
Red Creek Riller: Linear 3 mm
Regular price $209.97 CADRegular priceUnit price / per$0.00 CADSale price $209.97 CAD2 in stock -
Red Creek Fine Steel/6mm Horsehair Combi 140mm Roto Brush
Regular price $379.97 CADRegular priceUnit price / per$0.00 CADSale price $379.97 CAD1 in stock -
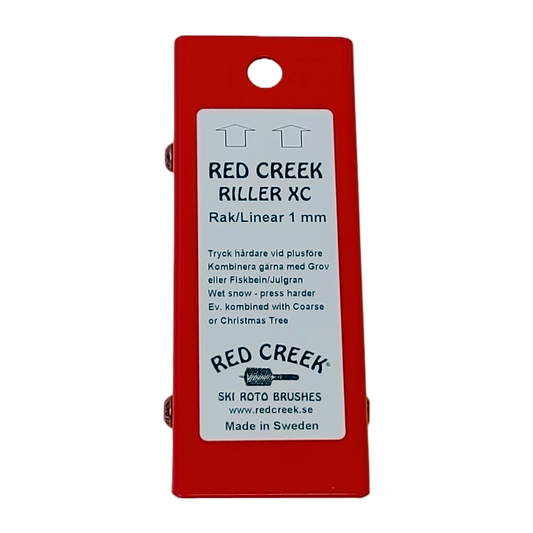
Red Creek Riller: Linear 1 mm
Regular price $209.97 CADRegular priceUnit price / per$0.00 CADSale price $209.97 CAD3 in stock -
Red Creek Riller: Linear Ultrafine
Regular price $209.97 CADRegular priceUnit price / per$0.00 CADSale price $209.97 CAD3 in stock -
Red Creek Ultrafine Steel/6mm Horsehair/Blue Nylon Triple Combi 200mm Roto Brush
Regular price $519.97 CADRegular priceUnit price / per$0.00 CADSale price $519.97 CADPre-Order Available -
Holmenkol OvalBrush Steel MicroFinish
Regular price $251.00 CADRegular priceUnit price / per$0.00 CADSale price $251.00 CADPre-Order Available -
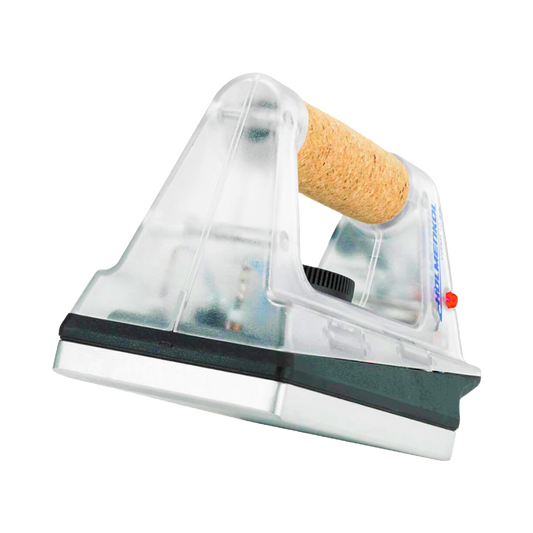
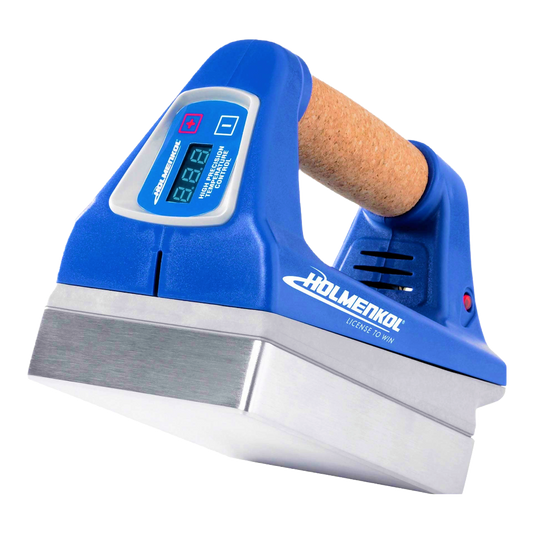
Holmenkol Electric RacingWaxer 110V
Regular price $347.50 CADRegular priceUnit price / per$0.00 CADSale price $347.50 CAD3 in stock -
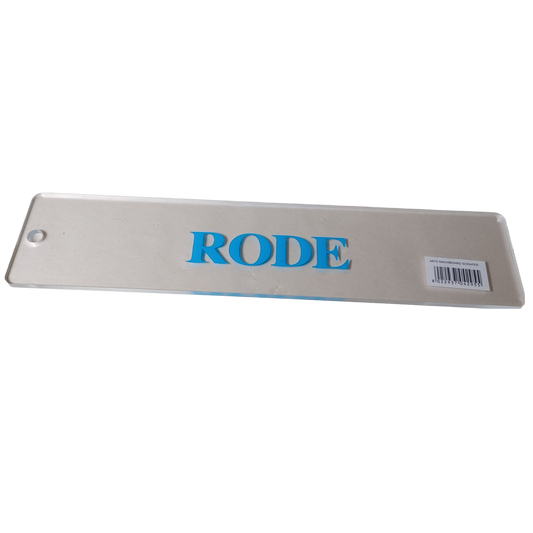
Rode Snowboard Plexiglass Scraper
Regular price $47.96 CADRegular priceUnit price / per$0.00 CADSale price $47.96 CAD3 in stock -
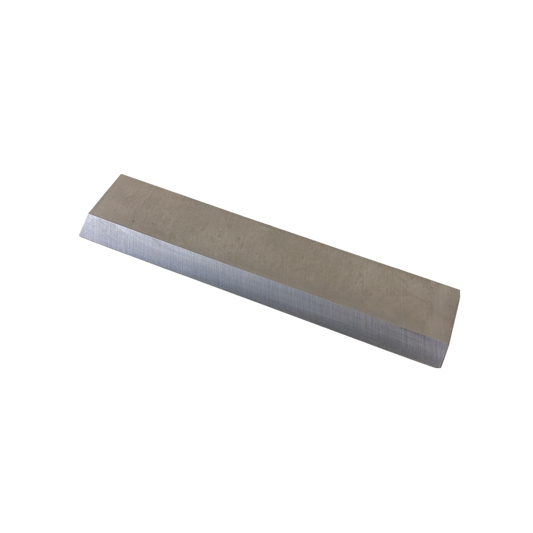
Rode Steel Blade
Regular price $61.96 CADRegular priceUnit price / per$0.00 CADSale price $61.96 CAD3 in stock -
Holmenkol Digital RacingWaxer 25mm Plate 110V
Regular price $1,026.50 CADRegular priceUnit price / per$0.00 CADSale price $1,026.50 CAD1 in stock
Ski Waxing Safety Measures
Safe Ski Waxing: Protect Yourself While Prepping Your Skis
Ski waxing is key to great performance on the snow, but it involves chemicals, heat, dust, and fumes that require careful handling. Prioritizing safety protects your health and ensures the waxing process is both effective and responsible.
Follow these essential safety practices every time you wax:
1. Maximize Ventilation: Fresh Air is Crucial 🌬️
- Why? Hot waxing, solvents, and brushing release fumes and fine dust particles that shouldn't be inhaled.
- Best Practice: Wax outdoors whenever possible.
-
Indoors: Ensure excellent air exchange.
- Work near open windows or doors.
- Use powerful exhaust fans (like range hoods or dedicated extraction systems) vented directly outside.
- Simple fans just circulating air within the room are not sufficient.
- Speak Up: If you're in a shared facility (like a team wax room or event) and ventilation seems poor, notify staff or organizers immediately. If you can strongly smell fumes or wax, ventilation isn't adequate.
2. Protect Your Lungs: Use a Respirator 😷
-
Why? Waxing generates harmful airborne particles and fumes from multiple sources:
- Smoke/fumes from hot waxing irons or machines.
- Dust from scraping and brushing wax.
- Vapors from evaporating solvents in liquid waxes and cleaners.
- Dust from fleece/wool application methods.
- Fumes from heating grip waxes and klisters.
-
Action: Wear a respirator suitable for both particulates (dust) and organic vapors (fumes/solvents).
- Look for respirators with P100 particulate filters combined with organic vapor cartridges.
- Ensure a proper fit. Facial hair can prevent a good seal.
- Replace filters and cartridges according to the manufacturer's recommendations or when you notice smell/taste breakthrough or increased breathing resistance.
3. Protect Your Eyes: Wear Safety Glasses 👓
- Why? Dust, flying wax particles, and potential splashes from cleaners can irritate or injure your eyes.
- Action: Always wear safety glasses or goggles. A full-face respirator also provides eye protection.
4. Protect Your Skin: Wear Gloves 🧤
- Why? Waxes and solvents contain chemicals that can be absorbed through the skin or cause irritation.
- Action: Wear chemical-resistant gloves (nitrile gloves are a common and effective choice). This keeps your hands clean and prevents direct skin contact with potentially harmful substances.
5. Maintain a Safe Wax Room Environment 🚫
- Control Access: Only those actively involved in waxing should be in the immediate waxing area to minimize exposure for others.
- No Food or Drink: Never eat, drink, smoke, or store food in the waxing area. This prevents accidental ingestion of harmful residues.
- Cleanliness: Keep your workspace tidy. Clean up spills immediately and manage wax scrapings (see next point).
6. Handle Wax Waste Responsibly ♻️
- Why? Wax shavings and dust contain the same chemicals you're protecting yourself from during application. Proper disposal protects the environment and prevents contamination.
-
Action:
- Collect all wax shavings, dust, and used cleaning materials (paper towels, rags).
- Place them promptly into a sealed plastic bag or designated waste container.
- Dispose of according to local regulations. (Note: Regulations for fluorinated wax disposal might be stricter in some areas – check local rules).
7. Control Your Iron Temperature 🔥
- Why? Overheating wax creates significantly more fumes and can damage your ski base.
- Action: Always use the wax manufacturer's recommended temperature for your specific wax. Don't guess!
8. Handle Cleaners & Solvents with Extra Care 🧪
- Why? Base cleaners and liquid waxes often contain volatile organic compounds (VOCs) that are easily inhaled and can be flammable.
-
Action:
- Use solvents and cleaners sparingly.
- Ensure maximum ventilation when applying them.
- Keep containers sealed when not in use.
- Crucially: Keep solvents far away from heat sources like your waxing iron, space heaters, or open flames.
Your Health Comes First!
By consistently following these safety protocols, you protect yourself from potential respiratory issues, skin irritation, and other health effects. Safe waxing allows you to focus on getting the best performance from your skis and fully enjoy your time on the snow.

