Crayon and Cork Grip Waxes
Grip waxes that come in tins can be called "Hardwax", "Drywax" or "Kick Wax" depending on your location. Hardwaxes can be applied by crayoning them into the grip zone of a waxable classic ski, then corking in the layer of wax with a grip wax cork.
How-To Video
Step-by-Step
1) Check your skis for grip zone markers on your classic wax skis. Kick wax is only applied to the zone under the binding of the ski leaving the tips and tails of the ski free for glide waxing. A good grip zone is between 45cm and 70 cm long but will vary depending on the stiffness of your skis (the camber). Your local ski shop can help you find your grip zones, or you can use the zones pre-marked on the sidewalls of your skis. Use a permanent marker to redefine your grip zones as often as you can and experiment with extending your grip zone further forwards or backward to find the right feel while skiing.
2) Prepare your grip zone by cleaning it with wax remover and roughing it with sandpaper. If you're unsure how to do this, check out the instructions here: https://skiwax.ca/collections/cleaning-grip-zones
To prevent grip and glide wax from mixing, you can use masking tape to separate your grip zone from your glide zone.
3) If the snow is icy or you plan on skiing more than 10km, apply a base binder by following the steps here: https://skiwax.ca/collections/base-binder-application
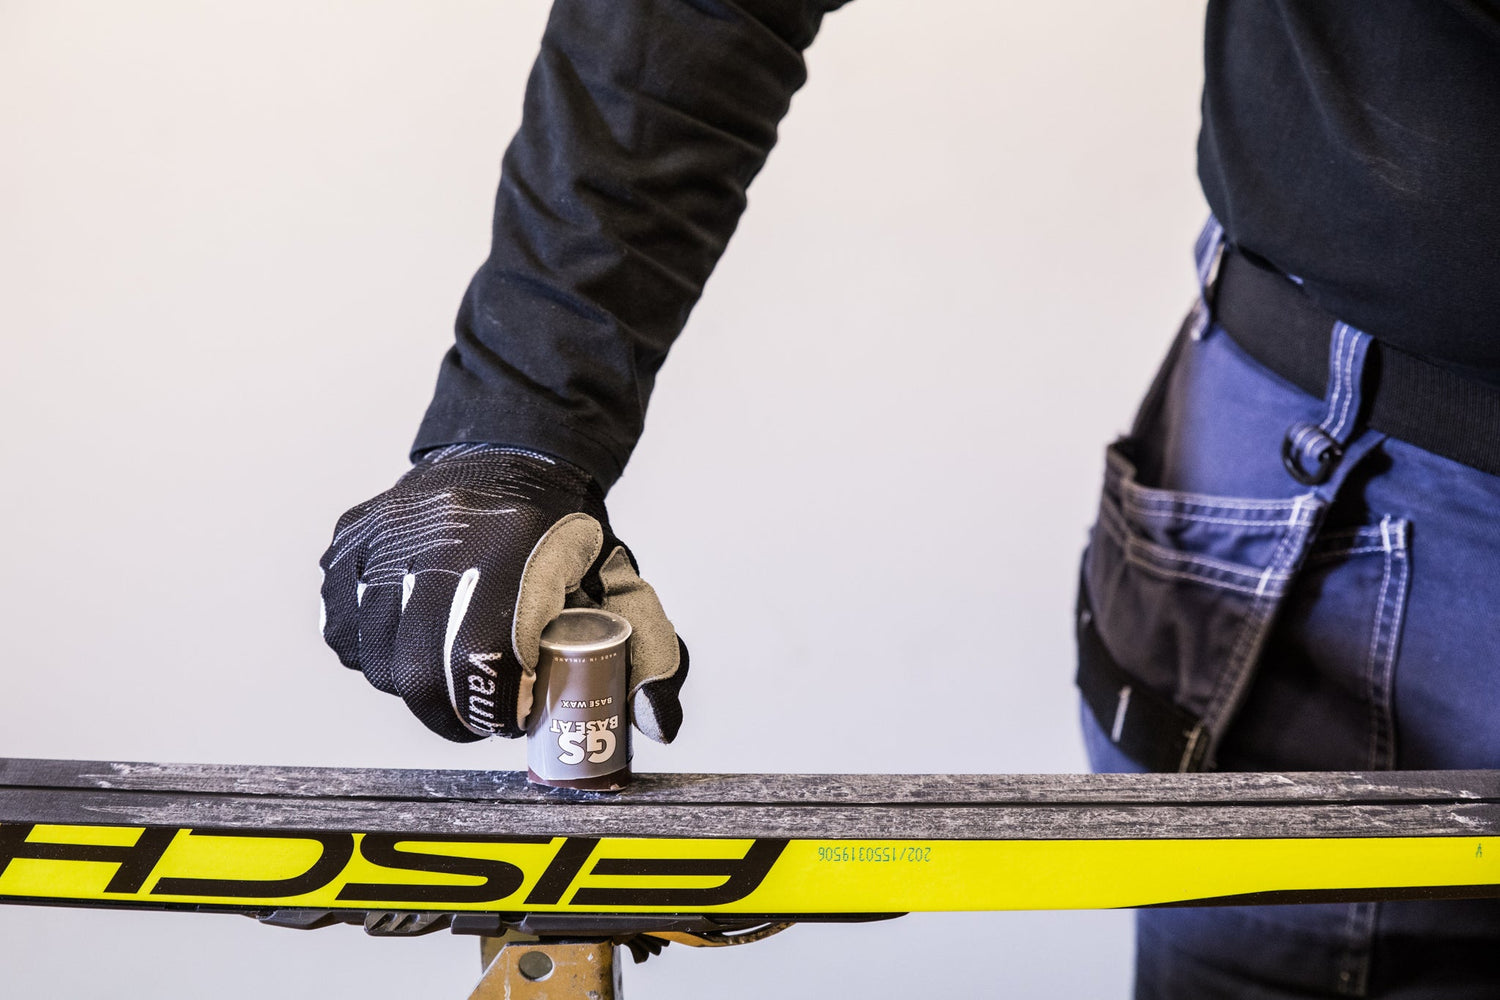
4) Crayon on a thin, even layer of hardwax over the entire grip zone. Use the wax tin like a crayon!
5) Using a cork dedicated to either warm kick wax or cold wax, (it's a good idea to have a couple of corks: one for warm wax and another for cold wax to avoid cross-contamination between sticky and not-so-sticky waxes) cork in the layer of wax. The goal is to make each layer of wax good and smooth. Some waxes will become transparent when they are adequately corked.
6) Crayon and cork 2-6 layers of hardwax - until you reach the desired thickness. With kick waxes for warmer temperatures, having thicker layers than you'd normally use is important to achieve the same level of grip. With each successive layer of grip wax, shorten the length of the layer until you're only putting a short layer just in front of the toe. You're now ready to head out and ski!
7) Once you've wrapped up skiing, it might be a good idea to clean the grip wax off your skis. Check out the instructions on how to clean up sticky grip wax pockets here: https://skiwax.ca/collections/cleaning-grip-zones
Products for Crayon and Cork Grip Waxes
-
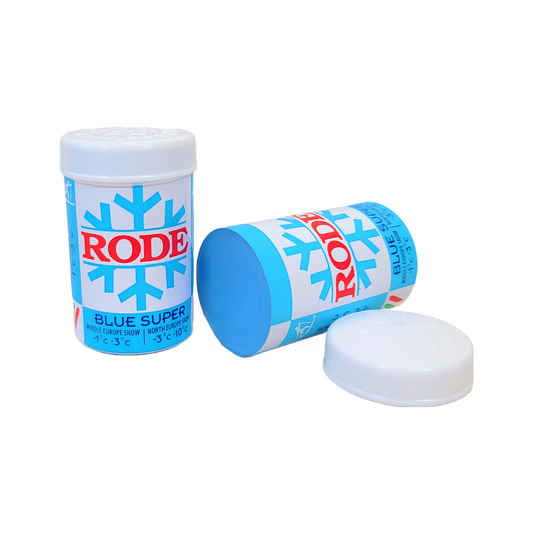
Rode Blue Super Hardwax P32 | 45g (-1C/-10C)
Regular price $16.96 CADRegular priceUnit price / per$0.00 CADSale price $16.96 CAD105 in stock -
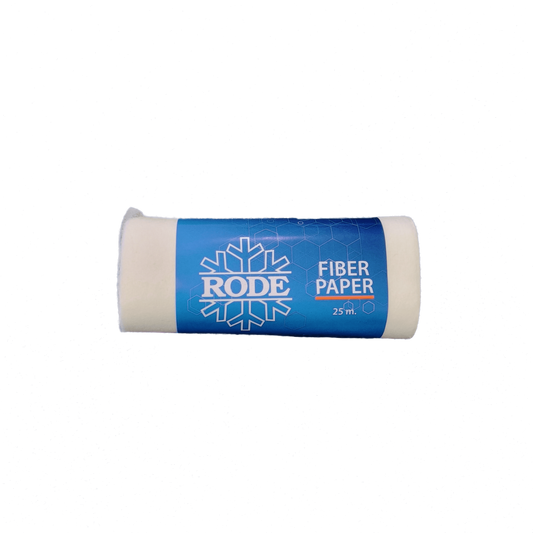
Rode Fiber Paper | 25m
Regular price $17.96 CADRegular priceUnit price / per$0.00 CADSale price $17.96 CAD188 in stock -
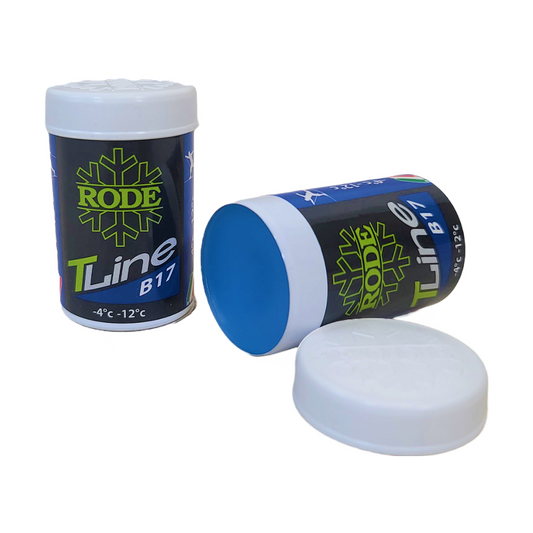
Rode Top Line Hardwax B17 | 45g (-4C/-12C)
Regular price $33.96 CADRegular priceUnit price / per$0.00 CADSale price $33.96 CAD73 in stock -
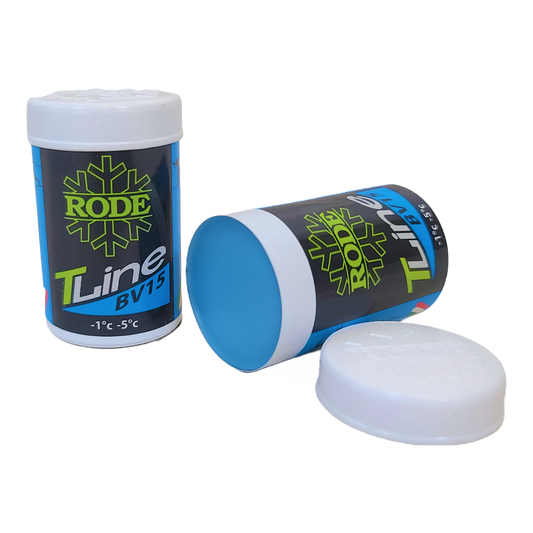
Rode Top Line Hardwax BV15 | 45g (-1C/-5C)
Regular price $33.96 CADRegular priceUnit price / per$0.00 CADSale price $33.96 CAD84 in stock -
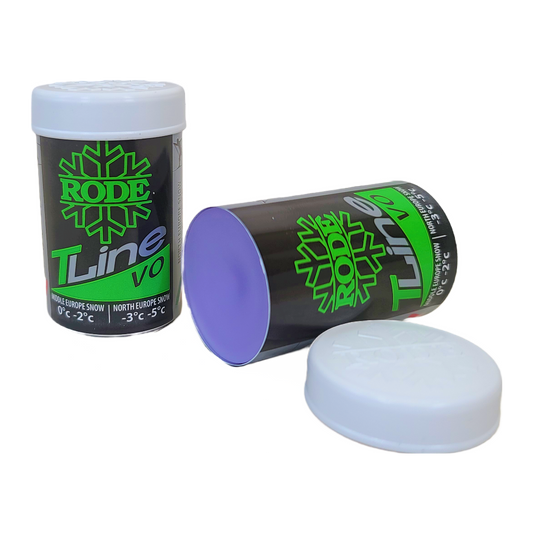
Rode Top Line Hardwax VO | 45g (0C/-5C)
Regular price $33.96 CADRegular priceUnit price / per$0.00 CADSale price $33.96 CAD62 in stock -
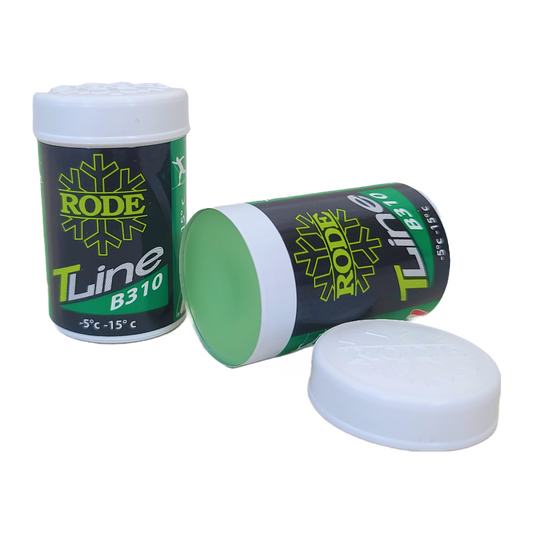
Rode Top Line Hardwax B310 | 45g (-5C/-15)
Regular price $33.96 CADRegular priceUnit price / per$0.00 CADSale price $33.96 CAD84 in stock -
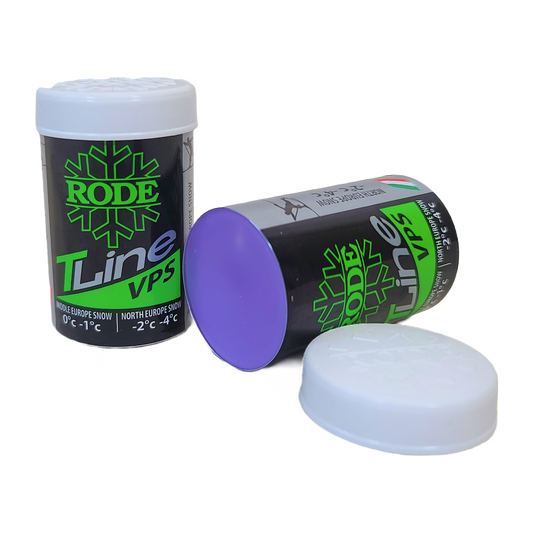
Rode Top Line Hardwax VPS | 45g (0C/-4C)
Regular price $33.96 CADRegular priceUnit price / per$0.00 CADSale price $33.96 CAD76 in stock -
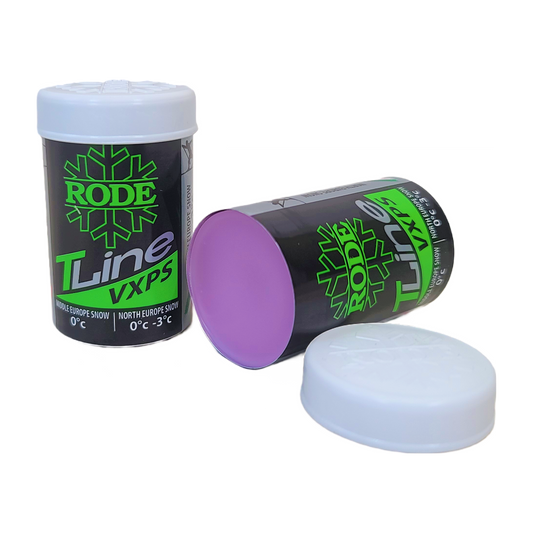
Rode Top Line Hardwax VXPS | 45g (0C/-3C)
Regular price $33.96 CADRegular priceUnit price / per$0.00 CADSale price $33.96 CAD64 in stock -
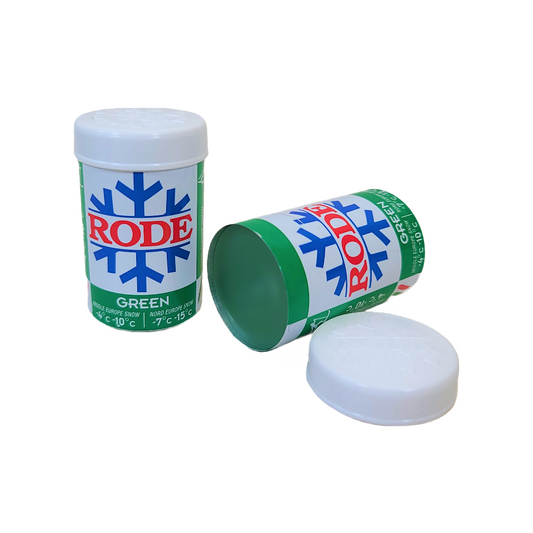
Rode Green Hardwax P20 | 45g (-4C/-15C)
Regular price $16.96 CADRegular priceUnit price / per$0.00 CADSale price $16.96 CAD104 in stock -
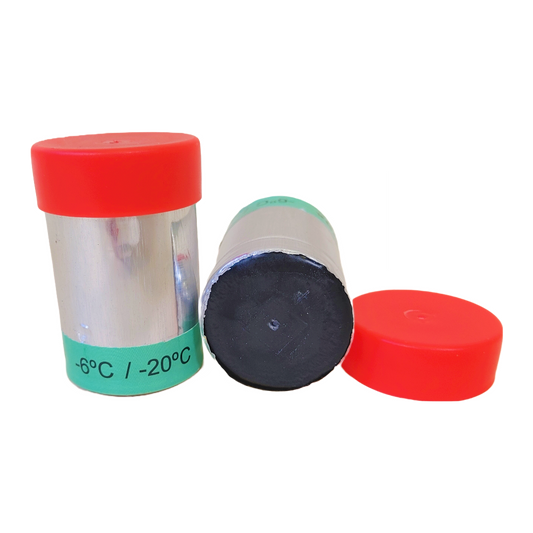
Guru Green Hardwax (-6C/-20C) | 45g
Regular price $40.00 CADRegular priceUnit price / per$0.00 CADSale price $40.00 CAD12 in stock -
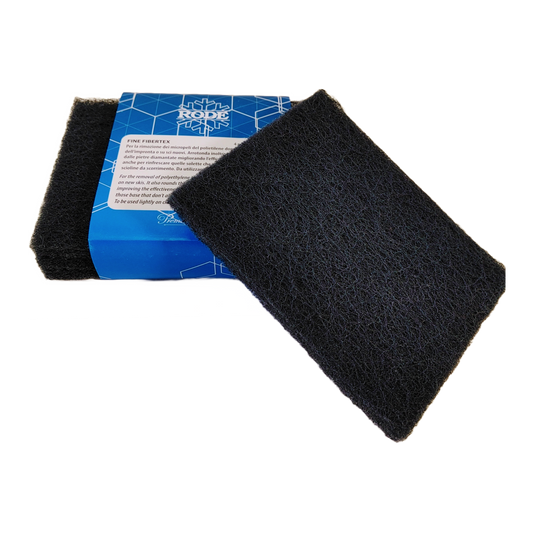
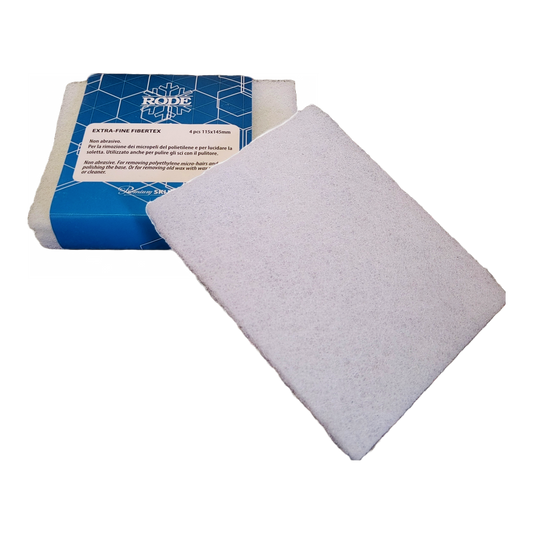
Rode FiberTex
Regular price From $13.96 CADRegular priceUnit price / per$0.00 CADSale price From $13.96 CAD28 in stockRode FiberTex
Regular price From $13.96 CADRegular priceUnit price / per$0.00 CADSale price From $13.96 CADRode FiberTex
Regular price From $13.96 CADRegular priceUnit price / per$0.00 CADSale price From $13.96 CAD -
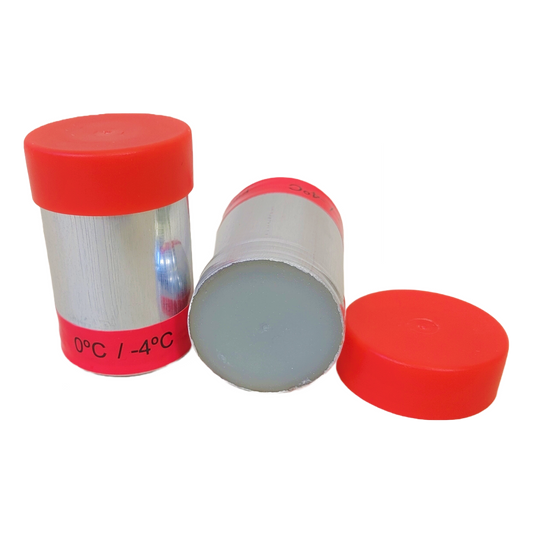
Guru Red Hardwax (0C/-4C) | 45g
Regular price $40.00 CADRegular priceUnit price / per$0.00 CADSale price $40.00 CAD8 in stock -
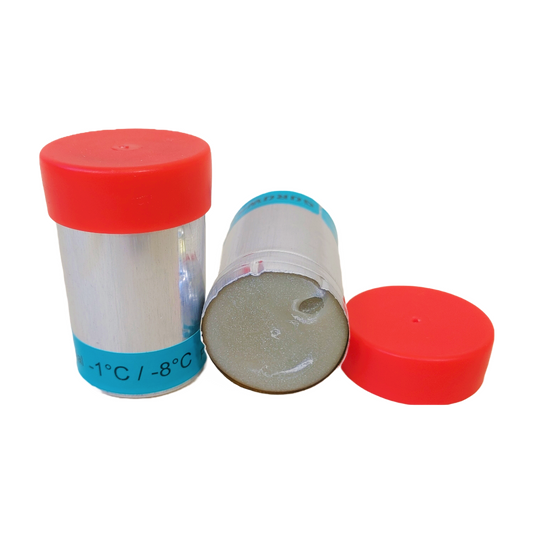
Guru Blue Special Hardwax (-1C/-8C) | 45g
Regular price $40.00 CADRegular priceUnit price / per$0.00 CADSale price $40.00 CAD20 in stock -
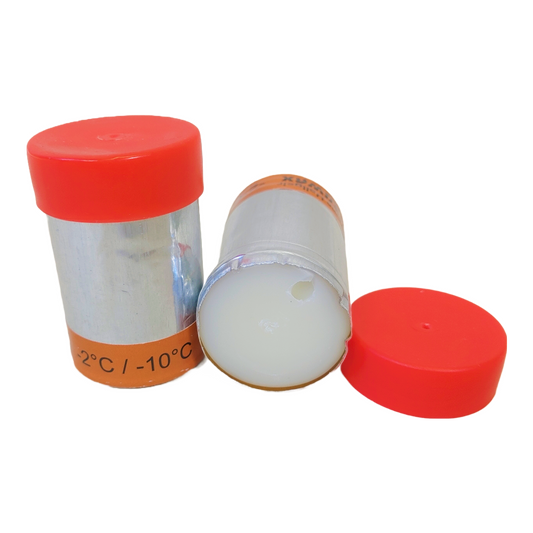
Guru Extreme Hallgeir Hardwax (-2C/-10C) | 45g
Regular price $40.00 CADRegular priceUnit price / per$0.00 CADSale price $40.00 CAD23 in stock -
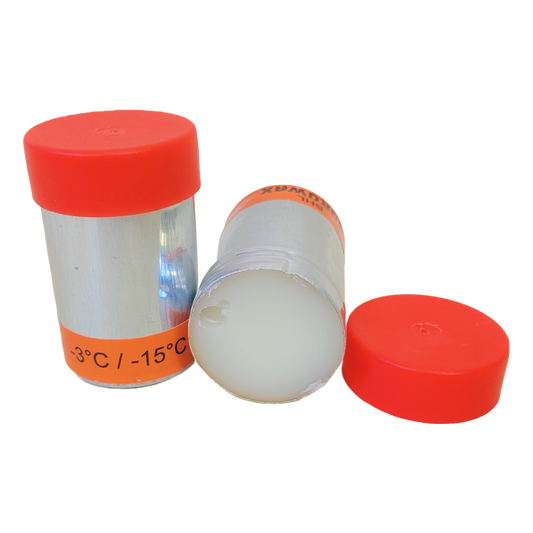
Guru Super Hallgeir Hardwax (-3C/-15C) | 45g
Regular price $40.00 CADRegular priceUnit price / per$0.00 CADSale price $40.00 CAD16 in stock -
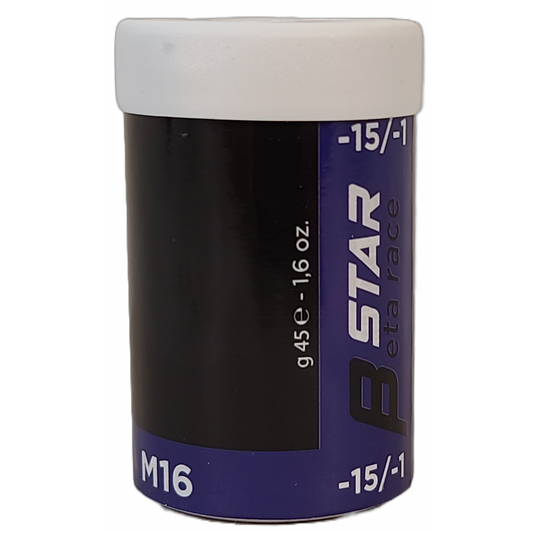
STAR M16 BETA Hardwax | (-1C/-15C)
Regular price $52.00 CADRegular priceUnit price / per$0.00 CADSale price $52.00 CAD28 in stock -
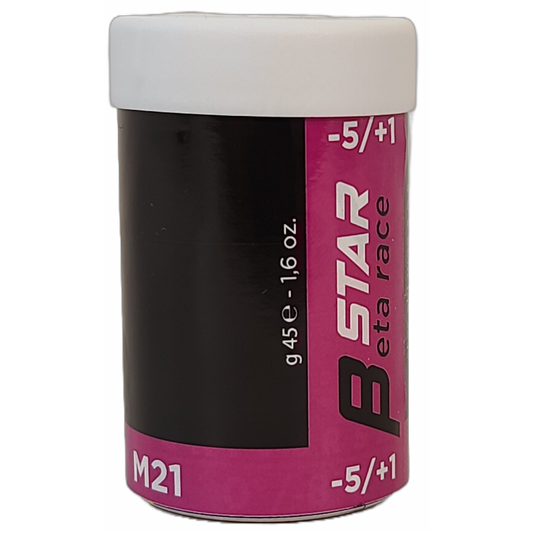
STAR M21 BETA Hardwax | (1C/-5C)
Regular price $52.00 CADRegular priceUnit price / per$0.00 CADSale price $52.00 CAD29 in stock -
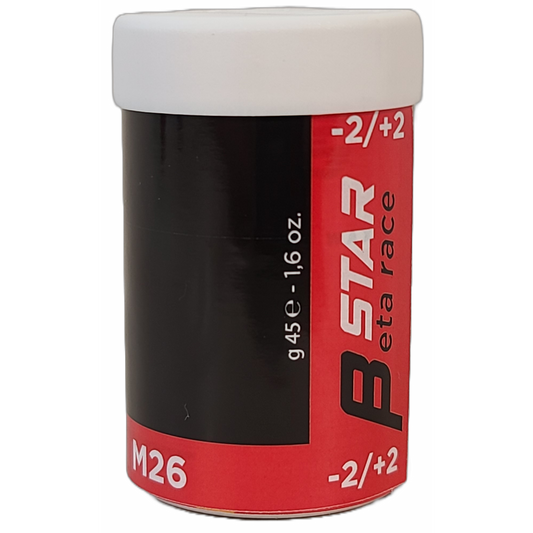
STAR M26 BETA Hardwax | (2C/-2C)
Regular price $52.00 CADRegular priceUnit price / per$0.00 CADSale price $52.00 CAD30 in stock -
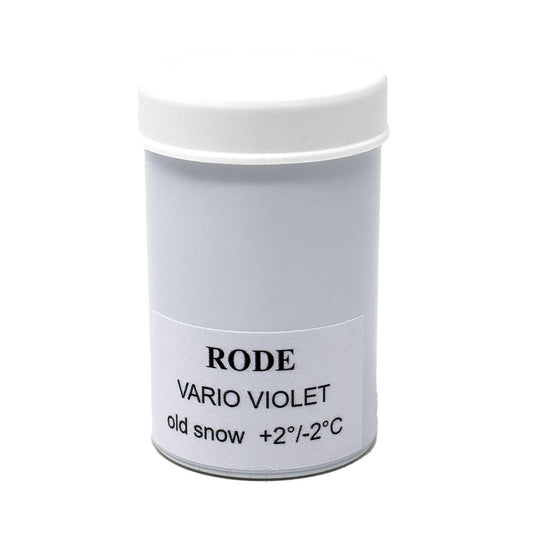
Rode Vario Violet Hardwax (2C/-2C) | 45g
Regular price $33.96 CADRegular priceUnit price / per$0.00 CADSale price $33.96 CAD34 in stock -
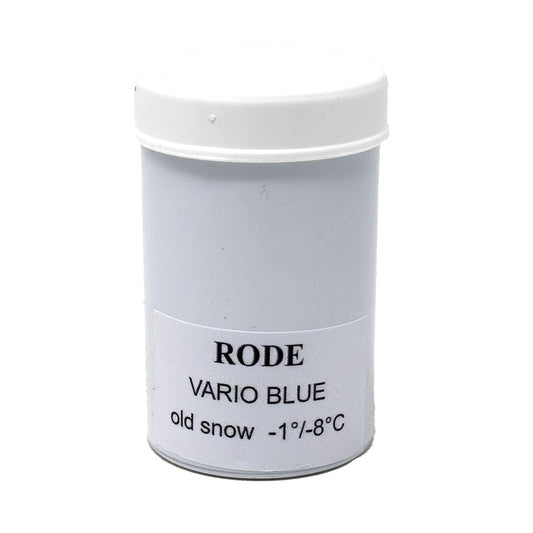
Rode Vario Blue Hardwax (-1C/-8C) | 45g
Regular price $33.96 CADRegular priceUnit price / per$0.00 CADSale price $33.96 CAD33 in stock -
Shop Towel for Ski & Snowboard Waxing
Regular price $6.95 CADRegular priceUnit price / per$0.00 CADSale price $6.95 CADPre-Order Available -
Rode Apron
Regular price $33.96 CADRegular priceUnit price / per$0.00 CADSale price $33.96 CAD15 in stock -
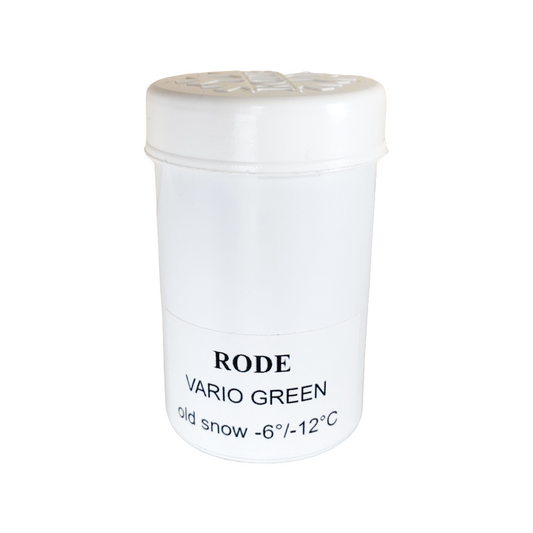
Rode Vario Green Hardwax (-6C/-12C) | 45g
Regular price $33.96 CADRegular priceUnit price / per$0.00 CADSale price $33.96 CAD60 in stock -
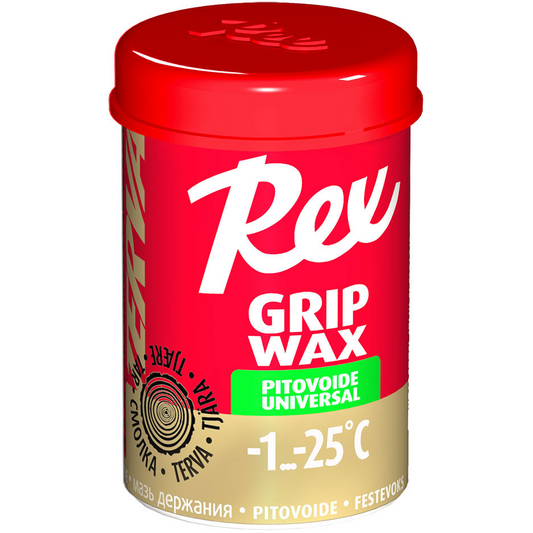
Rex Wax Basic Grip Universal Tar (-1C/-25C) | 45g
Regular price $9.96 CADRegular priceUnit price / per$14.95 CADSale price $9.96 CAD5 in stockSale
Ski Waxing Safety Measures
Safe Ski Waxing: Protect Yourself While Prepping Your Skis
Ski waxing is key to great performance on the snow, but it involves chemicals, heat, dust, and fumes that require careful handling. Prioritizing safety protects your health and ensures the waxing process is both effective and responsible.
Follow these essential safety practices every time you wax:
1. Maximize Ventilation: Fresh Air is Crucial 🌬️
- Why? Hot waxing, solvents, and brushing release fumes and fine dust particles that shouldn't be inhaled.
- Best Practice: Wax outdoors whenever possible.
-
Indoors: Ensure excellent air exchange.
- Work near open windows or doors.
- Use powerful exhaust fans (like range hoods or dedicated extraction systems) vented directly outside.
- Simple fans just circulating air within the room are not sufficient.
- Speak Up: If you're in a shared facility (like a team wax room or event) and ventilation seems poor, notify staff or organizers immediately. If you can strongly smell fumes or wax, ventilation isn't adequate.
2. Protect Your Lungs: Use a Respirator 😷
-
Why? Waxing generates harmful airborne particles and fumes from multiple sources:
- Smoke/fumes from hot waxing irons or machines.
- Dust from scraping and brushing wax.
- Vapors from evaporating solvents in liquid waxes and cleaners.
- Dust from fleece/wool application methods.
- Fumes from heating grip waxes and klisters.
-
Action: Wear a respirator suitable for both particulates (dust) and organic vapors (fumes/solvents).
- Look for respirators with P100 particulate filters combined with organic vapor cartridges.
- Ensure a proper fit. Facial hair can prevent a good seal.
- Replace filters and cartridges according to the manufacturer's recommendations or when you notice smell/taste breakthrough or increased breathing resistance.
3. Protect Your Eyes: Wear Safety Glasses 👓
- Why? Dust, flying wax particles, and potential splashes from cleaners can irritate or injure your eyes.
- Action: Always wear safety glasses or goggles. A full-face respirator also provides eye protection.
4. Protect Your Skin: Wear Gloves 🧤
- Why? Waxes and solvents contain chemicals that can be absorbed through the skin or cause irritation.
- Action: Wear chemical-resistant gloves (nitrile gloves are a common and effective choice). This keeps your hands clean and prevents direct skin contact with potentially harmful substances.
5. Maintain a Safe Wax Room Environment 🚫
- Control Access: Only those actively involved in waxing should be in the immediate waxing area to minimize exposure for others.
- No Food or Drink: Never eat, drink, smoke, or store food in the waxing area. This prevents accidental ingestion of harmful residues.
- Cleanliness: Keep your workspace tidy. Clean up spills immediately and manage wax scrapings (see next point).
6. Handle Wax Waste Responsibly ♻️
- Why? Wax shavings and dust contain the same chemicals you're protecting yourself from during application. Proper disposal protects the environment and prevents contamination.
-
Action:
- Collect all wax shavings, dust, and used cleaning materials (paper towels, rags).
- Place them promptly into a sealed plastic bag or designated waste container.
- Dispose of according to local regulations. (Note: Regulations for fluorinated wax disposal might be stricter in some areas – check local rules).
7. Control Your Iron Temperature 🔥
- Why? Overheating wax creates significantly more fumes and can damage your ski base.
- Action: Always use the wax manufacturer's recommended temperature for your specific wax. Don't guess!
8. Handle Cleaners & Solvents with Extra Care 🧪
- Why? Base cleaners and liquid waxes often contain volatile organic compounds (VOCs) that are easily inhaled and can be flammable.
-
Action:
- Use solvents and cleaners sparingly.
- Ensure maximum ventilation when applying them.
- Keep containers sealed when not in use.
- Crucially: Keep solvents far away from heat sources like your waxing iron, space heaters, or open flames.
Your Health Comes First!
By consistently following these safety protocols, you protect yourself from potential respiratory issues, skin irritation, and other health effects. Safe waxing allows you to focus on getting the best performance from your skis and fully enjoy your time on the snow.

