Properly Mounting a Screw-On Binding
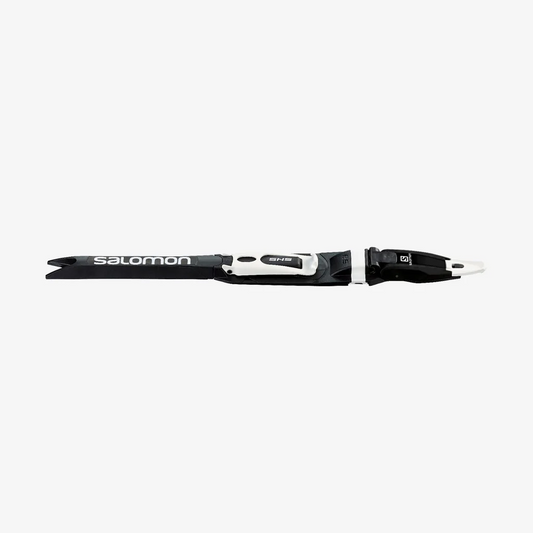
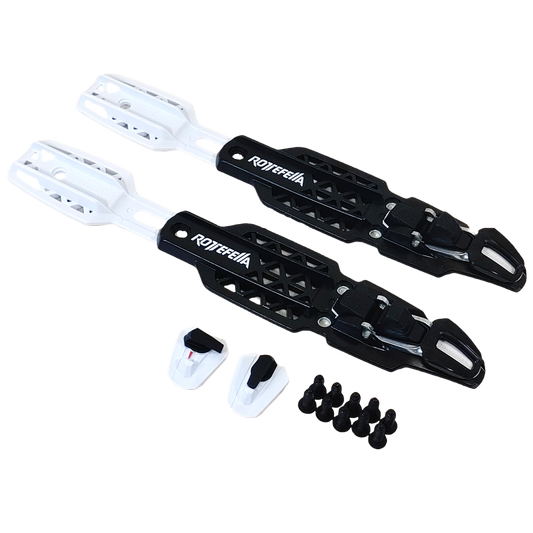
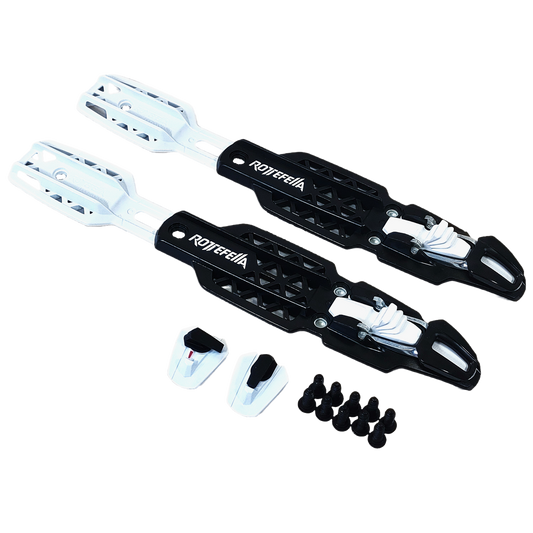
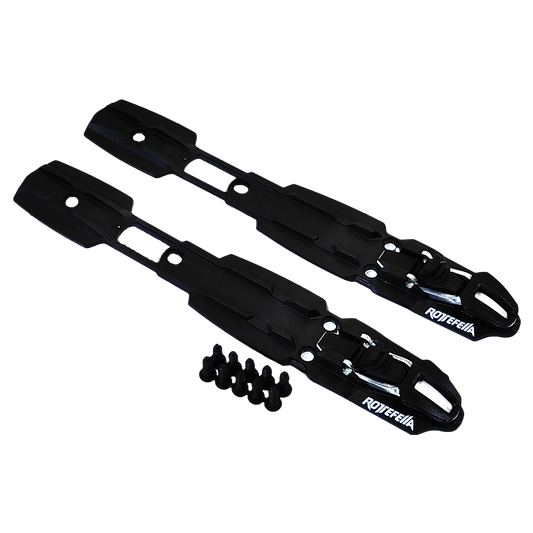
Whether you're taking off an old pair of SNS to replace with NNN or mounting a fresh pair of boards, you need to know how to properly do it. Follow this step-by-step to get it right!
Supplies Needed:
Electric Drill
#2 Phillips Screwdriver or Driver Bit (T20 Torx for some models)
3.5mm or 1/8" Drill Bit
Waterproof Adhesive (eg. ShoeGoo)
Wax Remover (or equivalent cleaner)
Shop Towel or Rag
Permanent Marker
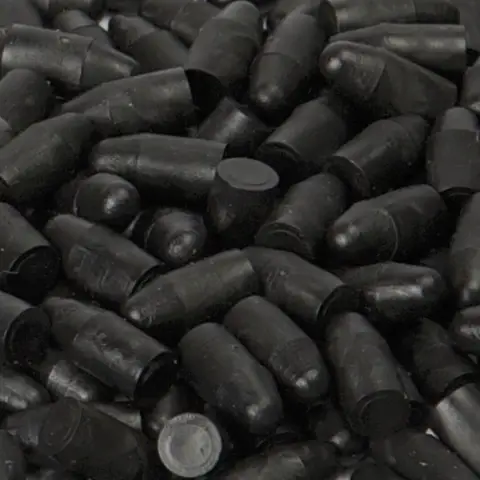
Binding Plugs (if applicable)
How-To Video
Steps may differ in the video from what we recommend!
Step-by-Step
1) Set your skis on a work bench/table large enough to accommodate them comfortably.
2) If you have an old pair of skis that have old bindings on them, remove them with your screwdriver/drill. Take the time to clean the binding mounting area free of dirt and old wax with a wax remover dampened cloth. Let dry.
3) Find the balance point of the ski. Balance the ski on one finger. A classic ski should slowly tip forward, and a skate ski should be perfectly balanced. Mark that balance point on the top of the ski with your permanent marker. Some skis will already have the point marked but double check that it is accurate.
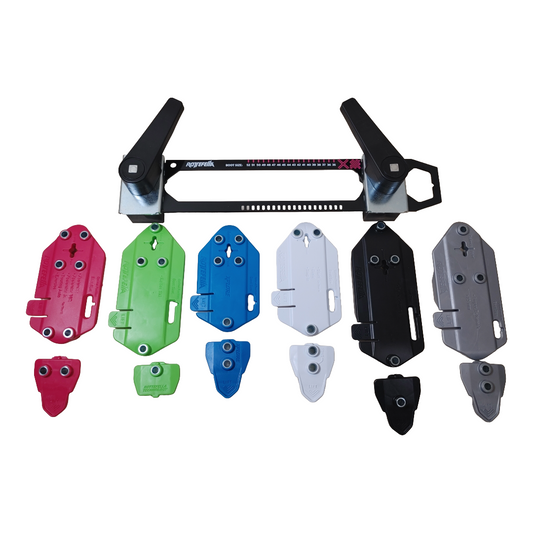
4) Place the binding on the ski at the desired boot size. Place it on so that boot pin latch is directly over the balance point. Ensure the binding is centered on the ski. Using your permanent marker, carefully mark the center of each of the screw holes onto the ski ensuring not to move the binding out of position. After each of the five holes are marked, remove the binding from the ski. Repeat for the second ski. If you have a lot of skis to do, consider buying a binding jig to skip using the binding to mark the ski.
5) Use your drill to drill out the five holes on each ski. No need to go super deep as to avoid going all the way through the base. Wipe away any dust and debris.
6) Put a small dab of your waterproof adhesive over the drilled holes. If you have existing holes in your ski that didn't line up with the new ones, put glue over those holes too and push a binding plug into the hole. This will ensure your ski doesn't fill up with water from the snow and cause your ski to become much heavier.
7) Lower the binding gently back onto the ski so that the screw holes line up with each other. Using your screwdriver or drill, fasten the screws. Generally starting with the front screw, followed but the middle screw, then the heel plate, and finishing with the two front side screws is the best action. This helps to make sure the binding is centered first. Doing the two side screws earlier can cause the binding to pull to one side. Also it is best to put the first two screws in halfway first to stop the binding from spinning and smearing the glue off the drill holes.
8) Wipe any glue off that spilled over the edges. Insert your flexor and any additional covers or stickers that may come with the binding. Let the glue cure overnight before using.
Your bindings are now good to go!
Products for Properly Mounting a Screw-On Binding
-
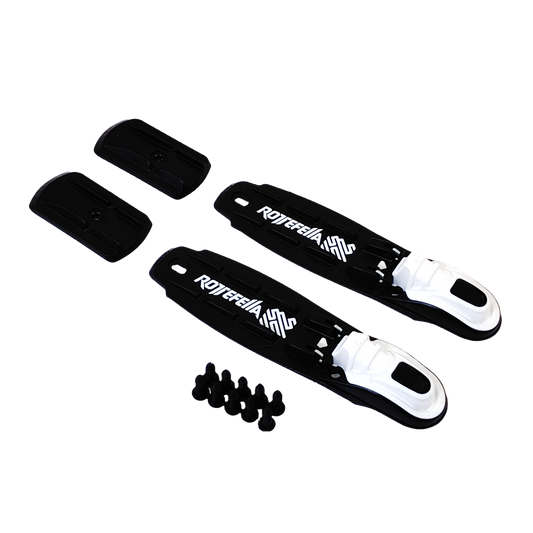
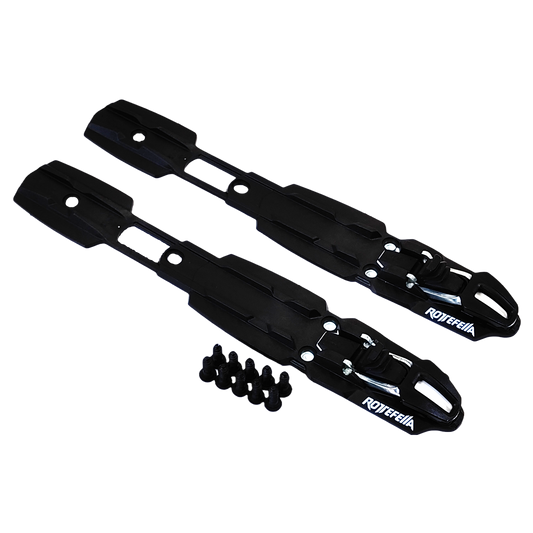
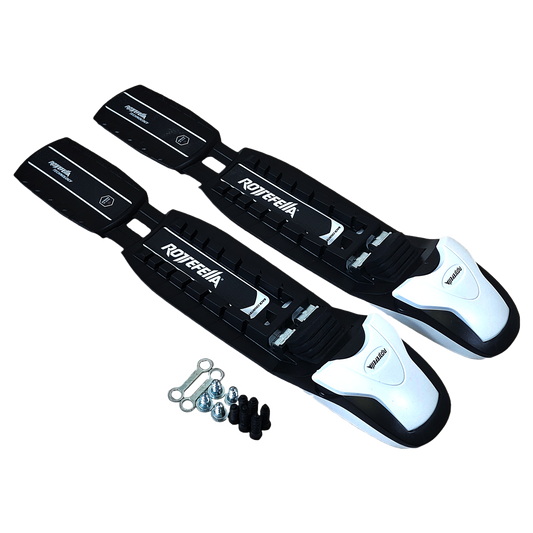
Rottefella Rollerski Skate NNN Bindings (Screw)
Regular price $114.00 CADRegular priceSale price $114.00 CAD203 in stock -
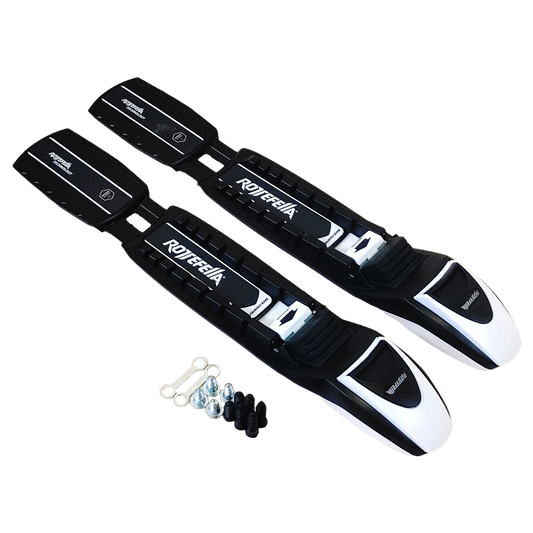
Rottefella Rollerski Classic NNN Bindings (Screw)
Regular price $114.00 CADRegular priceSale price $114.00 CAD112 in stock -
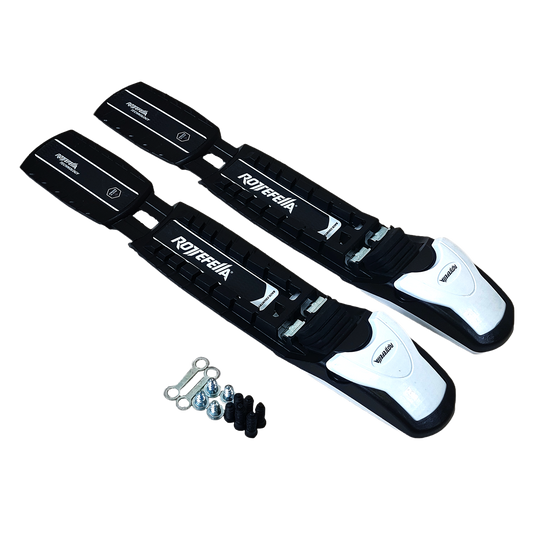
Rottefella Sport Screw NNN Skate Bindings
Regular price $114.00 CADRegular priceSale price $114.00 CAD4 in stock -
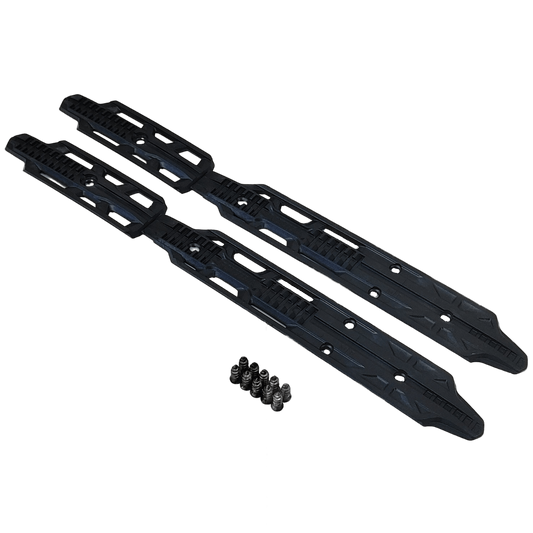
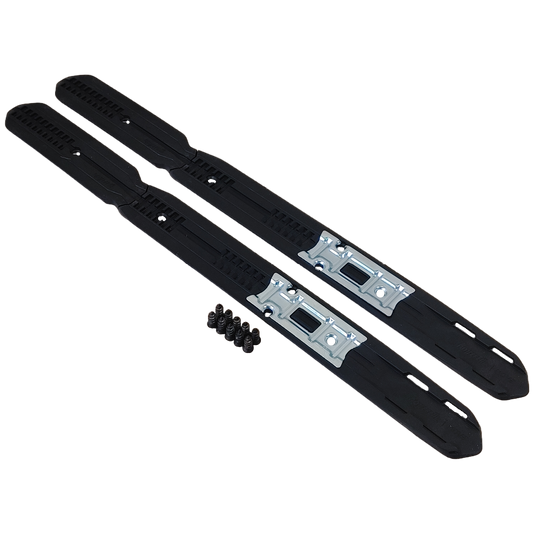
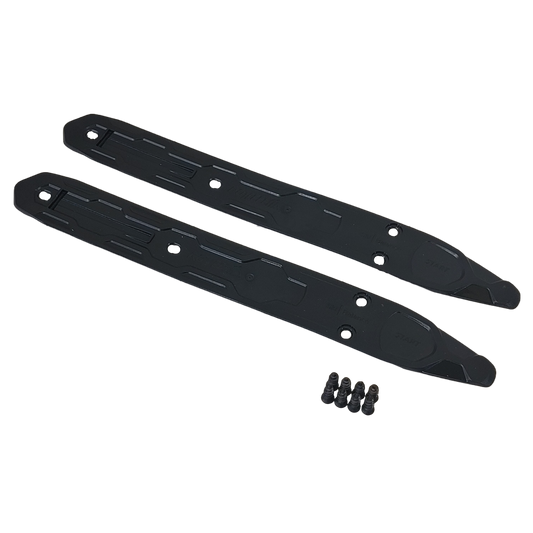
Rottefella NIS-1.0 Screw-on Mounting Plate
Regular price $18.00 CADRegular priceSale price $18.00 CAD38 in stockRottefella NIS-1.0 Screw-on Mounting Plate
Regular price $18.00 CADRegular priceSale price $18.00 CADRottefella NIS-1.0 Screw-on Mounting Plate
Regular price $18.00 CADRegular priceSale price $18.00 CAD -
Rottefella BASIC NNN Bindings Screw
Regular price $50.00 CADRegular priceSale price $50.00 CAD194 in stockRottefella BASIC NNN Bindings Screw
Regular price $50.00 CADRegular priceSale price $50.00 CADRottefella BASIC NNN Bindings Screw
Regular price $50.00 CADRegular priceSale price $50.00 CAD -
Canadian Wintersports Inc Binding Plugs
Unit price $0.05 / per itemRegular price $0.50 CADRegular priceSale price $0.50 CADPre-Order AvailableCanadian Wintersports Inc Binding Plugs
Unit price $0.05 / per itemRegular price $0.50 CADRegular priceSale price $0.50 CADCanadian Wintersports Inc Binding Plugs
Unit price $0.05 / per itemRegular price $0.50 CADRegular priceSale price $0.50 CAD -
Rottefella Binding Mounting Jig
Regular price $200.00 CADRegular priceSale price $200.00 CAD2 in stock -
Rottefella Sport Screw NNN Classic Bindings
Regular price $114.00 CADRegular priceSale price $114.00 CAD19 in stock -
Rottefella NIS-3.0 Screw-on Mounting Plate with MOVE Interface
Regular price $24.00 CADRegular priceSale price $24.00 CAD12 in stockRottefella NIS-3.0 Screw-on Mounting Plate with MOVE Interface
Regular price $24.00 CADRegular priceSale price $24.00 CADRottefella NIS-3.0 Screw-on Mounting Plate with MOVE Interface
Regular price $24.00 CADRegular priceSale price $24.00 CAD -
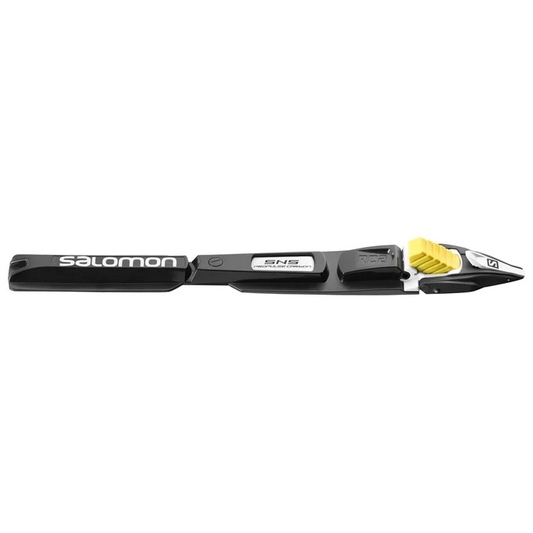
Salomon SNS Propulse Carbon RC2
Regular price $120.00 CADRegular priceSale price $120.00 CAD4 in stock -
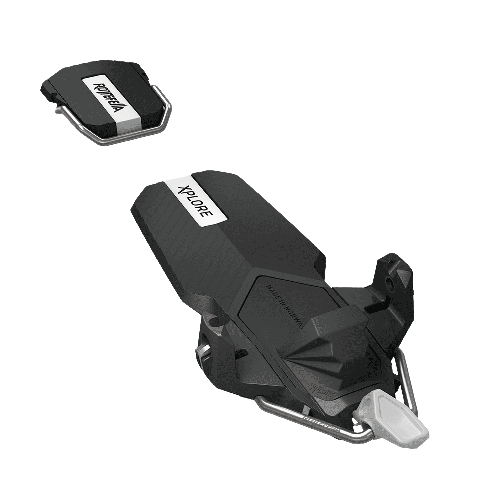
Rottefella Xplore Back Country Bindings
Regular price $300.00 CADRegular priceSale price $300.00 CADPre-Order Available -
Rottefella BC Magnum Bindings (Screw)
Regular price $180.00 CADRegular priceSale price $180.00 CAD20 in stock -
Rottefella BC Manual Bindings (Screw)
Regular price $165.00 CADRegular priceSale price $165.00 CAD31 in stock -
Sold outSalomon SNS Pilot Carbon RS
Regular price $140.00 CADRegular priceSale price $140.00 CADSpecial OrderSold out -
Rottefella START Screw-on Mounting Plate
Regular price $5.00 CADRegular priceSale price $5.00 CAD39 in stock -
Rottefella BC Auto Bindings (Screw)
Regular price $165.00 CADRegular priceSale price $165.00 CAD36 in stock -
Kuu Binding Glue | 500ml
Unit price $0.06 / per mlRegular price $30.00 CADRegular priceSale price $30.00 CAD5 in stock
Ski Waxing Safety Measures
Safe Ski Waxing: Protect Yourself While Prepping Your Skis
Ski waxing is key to great performance on the snow, but it involves chemicals, heat, dust, and fumes that require careful handling. Prioritizing safety protects your health and ensures the waxing process is both effective and responsible.
Follow these essential safety practices every time you wax:
1. Maximize Ventilation: Fresh Air is Crucial 🌬️
- Why? Hot waxing, solvents, and brushing release fumes and fine dust particles that shouldn't be inhaled.
- Best Practice: Wax outdoors whenever possible.
-
Indoors: Ensure excellent air exchange.
- Work near open windows or doors.
- Use powerful exhaust fans (like range hoods or dedicated extraction systems) vented directly outside.
- Simple fans just circulating air within the room are not sufficient.
- Speak Up: If you're in a shared facility (like a team wax room or event) and ventilation seems poor, notify staff or organizers immediately. If you can strongly smell fumes or wax, ventilation isn't adequate.
2. Protect Your Lungs: Use a Respirator 😷
-
Why? Waxing generates harmful airborne particles and fumes from multiple sources:
- Smoke/fumes from hot waxing irons or machines.
- Dust from scraping and brushing wax.
- Vapors from evaporating solvents in liquid waxes and cleaners.
- Dust from fleece/wool application methods.
- Fumes from heating grip waxes and klisters.
-
Action: Wear a respirator suitable for both particulates (dust) and organic vapors (fumes/solvents).
- Look for respirators with P100 particulate filters combined with organic vapor cartridges.
- Ensure a proper fit. Facial hair can prevent a good seal.
- Replace filters and cartridges according to the manufacturer's recommendations or when you notice smell/taste breakthrough or increased breathing resistance.
3. Protect Your Eyes: Wear Safety Glasses 👓
- Why? Dust, flying wax particles, and potential splashes from cleaners can irritate or injure your eyes.
- Action: Always wear safety glasses or goggles. A full-face respirator also provides eye protection.
4. Protect Your Skin: Wear Gloves 🧤
- Why? Waxes and solvents contain chemicals that can be absorbed through the skin or cause irritation.
- Action: Wear chemical-resistant gloves (nitrile gloves are a common and effective choice). This keeps your hands clean and prevents direct skin contact with potentially harmful substances.
5. Maintain a Safe Wax Room Environment 🚫
- Control Access: Only those actively involved in waxing should be in the immediate waxing area to minimize exposure for others.
- No Food or Drink: Never eat, drink, smoke, or store food in the waxing area. This prevents accidental ingestion of harmful residues.
- Cleanliness: Keep your workspace tidy. Clean up spills immediately and manage wax scrapings (see next point).
6. Handle Wax Waste Responsibly ♻️
- Why? Wax shavings and dust contain the same chemicals you're protecting yourself from during application. Proper disposal protects the environment and prevents contamination.
-
Action:
- Collect all wax shavings, dust, and used cleaning materials (paper towels, rags).
- Place them promptly into a sealed plastic bag or designated waste container.
- Dispose of according to local regulations. (Note: Regulations for fluorinated wax disposal might be stricter in some areas – check local rules).
7. Control Your Iron Temperature 🔥
- Why? Overheating wax creates significantly more fumes and can damage your ski base.
- Action: Always use the wax manufacturer's recommended temperature for your specific wax. Don't guess!
8. Handle Cleaners & Solvents with Extra Care 🧪
- Why? Base cleaners and liquid waxes often contain volatile organic compounds (VOCs) that are easily inhaled and can be flammable.
-
Action:
- Use solvents and cleaners sparingly.
- Ensure maximum ventilation when applying them.
- Keep containers sealed when not in use.
- Crucially: Keep solvents far away from heat sources like your waxing iron, space heaters, or open flames.
Your Health Comes First!
By consistently following these safety protocols, you protect yourself from potential respiratory issues, skin irritation, and other health effects. Safe waxing allows you to focus on getting the best performance from your skis and fully enjoy your time on the snow.