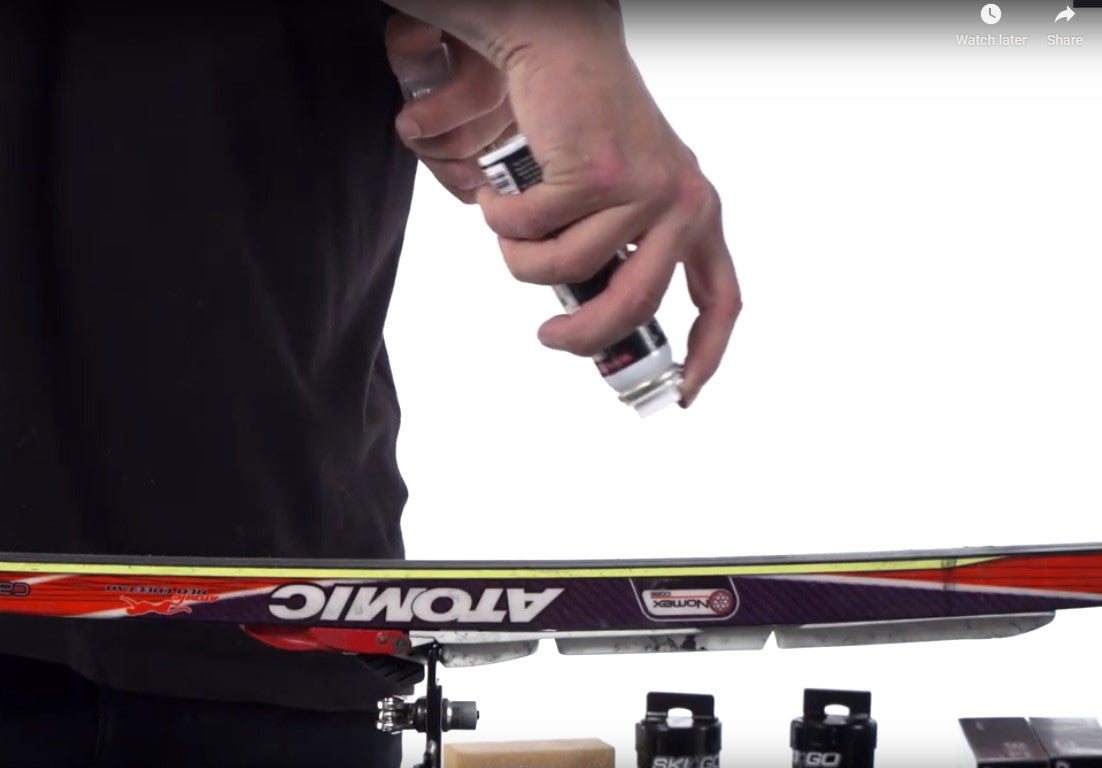
Klister Application
How-To Video
Step-by-Step
Products for Klister Application
-
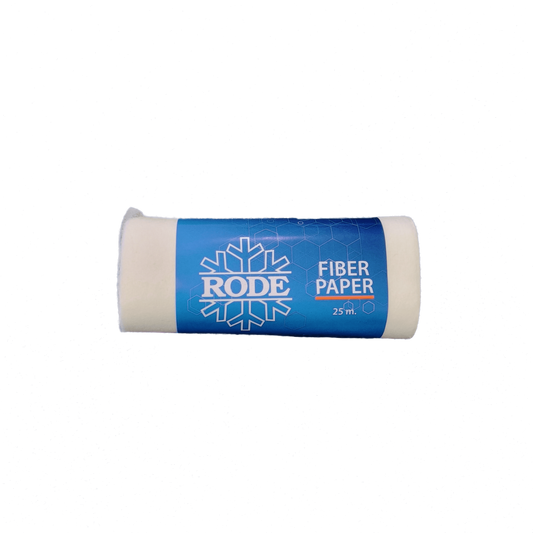
Rode Fiber Paper | 25m
Regular price $17.96 CADRegular priceUnit price per$0.00 CADSale price $17.96 CAD -
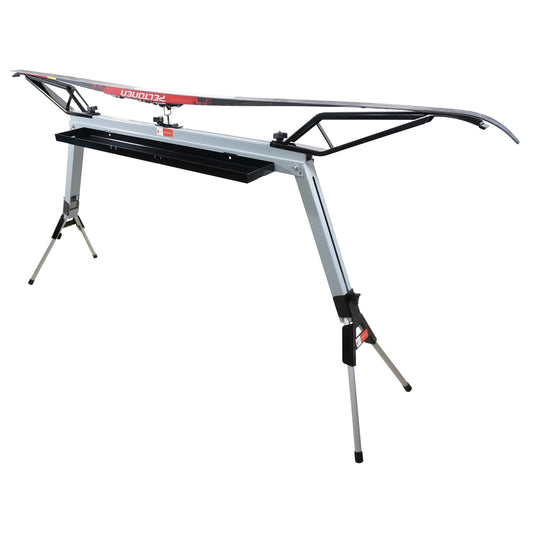
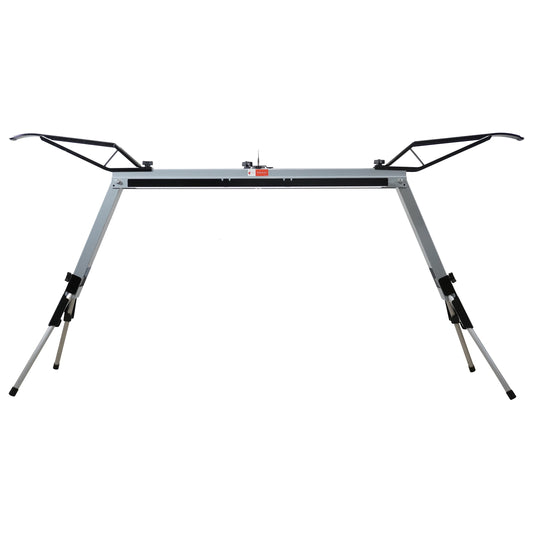
Canadian Wintersports Inc ProForm-AL1 Wax Bench Station FULL SET
Regular price $669.95 CADRegular priceUnit price per$709.85 CADSale price $669.95 CADSale -
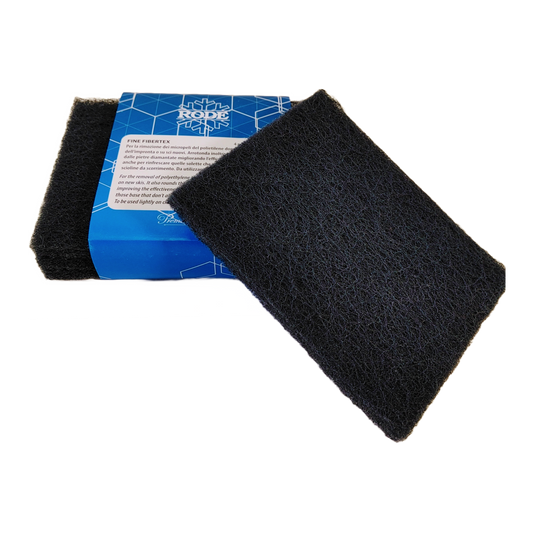
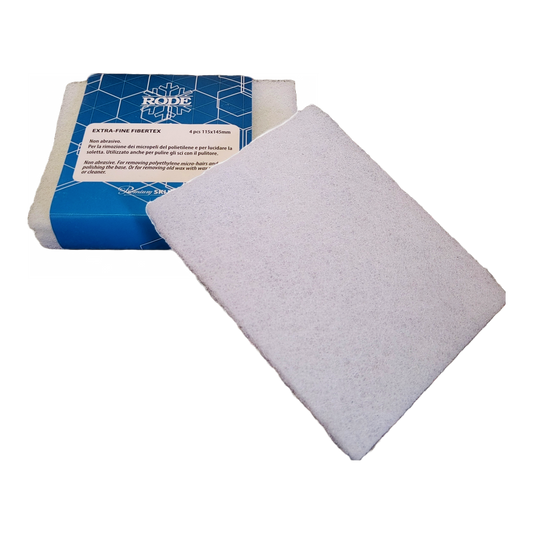
Rode FiberTex
Regular price From $13.96 CADRegular priceUnit price per$0.00 CADSale price From $13.96 CADRode FiberTex
Regular price From $13.96 CADRegular priceUnit price per$0.00 CADSale price From $13.96 CADRode FiberTex
Regular price From $13.96 CADRegular priceUnit price per$0.00 CADSale price From $13.96 CAD -
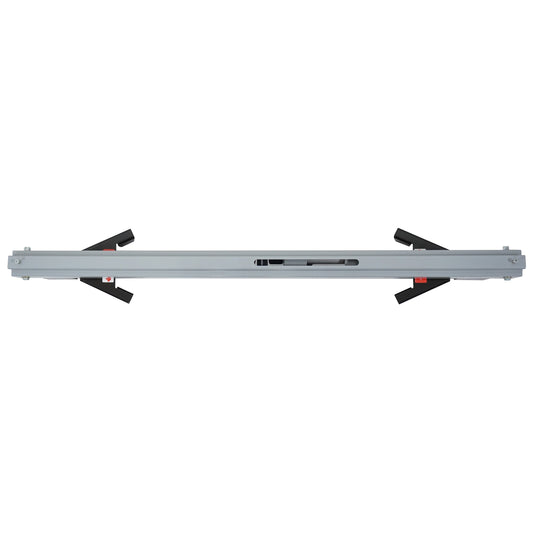
Canadian Wintersports Inc ProForm-AL1 Wax Bench Station FORM Segment
Regular price $299.95 CADRegular priceUnit price per$0.00 CADSale price $299.95 CAD -
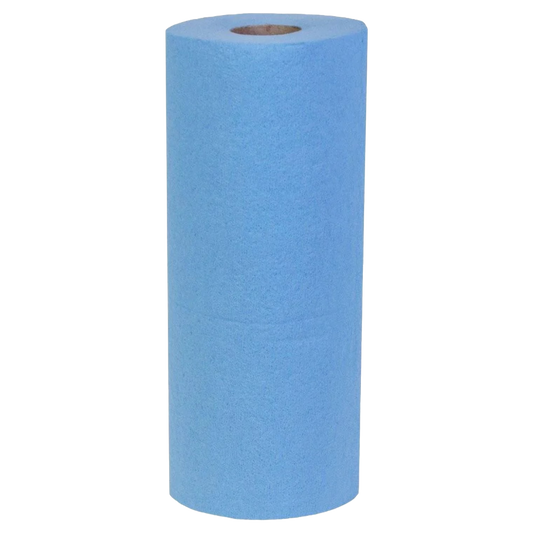
Shop Towel for Ski & Snowboard Waxing
Regular price $6.95 CADRegular priceUnit price per$0.00 CADSale price $6.95 CAD -
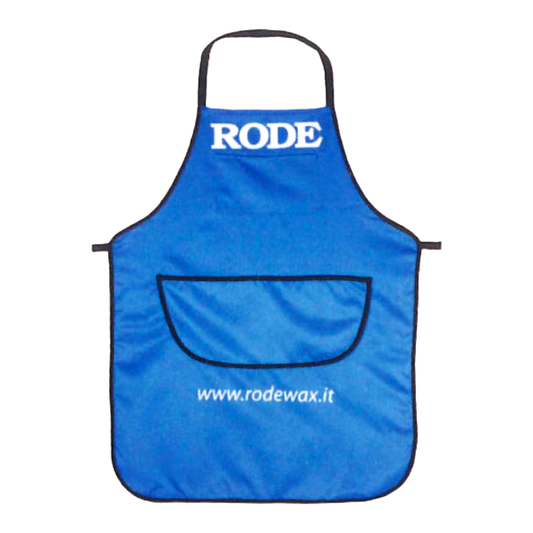
Rode Apron
Regular price $33.96 CADRegular priceUnit price per$0.00 CADSale price $33.96 CAD -
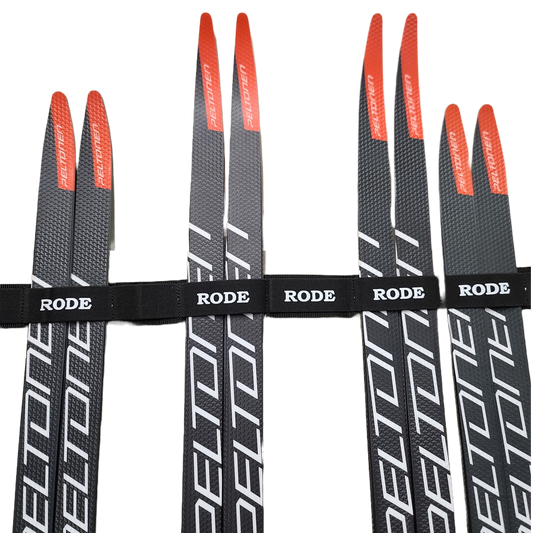
Rode Wall Ski Holder (8 Pairs)
Regular price $29.96 CADRegular priceUnit price per$0.00 CADSale price $29.96 CAD -
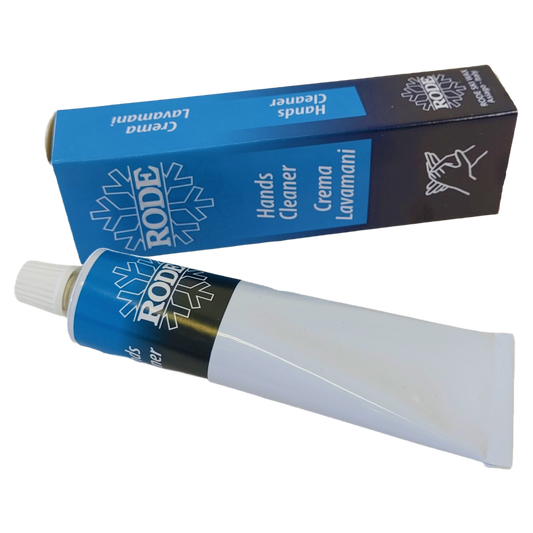
Rode Hand Cleaner Cream | 60g
Regular price $19.96 CADRegular priceUnit price per$0.00 CADSale price $19.96 CAD -
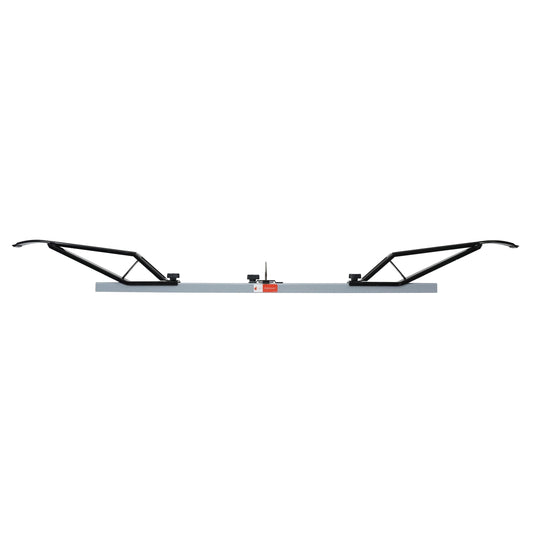
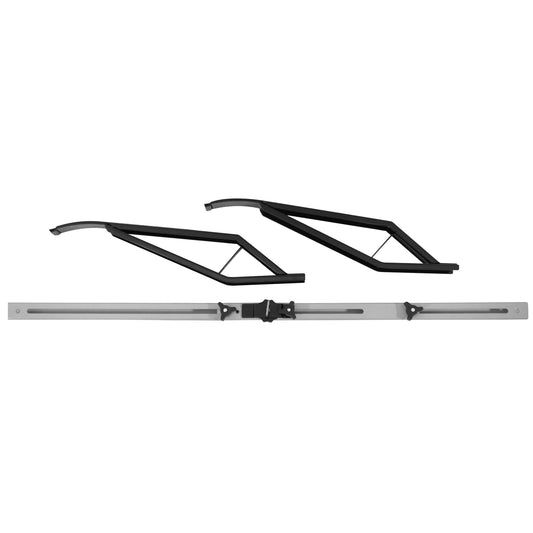
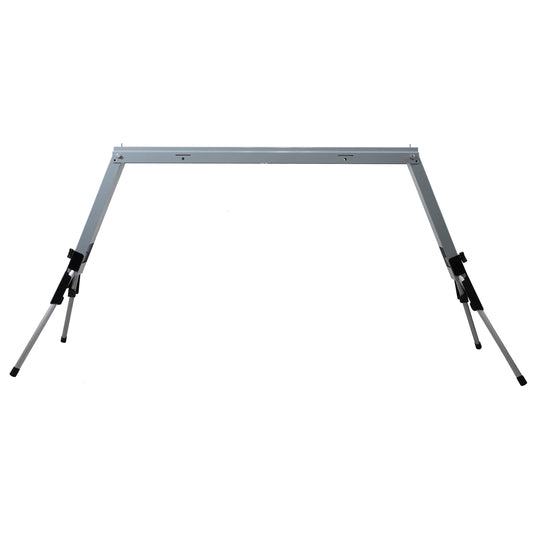
Canadian Wintersports Inc ProForm-AL1 Wax Bench Station LEGS Segment
Regular price $319.95 CADRegular priceUnit price per$0.00 CADSale price $319.95 CAD -
Swix Tuning Gloves
Regular price $29.96 CADRegular priceUnit price per$0.00 CADSale price $29.96 CADSwix Tuning Gloves
Regular price $29.96 CADRegular priceUnit price per$0.00 CADSale price $29.96 CADSwix Tuning Gloves
Regular price $29.96 CADRegular priceUnit price per$0.00 CADSale price $29.96 CAD -
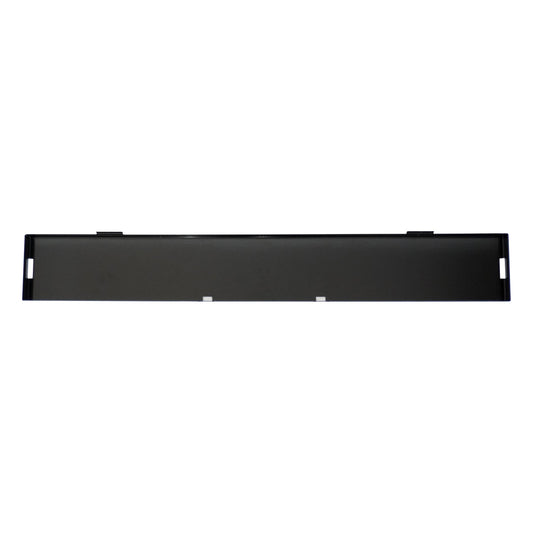
Canadian Wintersports Inc ProForm-AL1 Wax Bench Station TRAY Segment
Regular price $89.95 CADRegular priceUnit price per$0.00 CADSale price $89.95 CAD -
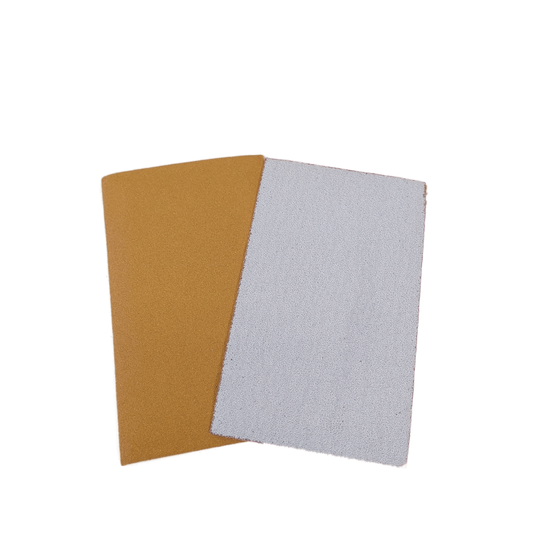
Rode Sandpaper
Regular price $13.96 CADRegular priceUnit price per$0.00 CADSale price $13.96 CADRode Sandpaper
Regular price $13.96 CADRegular priceUnit price per$0.00 CADSale price $13.96 CADRode Sandpaper
Regular price $13.96 CADRegular priceUnit price per$0.00 CADSale price $13.96 CAD