


Features:
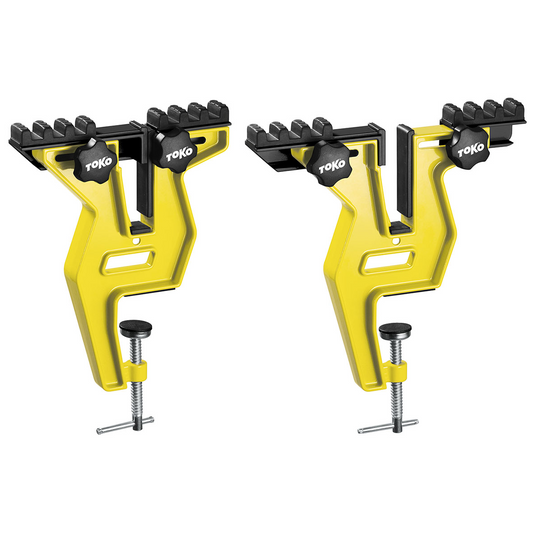
- • Works with Toko World Cup Vise, as well as Swix Power and World Cup Vises.
- • Contact us today if you are unsure if this will work for your profile!


More from Toko Work Benches
-
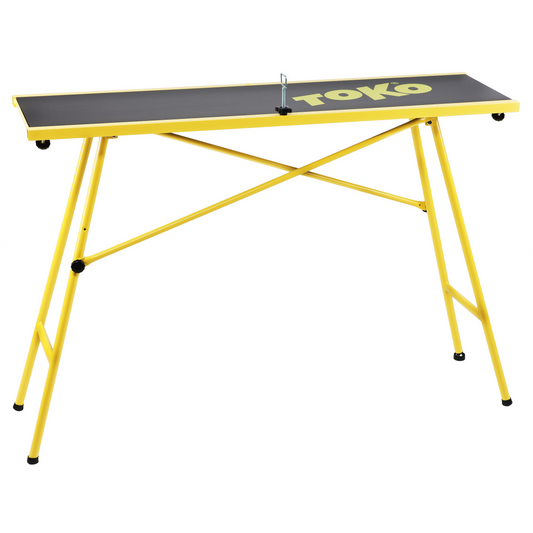
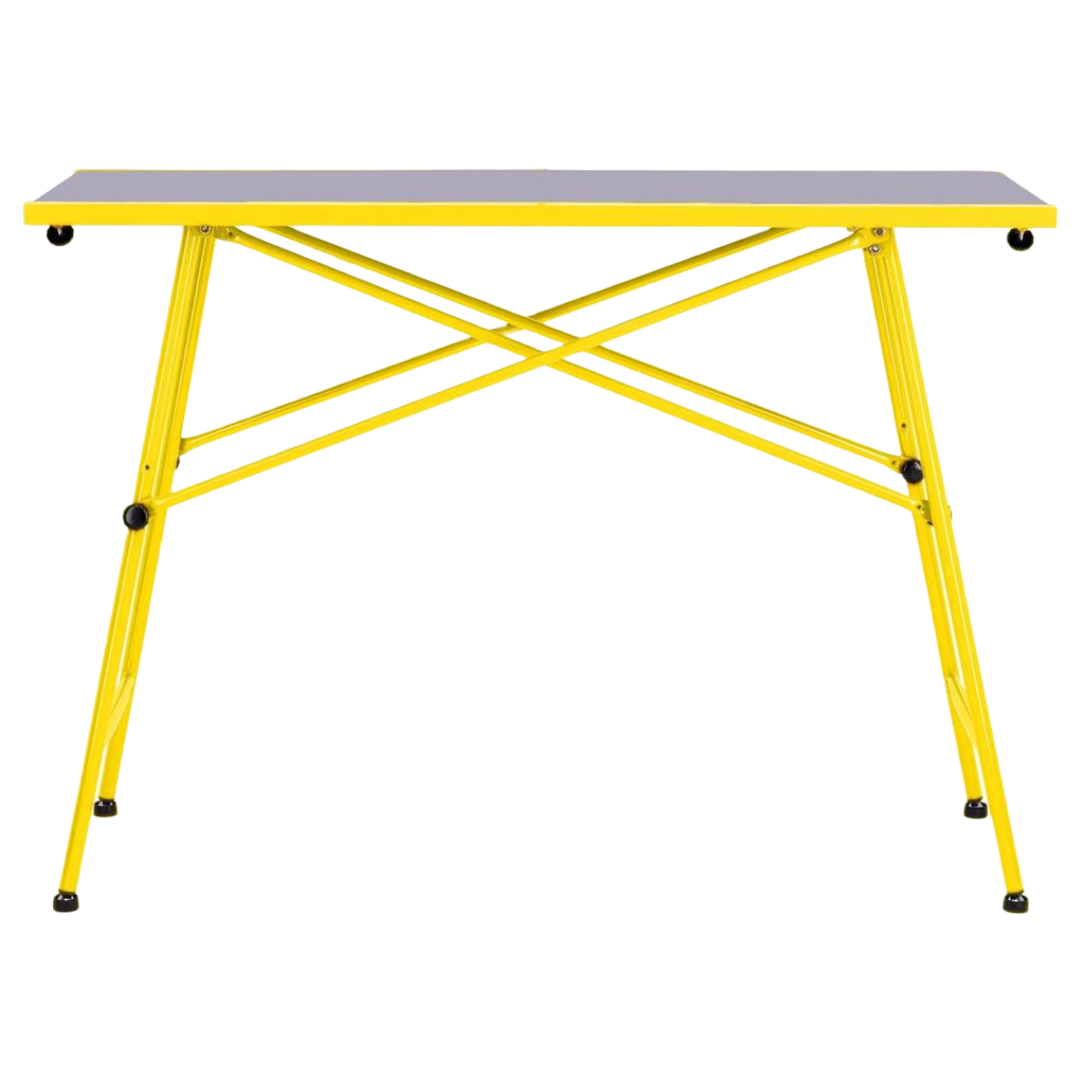
Toko Workbench 110x50cm
Regular price $1,000.00 CADRegular price -
Toko Workbench Small 120x35cm
Regular price $285.00 CADRegular price -
Toko Storage Tray
Regular price $350.00 CADRegular price -
Toko Workbench Travel Bag
Regular price $150.00 CADRegular price -
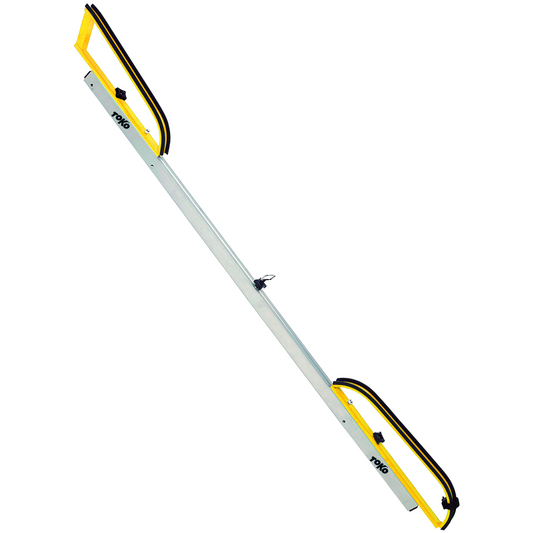
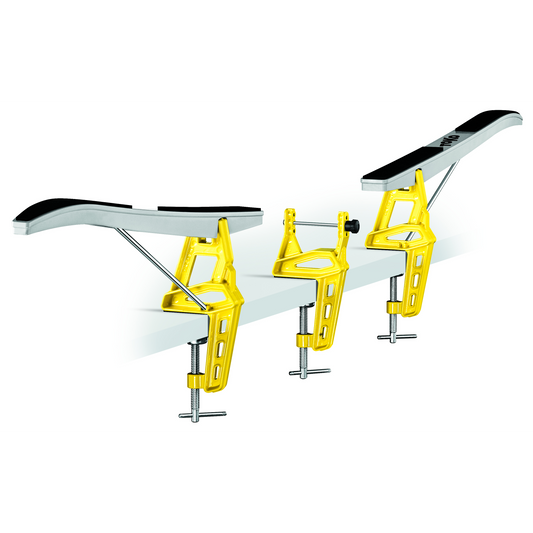
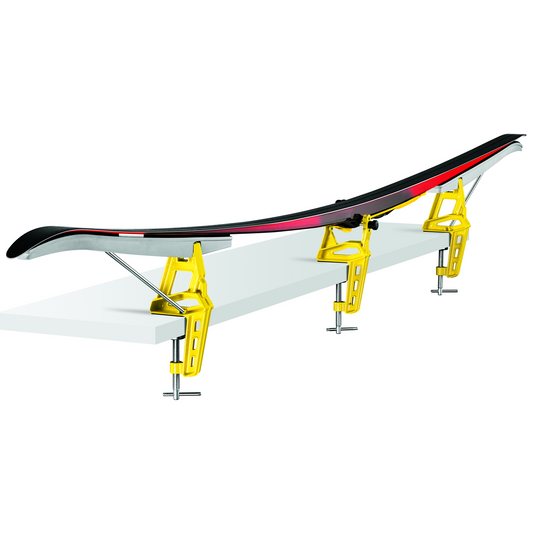
Toko Clampable Cross Country Profile
Regular price $450.00 CADRegular price -
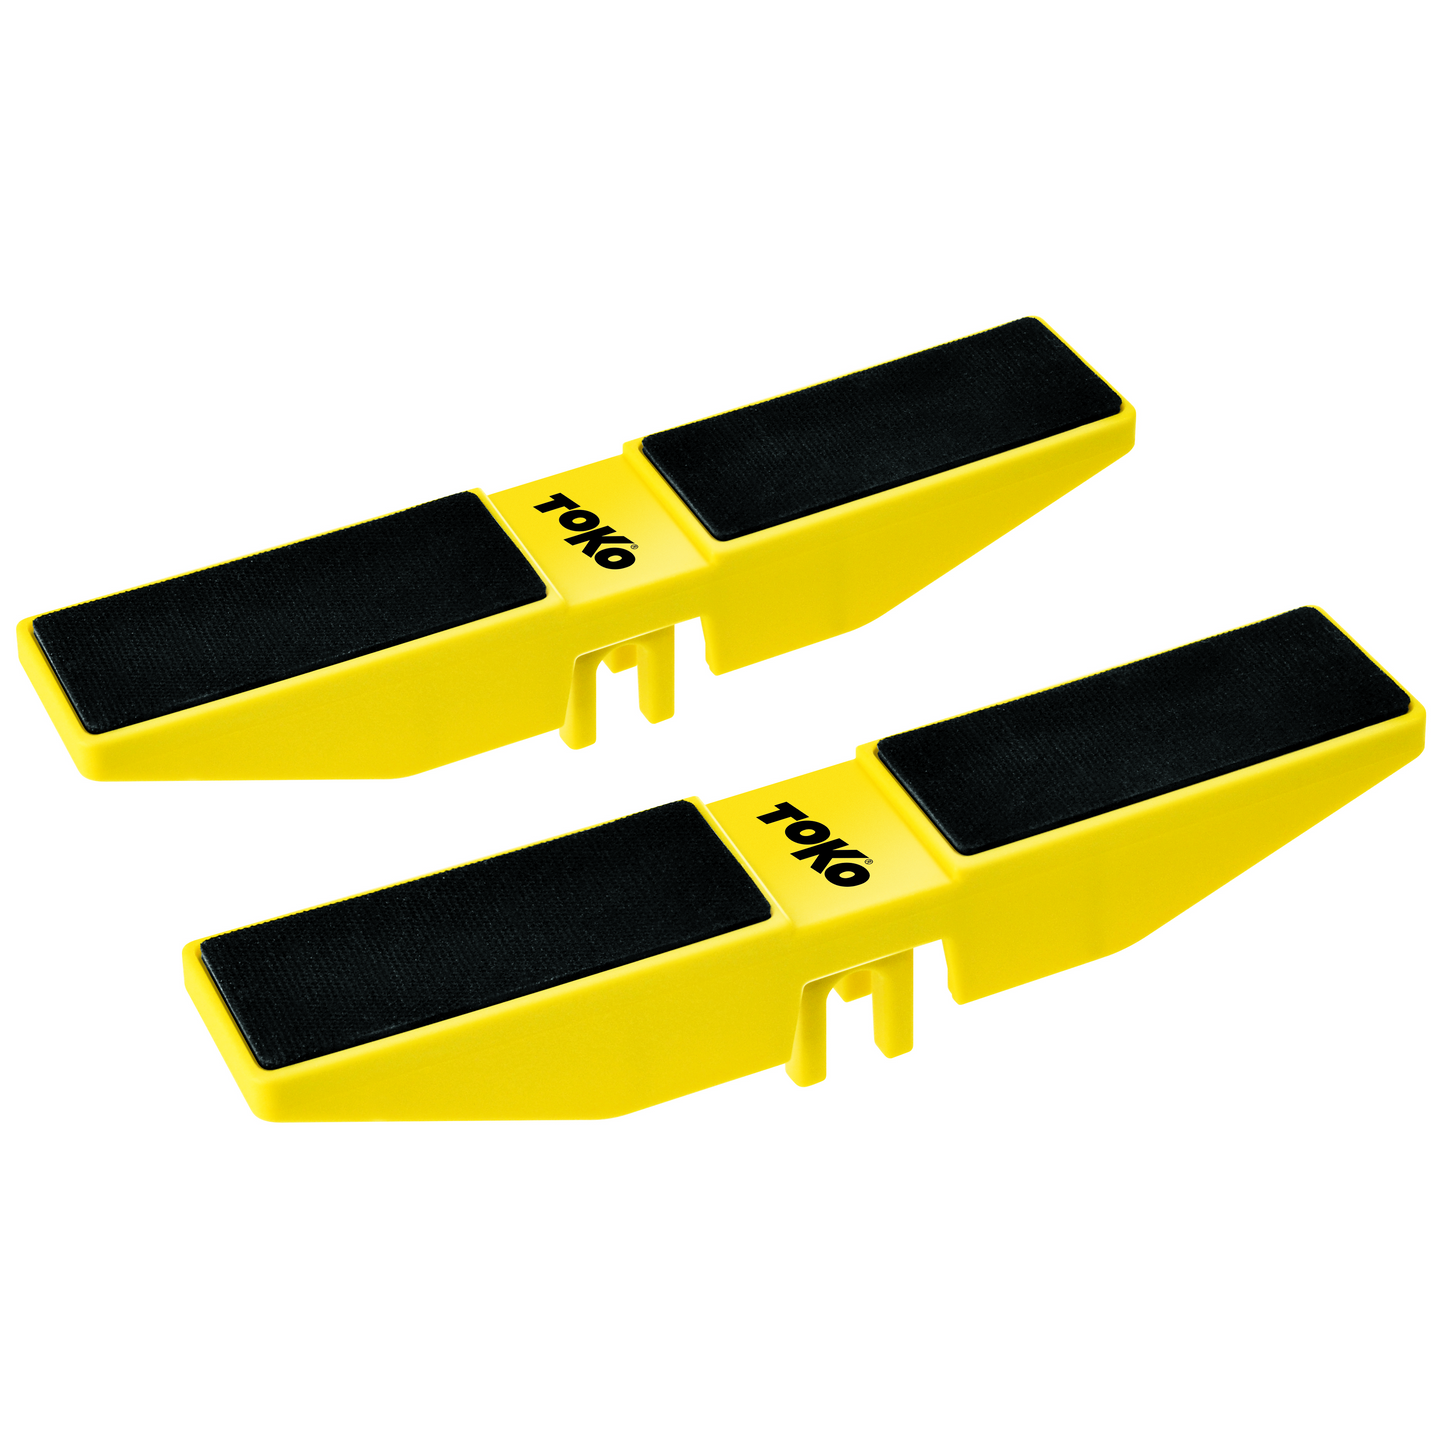
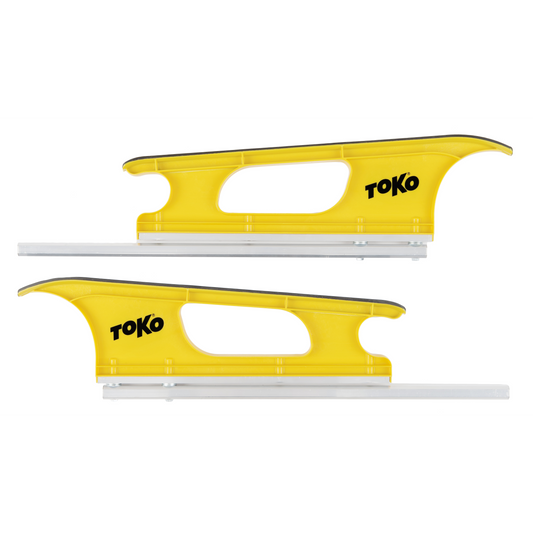
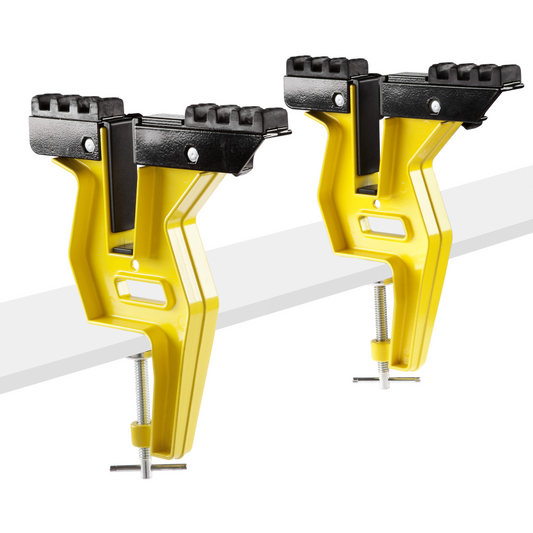
Toko XC Profile Set for Wax Tables
Regular price $250.00 CADRegular priceToko XC Profile Set for Wax Tables
Regular price $250.00 CADRegular priceToko XC Profile Set for Wax Tables
Regular price $250.00 CADRegular price -
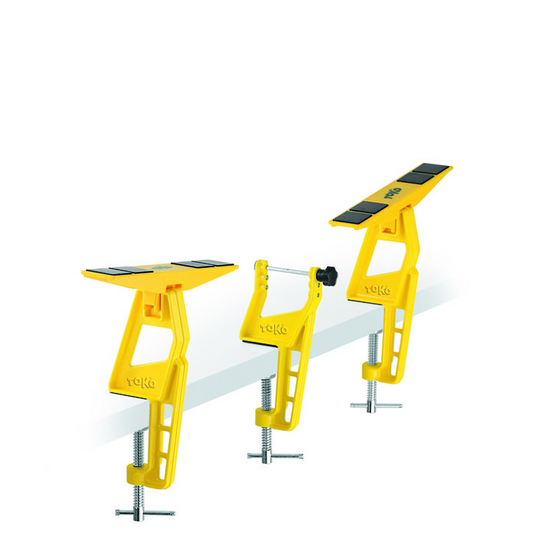
Toko Ski Vise Nordic
Regular price $220.00 CADRegular price -
Toko Ski Vise Nordic World Cup
Regular price $350.00 CADRegular price -
Toko Board Grip 2.0
Regular price $275.00 CADRegular price -
Toko Universal Adapter for Ski Vise World Cup
Regular price $75.00 CADRegular price -
Toko Ski Vise Express
Regular price $175.00 CADRegular price -
Toko Ski Vise Race
Regular price $250.00 CADRegular price -
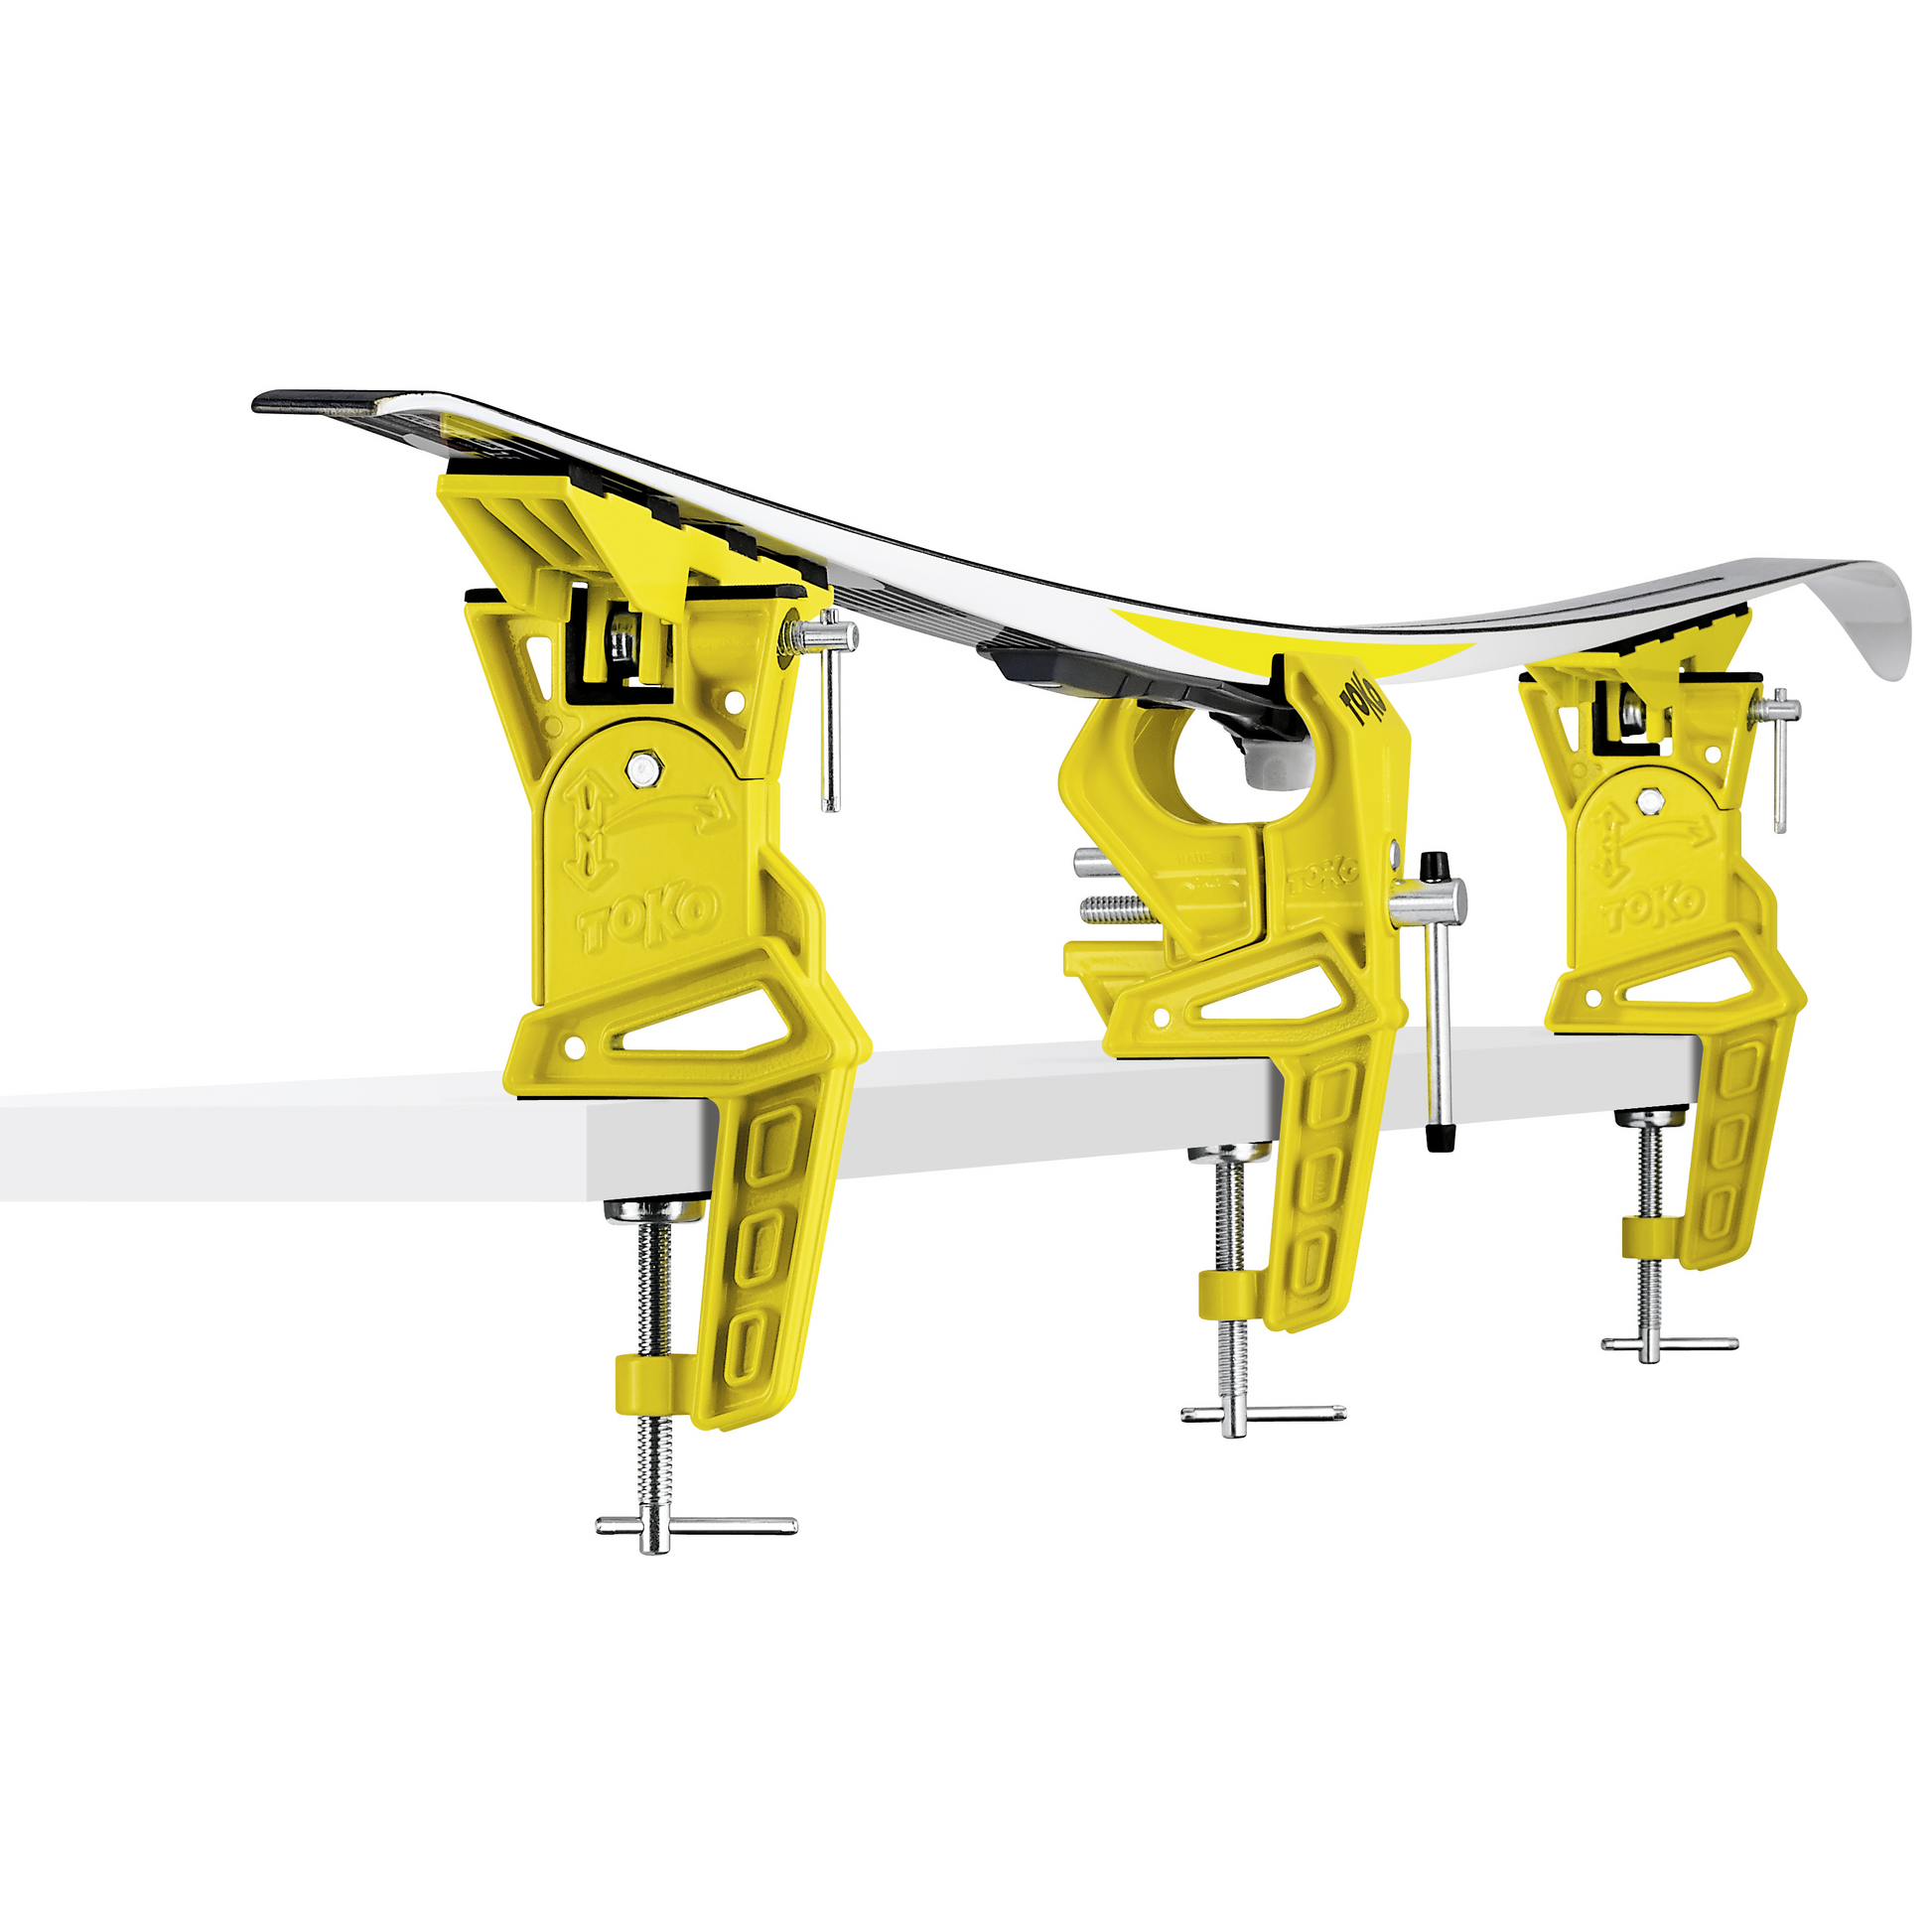
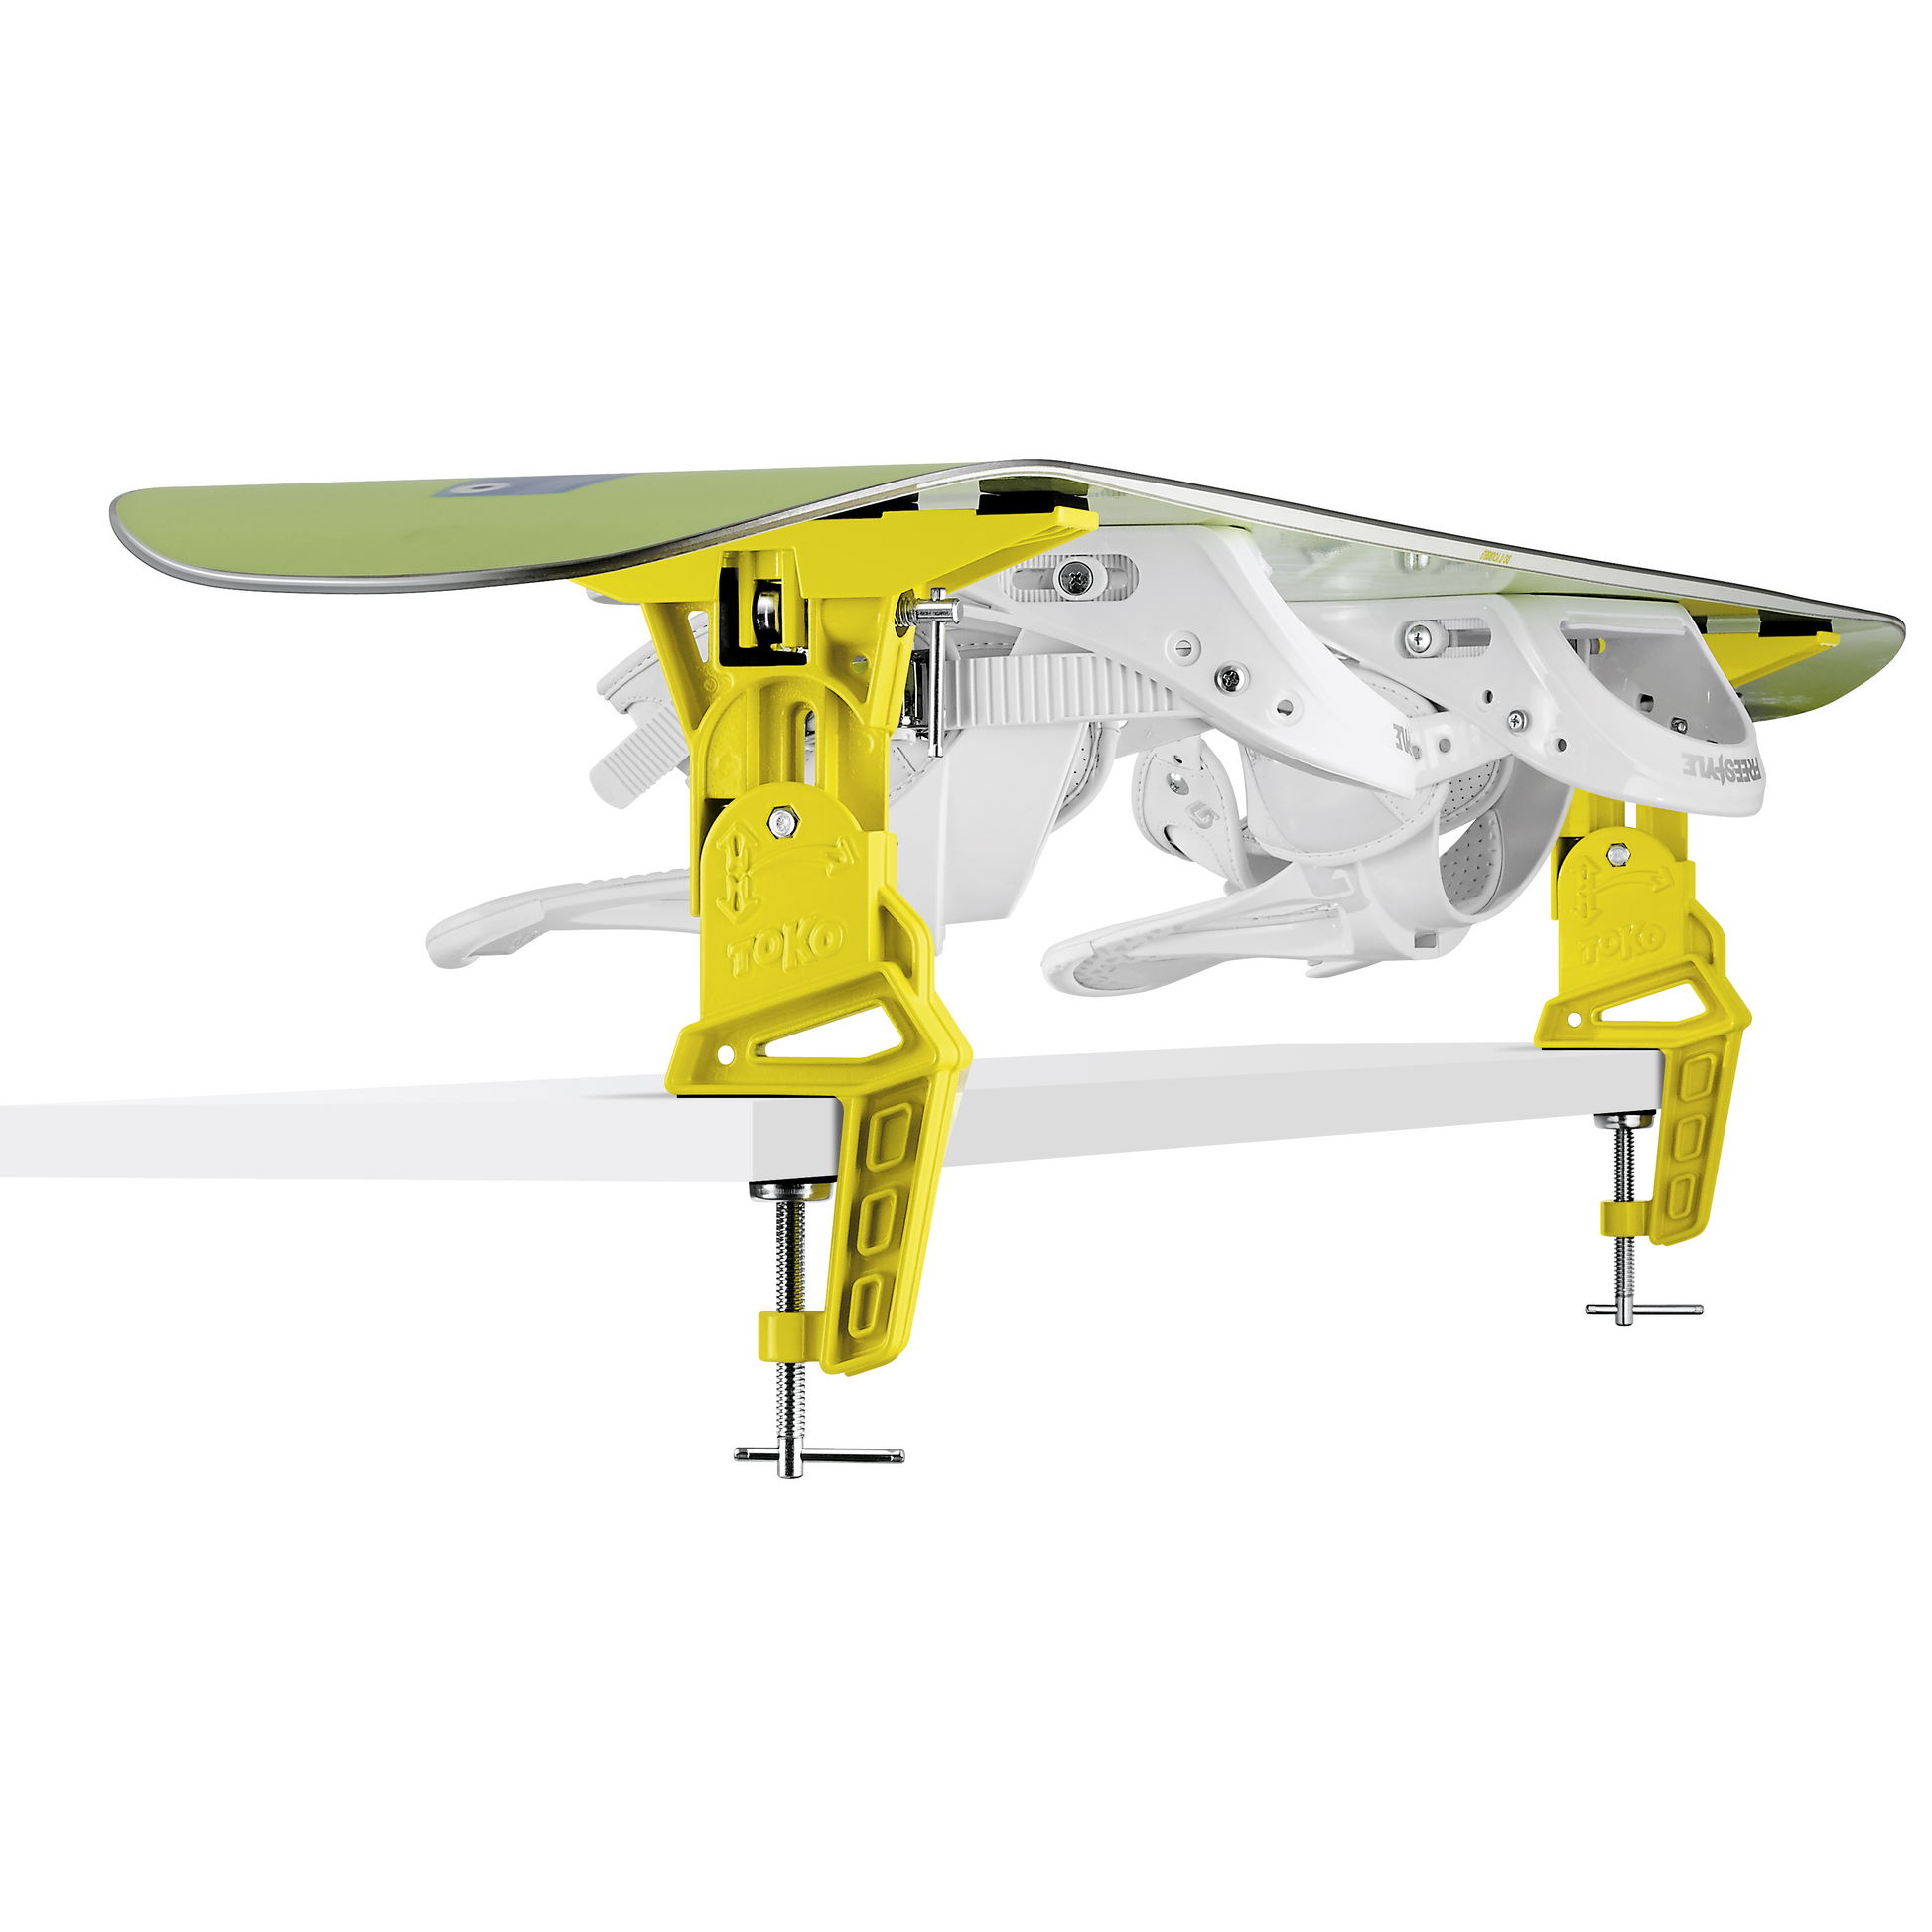
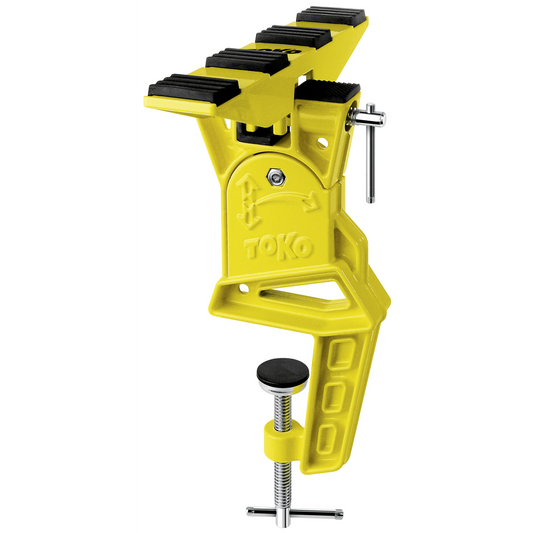
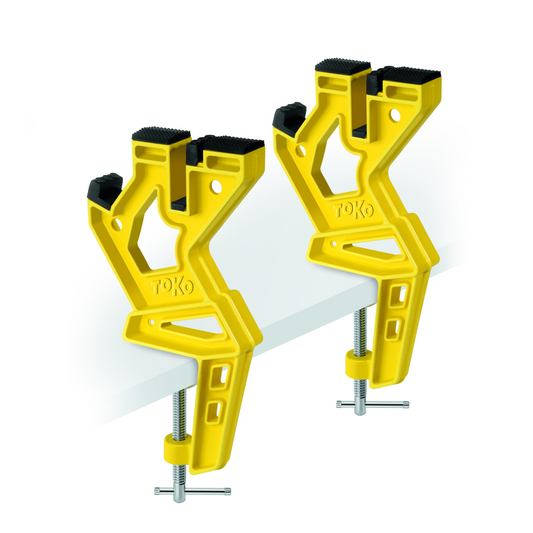
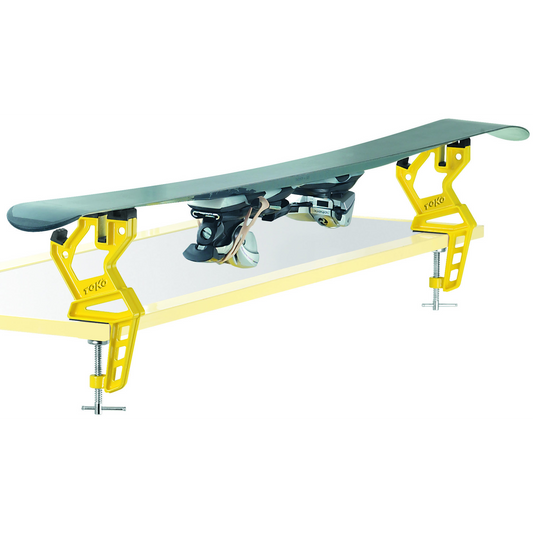
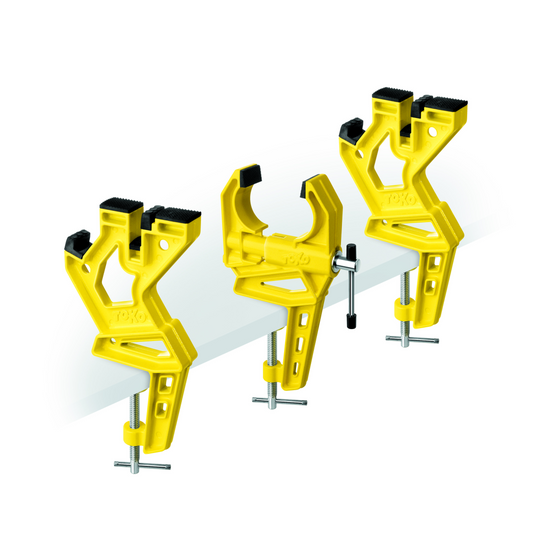
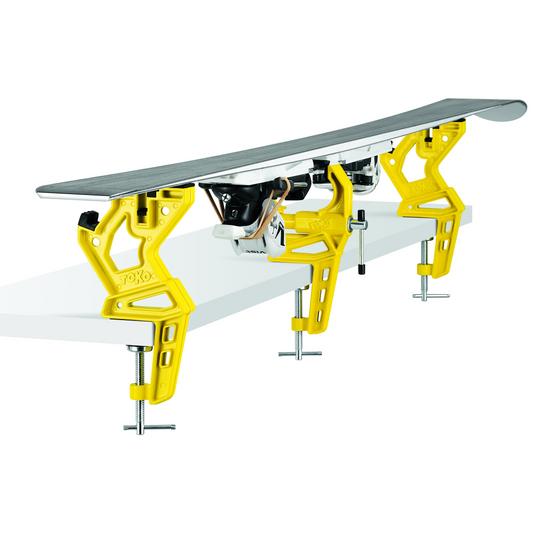
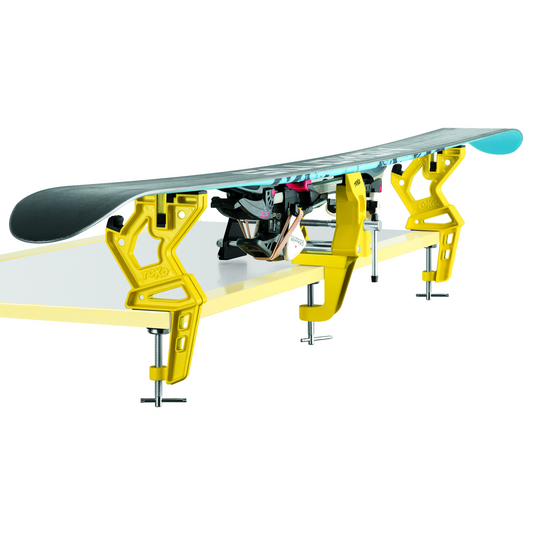
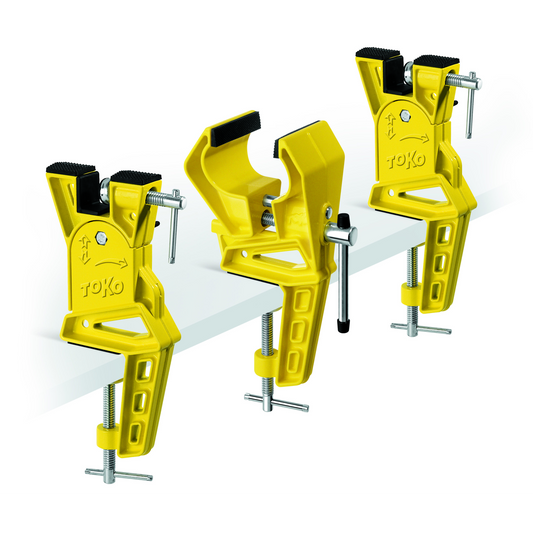
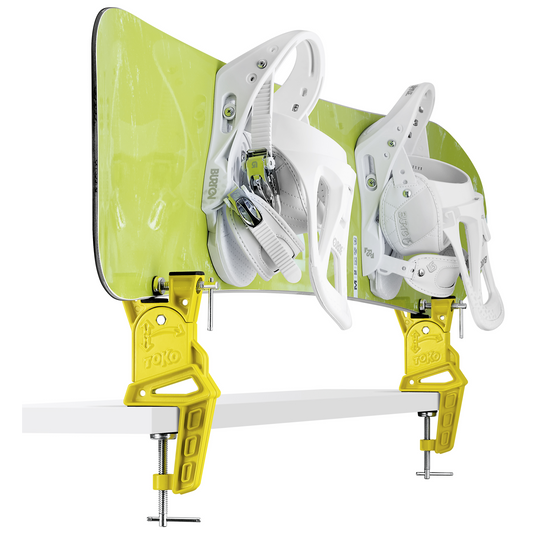
Toko Ski Vise Freeride
Regular price $450.00 CADRegular price -
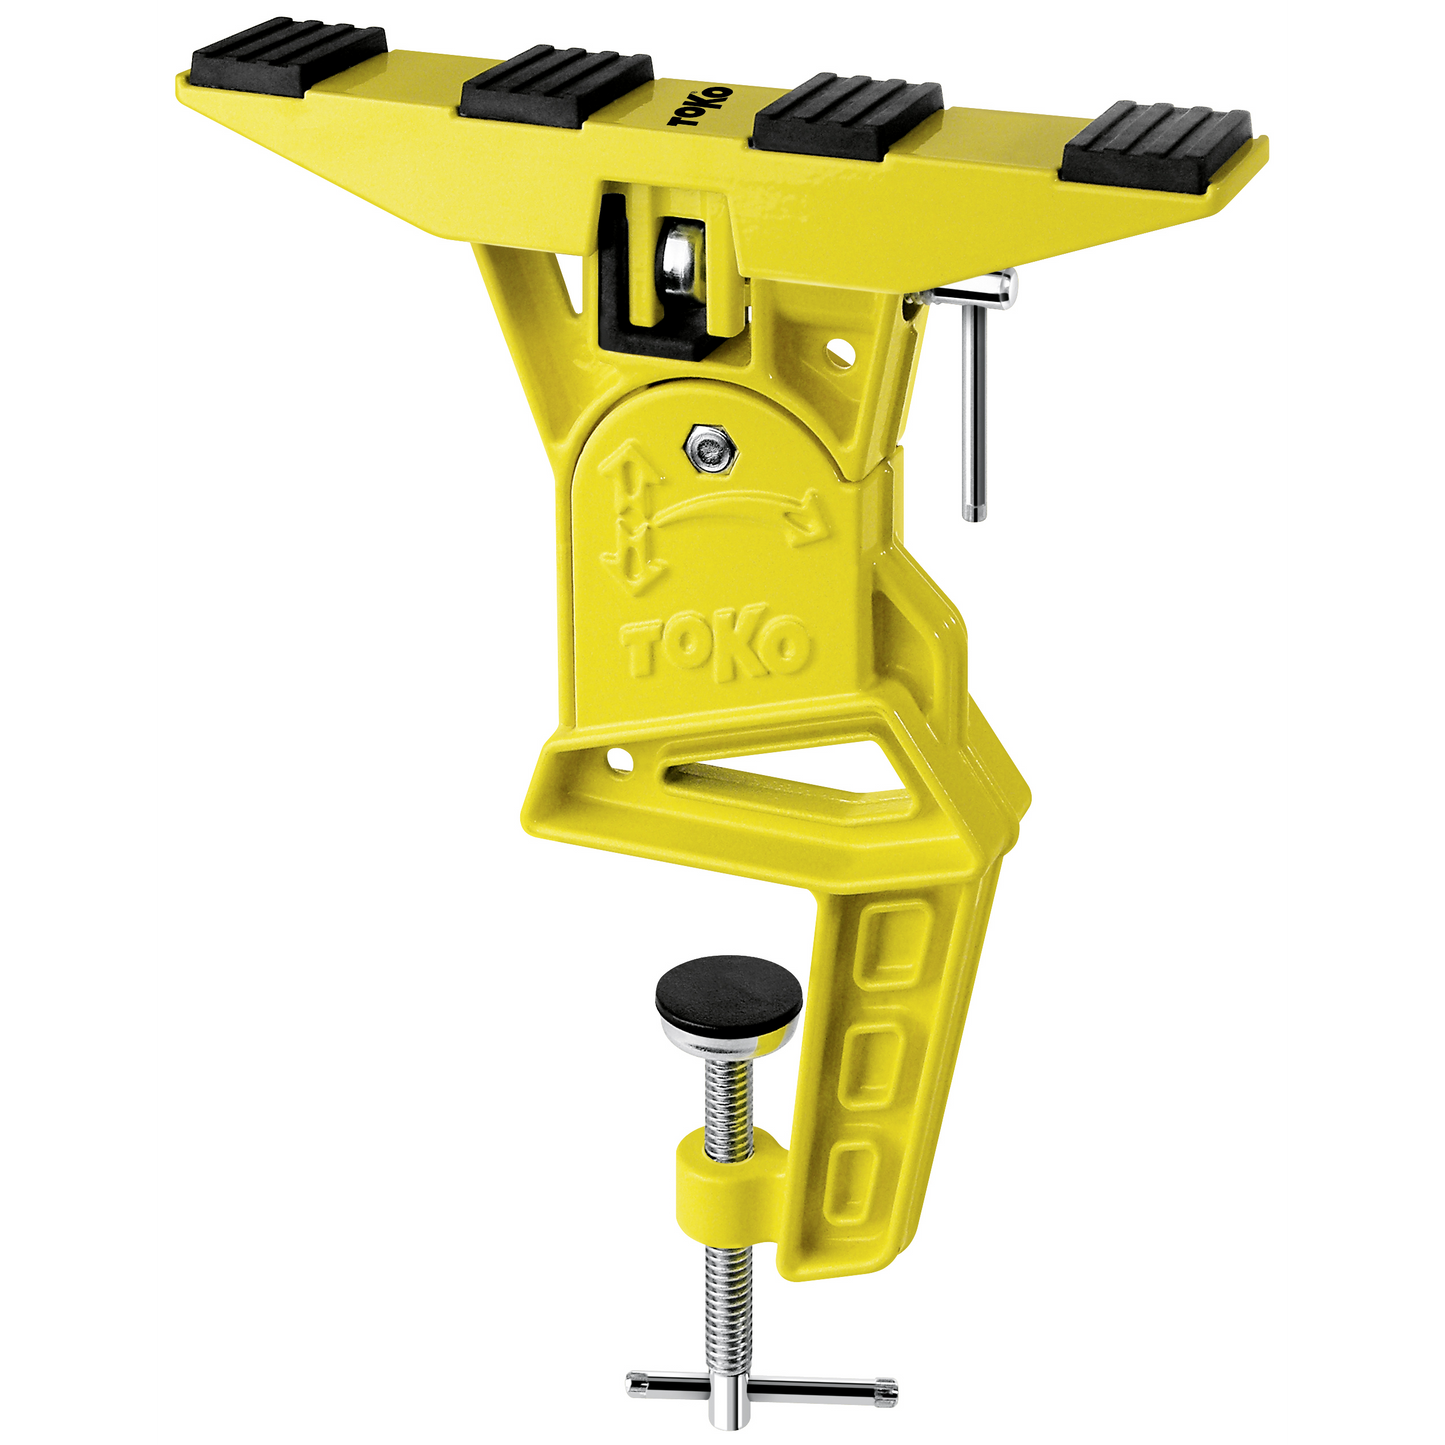
Toko Ski Vise World Cup
Regular price $300.00 CADRegular price


Toko
Toko is a well-established Swiss ski product company that specializes in producing a simplified range of high-performance ski waxes, tools, textile products, and accessories, catering to the needs of skiers worldwide with their reliable and innovative products.
Toko Products
-
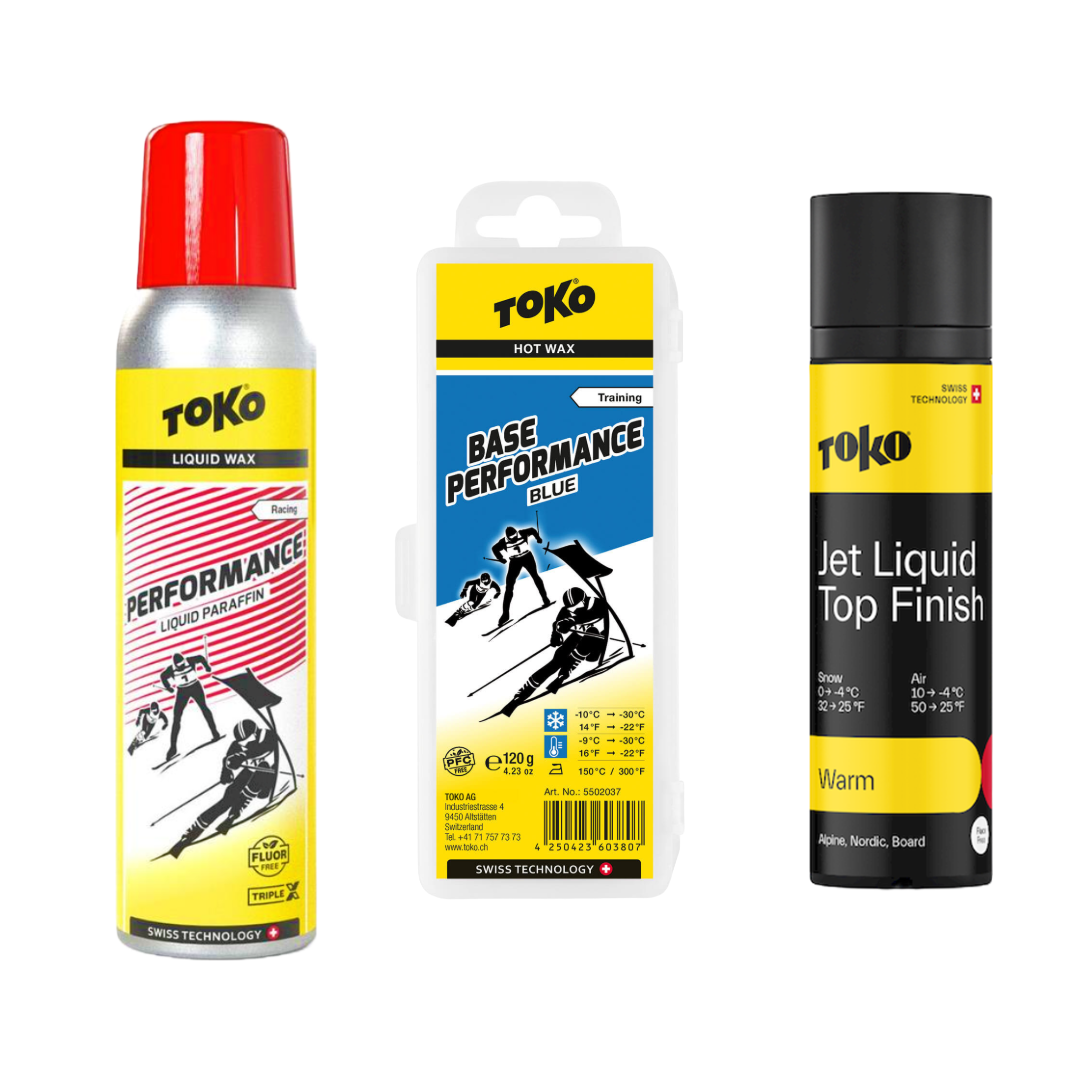
Toko Glide Waxes
Toko Glide Waxes
-
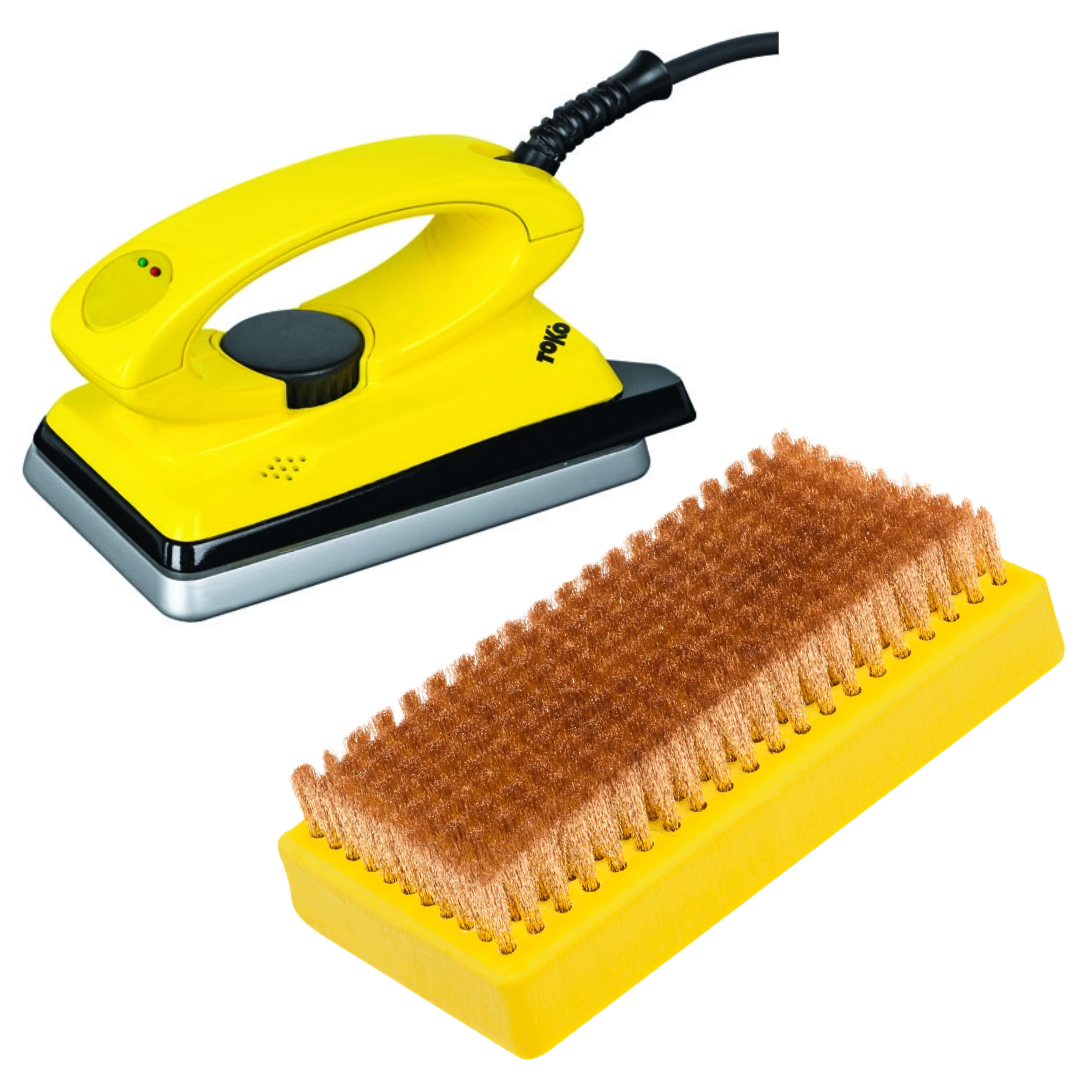
Toko Waxing Tools
Toko Waxing Tools
-
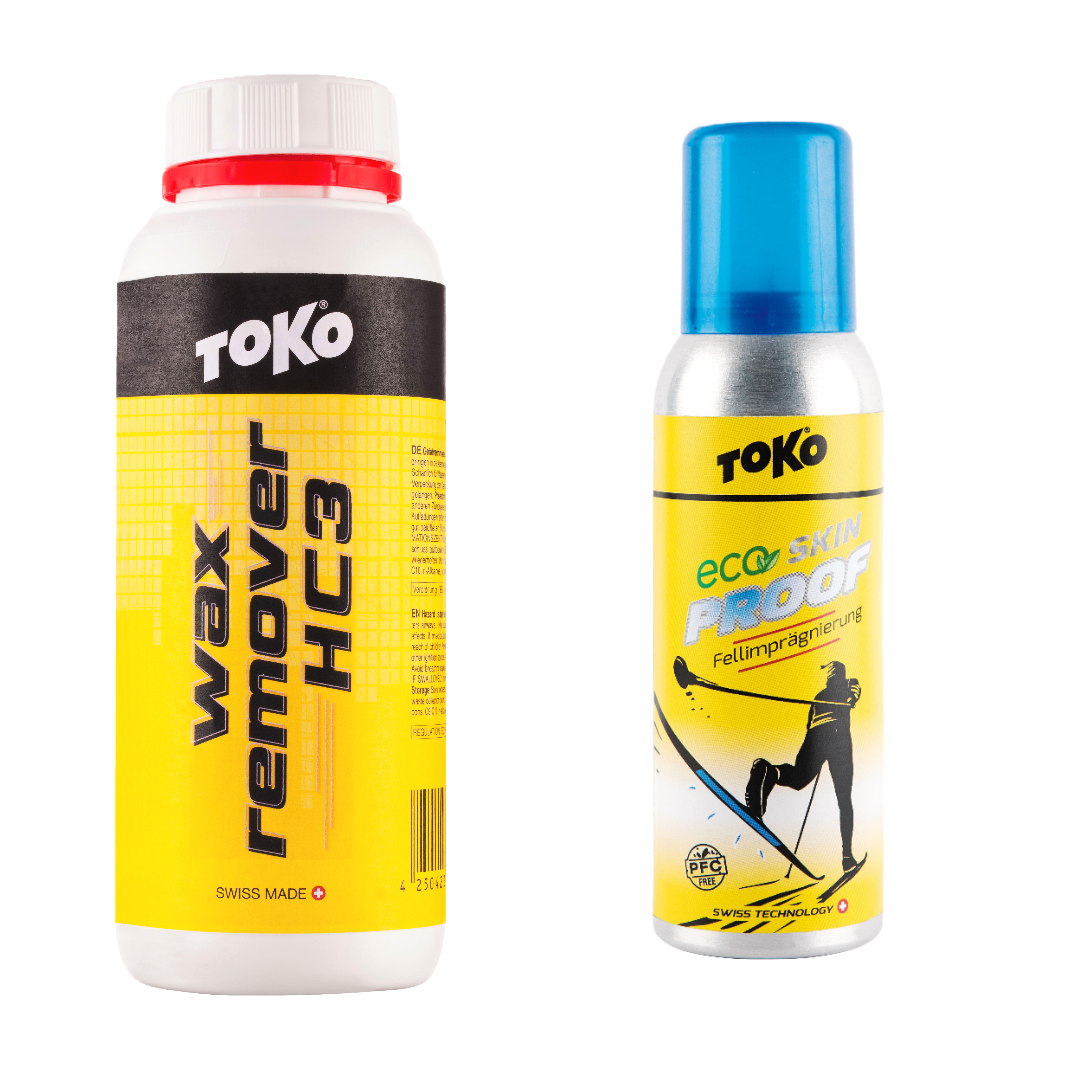
Toko Ski Clean and Care Products
Toko Ski Clean and Care Products
-
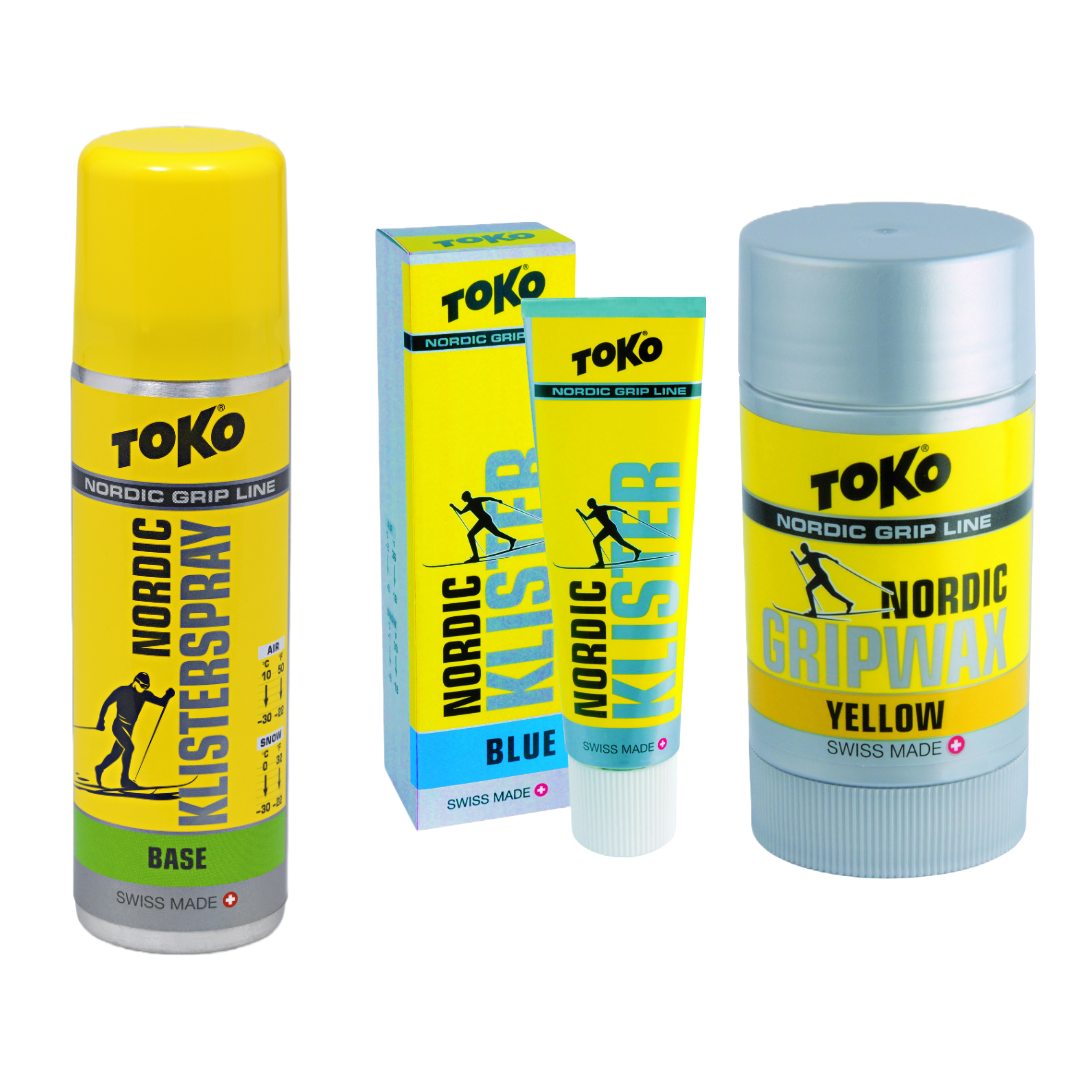
Toko Grip Waxes
Toko Grip Waxes
-
Toko Work Benches
Toko Work Benches
-
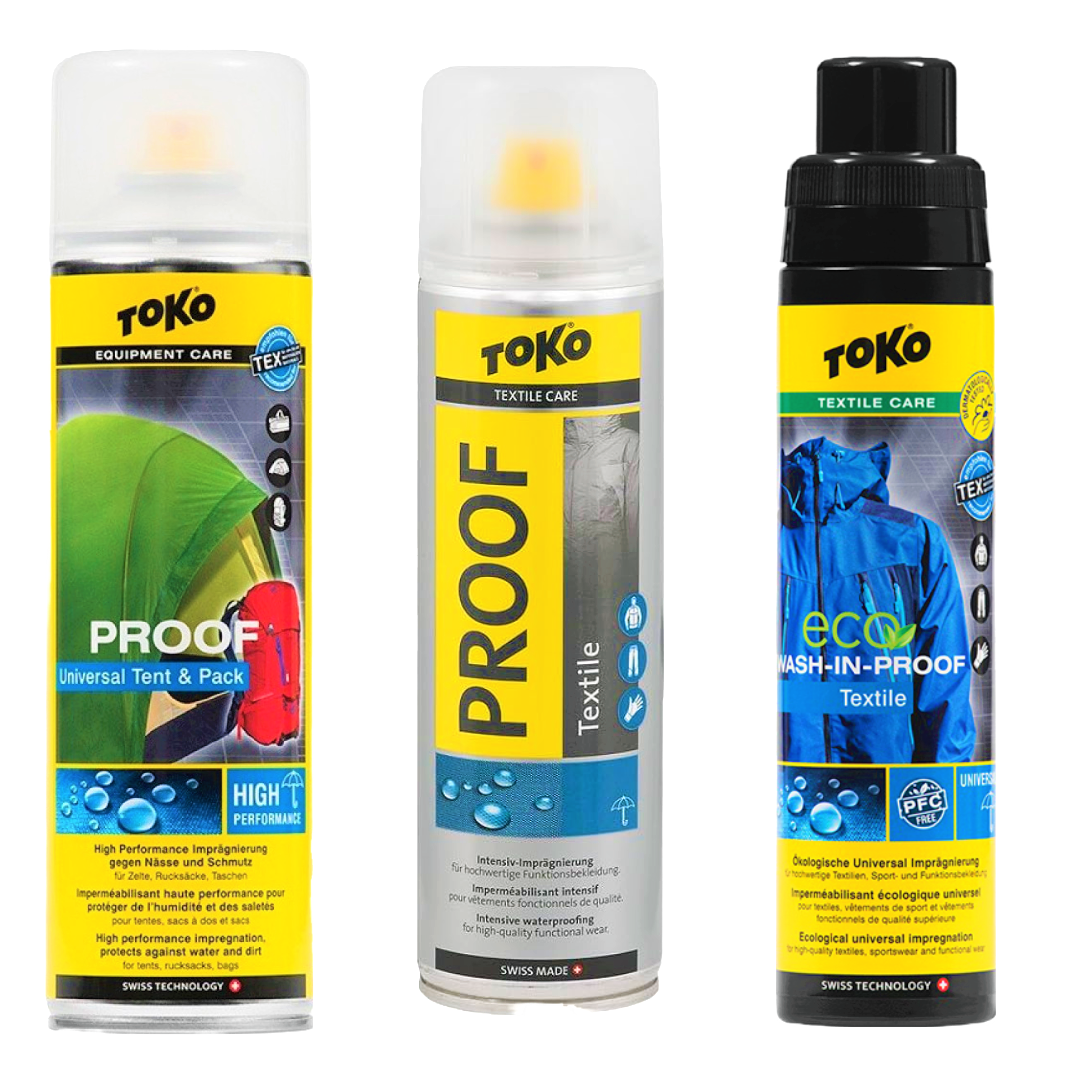
Toko Clothing Care
Toko Clothing Care


