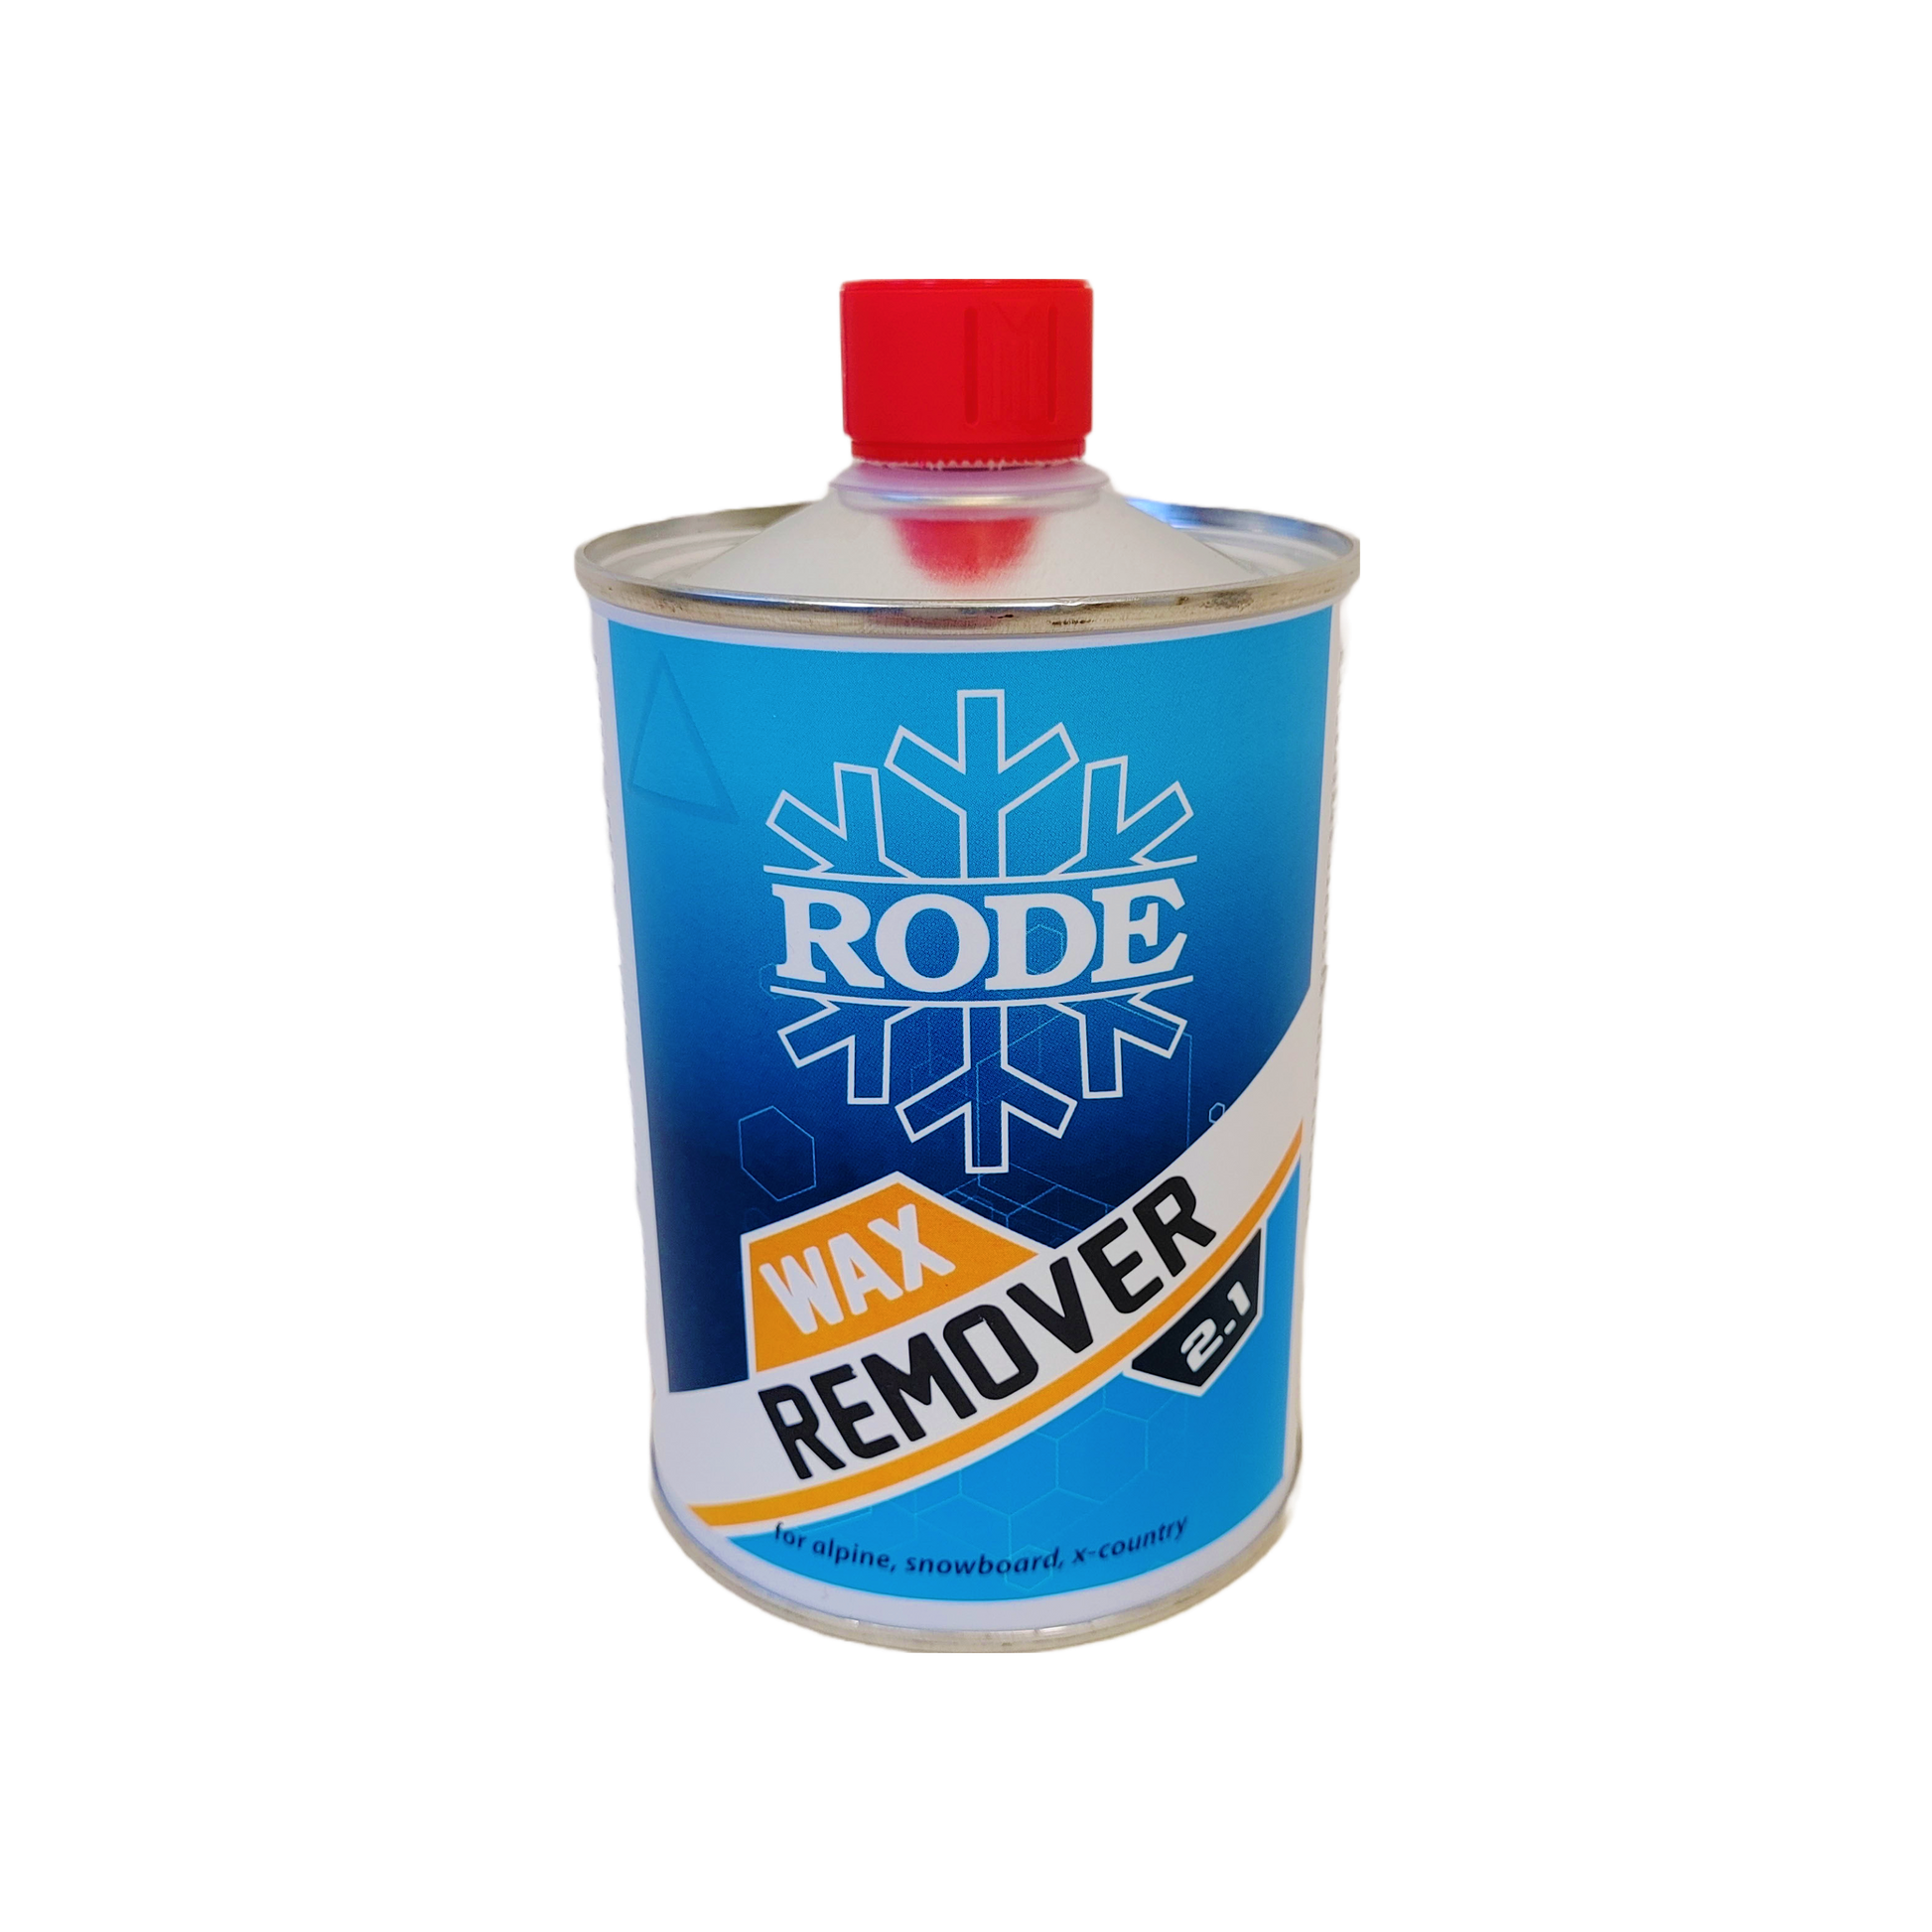

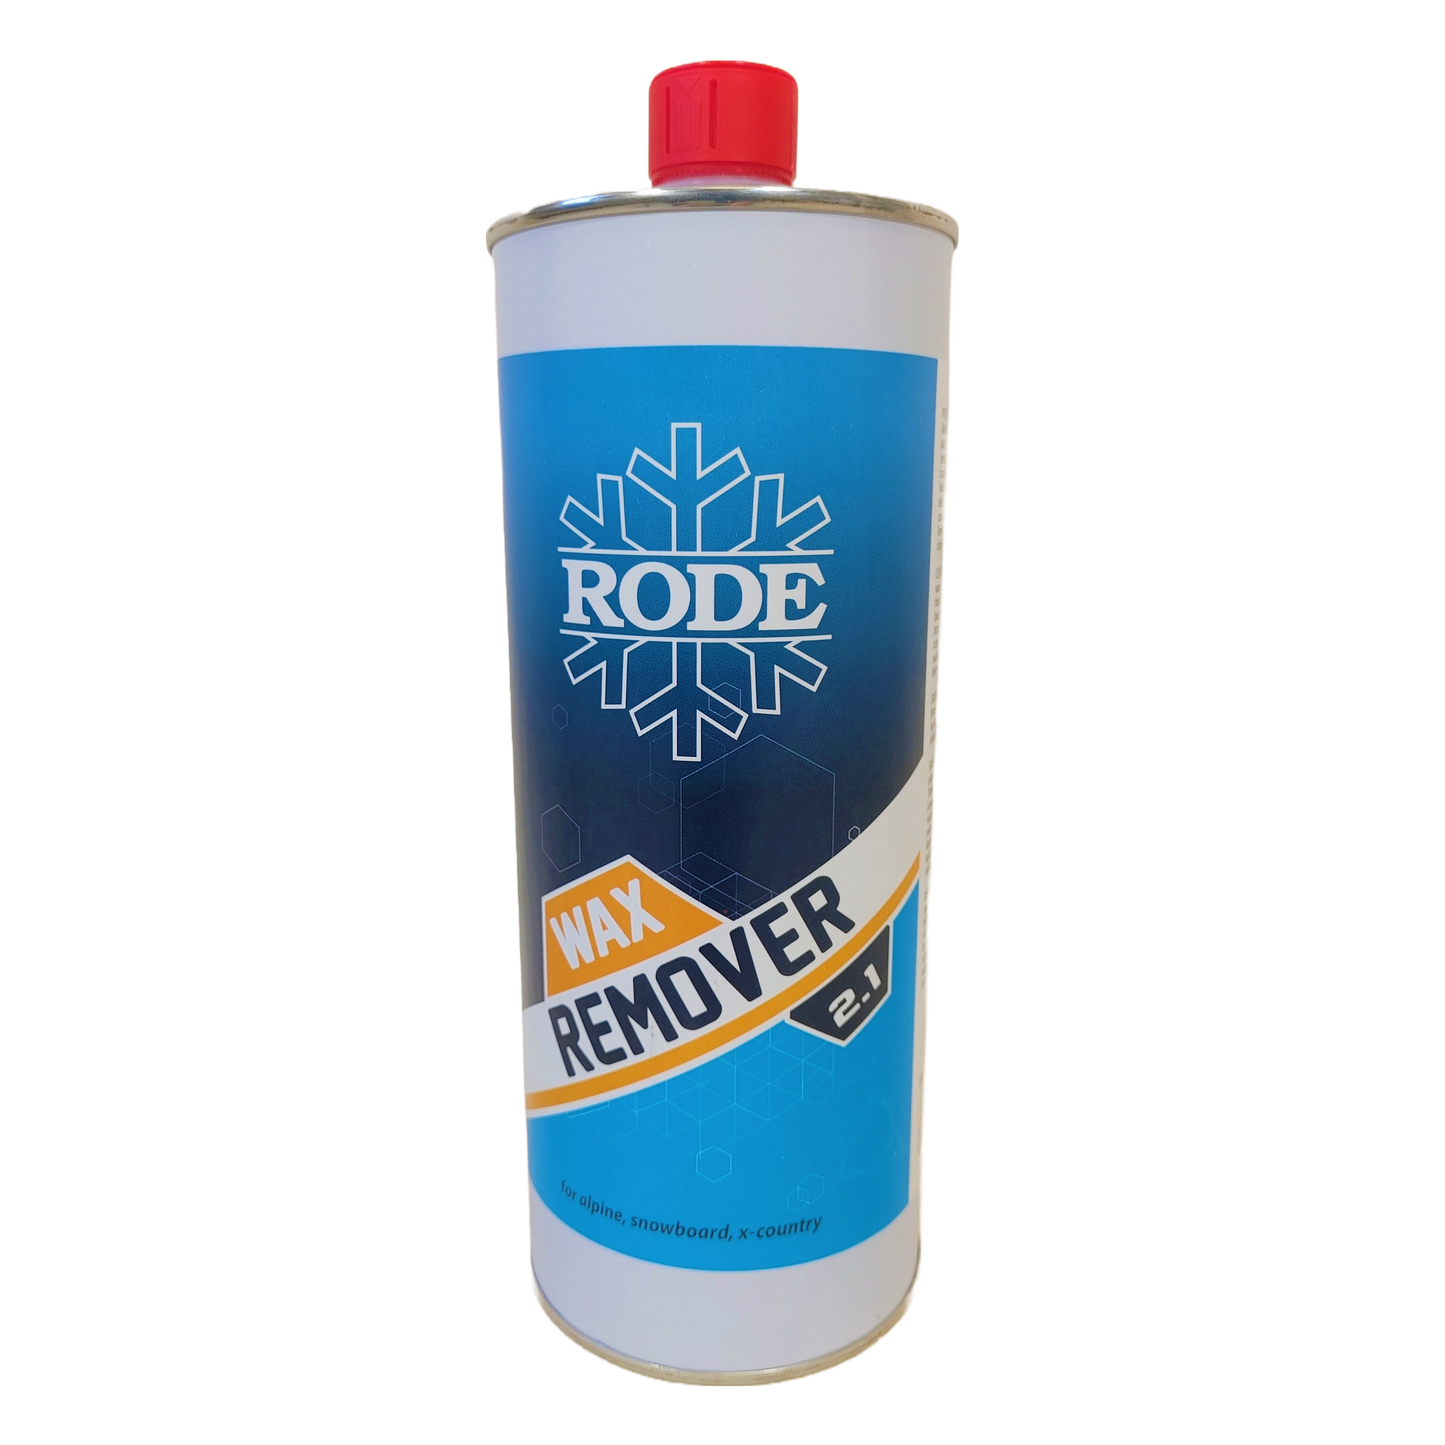
Rode Wax Remover 2.1 Bulk (500ml, 1000ml)
Rode Wax Remover 2.1 Bulk (500ml, 1000ml)
- New wax remover formulation for removing kick wax.
Rode has updated their wax remover formula to version 2.1! Improvements over the wax remover version 2.0 include a slightly slower evaporation, a softer odour, and less toxicity. These are the open-top bulk 500ml and 1000ml bottles for higher volume users.
Inventory
Inventory
500ml
72
Regular price
$25.00 CAD
Regular price
Sale price
$25.00 CAD
1000ml
30
Regular price
$40.00 CAD
Regular price
Sale price
$40.00 CAD
Unit price
$0.05
per
ml
SKU:S121
72 in stock
Regular price
$25.00 CAD
Regular price
Sale price
$25.00 CAD
Unit price
$0.05
per
ml
Taxes, discounts and shipping calculated at checkout. $5 shipping on orders above $100 & Free-Shipping above $250 to all North American addresses.
Couldn't load pickup availability
- Ships World-Wide! $5 shipping on orders over $100, Free-Shipping over $250 to North American addresses
- Full Refunds on Undamaged Items Refunds Policy
- All in-stock items ship next-business-day from Thunder Bay, Ontario, Canada. Shipping Policy

Video:
Features:
- • Open-top bulk bottles for high volume users.

Certified Fluor-Free!


More from Rode Ski Care Liquids
-
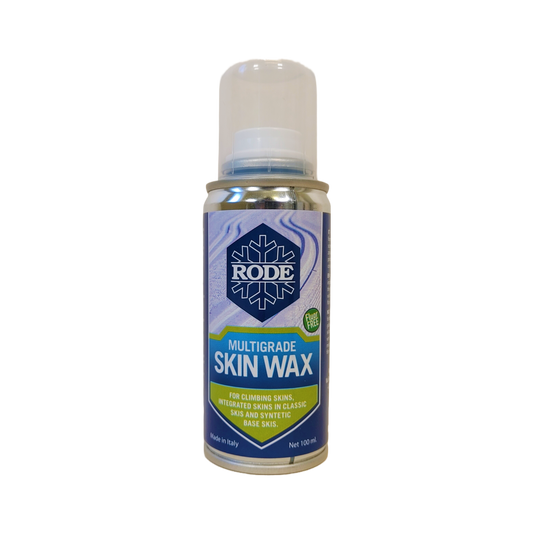
Rode SKIN SKI WAX SPRAY | 100ml (20C/-30C)
Unit price $0.30 per mlRegular price $30.00 CADRegular price -
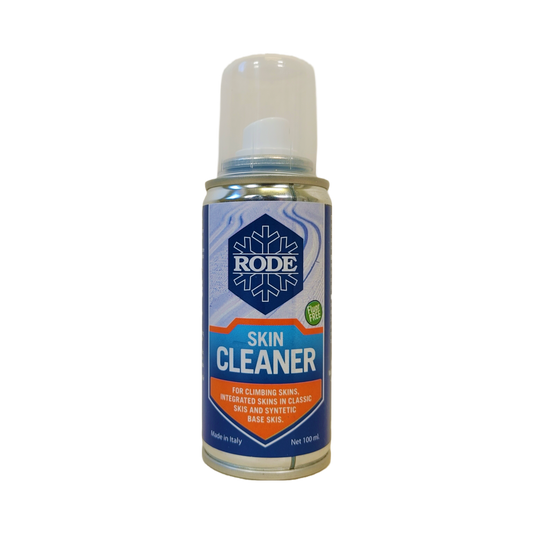
Rode Skin Ski Cleaner (Pump) | 100ml
Unit price $0.18 per mlRegular price $18.00 CADRegular price -
 Save $4.00
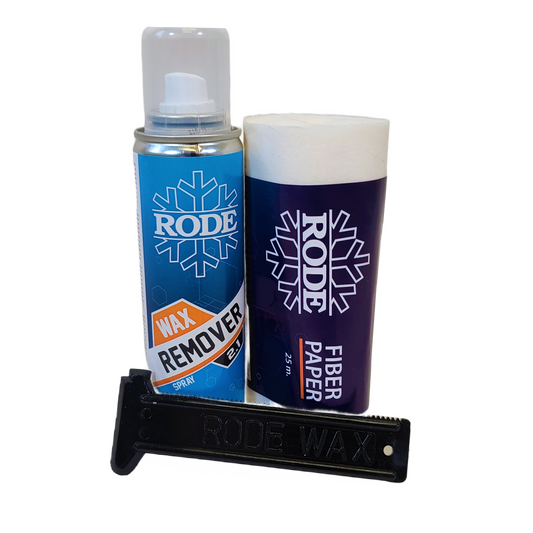
Rode Wax Remover Kit
Regular price $32.00 CADRegular price$36.00 CADSale price $32.00 CAD155 in stockSale -
 Save $3.96
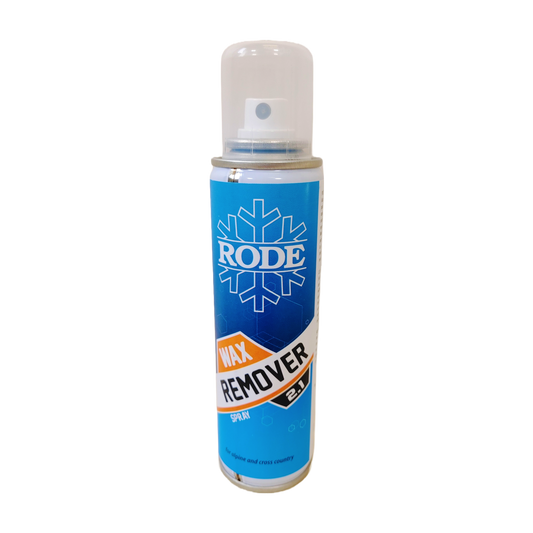
Rode Wax Remover 2.1 150ml SPRAY bottle
Unit price $0.10 per mlRegular price $15.00 CADRegular price$18.96 CADSale price $15.00 CAD219 in stockSale -
Rode Wax Remover 2.1 PUMP SPRAY 100ml
Unit price $0.18 per mlRegular price $18.00 CADRegular price -
Rode Wax Remover 2.1 Bulk (500ml, 1000ml)
Unit price $0.04 - $0.05 per mlRegular price From $25.00 CADRegular priceRode Wax Remover 2.1 Bulk (500ml, 1000ml)
Unit price $0.04 - $0.05 per mlRegular price From $25.00 CADRegular priceRode Wax Remover 2.1 Bulk (500ml, 1000ml)
Unit price $0.04 - $0.05 per mlRegular price From $25.00 CADRegular price -
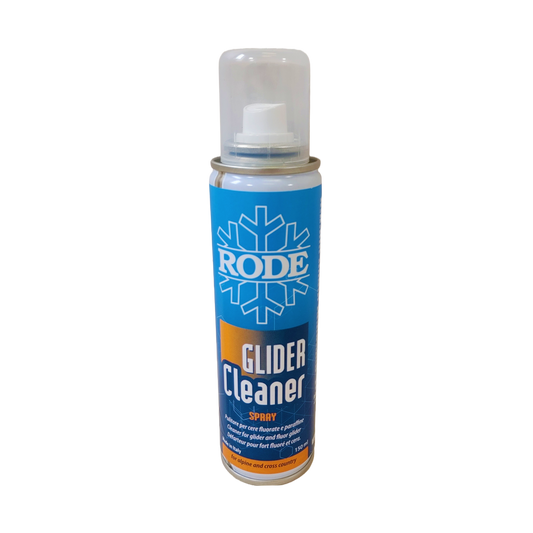
Rode Glider Cleaner PUMP SPRAY 100ml
Unit price $0.20 per mlRegular price $20.00 CADRegular price -
 Save $5.96
Rode Glider Cleaner Spray | 150mL
Unit price $0.11 per mlRegular price $16.00 CADRegular price$21.96 CADSale price $16.00 CAD3 in stockSale -
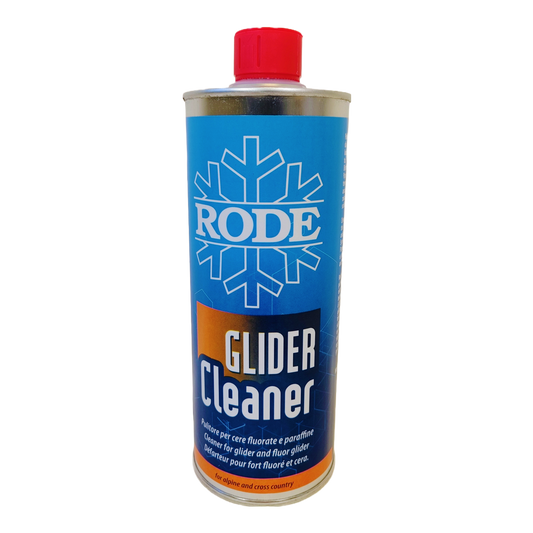
Rode Glider Cleaner Bulk (500ml, 1000ml)
Unit price $0.07 - $0.08 per mlRegular price From $42.00 CADRegular priceRode Glider Cleaner Bulk (500ml, 1000ml)
Unit price $0.07 - $0.08 per mlRegular price From $42.00 CADRegular priceRode Glider Cleaner Bulk (500ml, 1000ml)
Unit price $0.07 - $0.08 per mlRegular price From $42.00 CADRegular price -
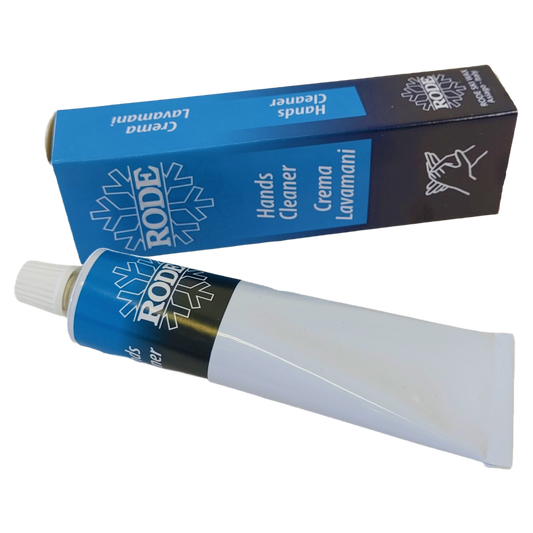
Rode Hand Cleaner Cream | 60g
Unit price $0.33 per gRegular price $20.00 CADRegular price


Rode
Italian wax company from Asiago. Well known as a manufacturer of reliable grip wax, but has products across the board. Rode wax is a fixture in world cup wax rooms around the world. Rode's kick waxes, for which they are most famous for, are often considered the best by those in the business. Some of their kick wax recipes are ancient! But if it works it works so why change it? Don't be fooled, many of their affordable waxes are fully qualified to be applied to race skis... even when it's all on the line. Rode Top Line waxes are truly incredible and very popular amongst techs. A rule of thumb when trying to pick rode waxes is if you see the word 'Multigrade' on it, buy it! It's the badge indicating a holy grail of your wax box and each one is a must-have.
Rode Products
-
Rode Grip Waxes
Rode has, arguably, the most famous kick wax line in the world!...
-

Rode Glide Waxes
Rode has fast, affordable glide wax options for all levels! From World...
-
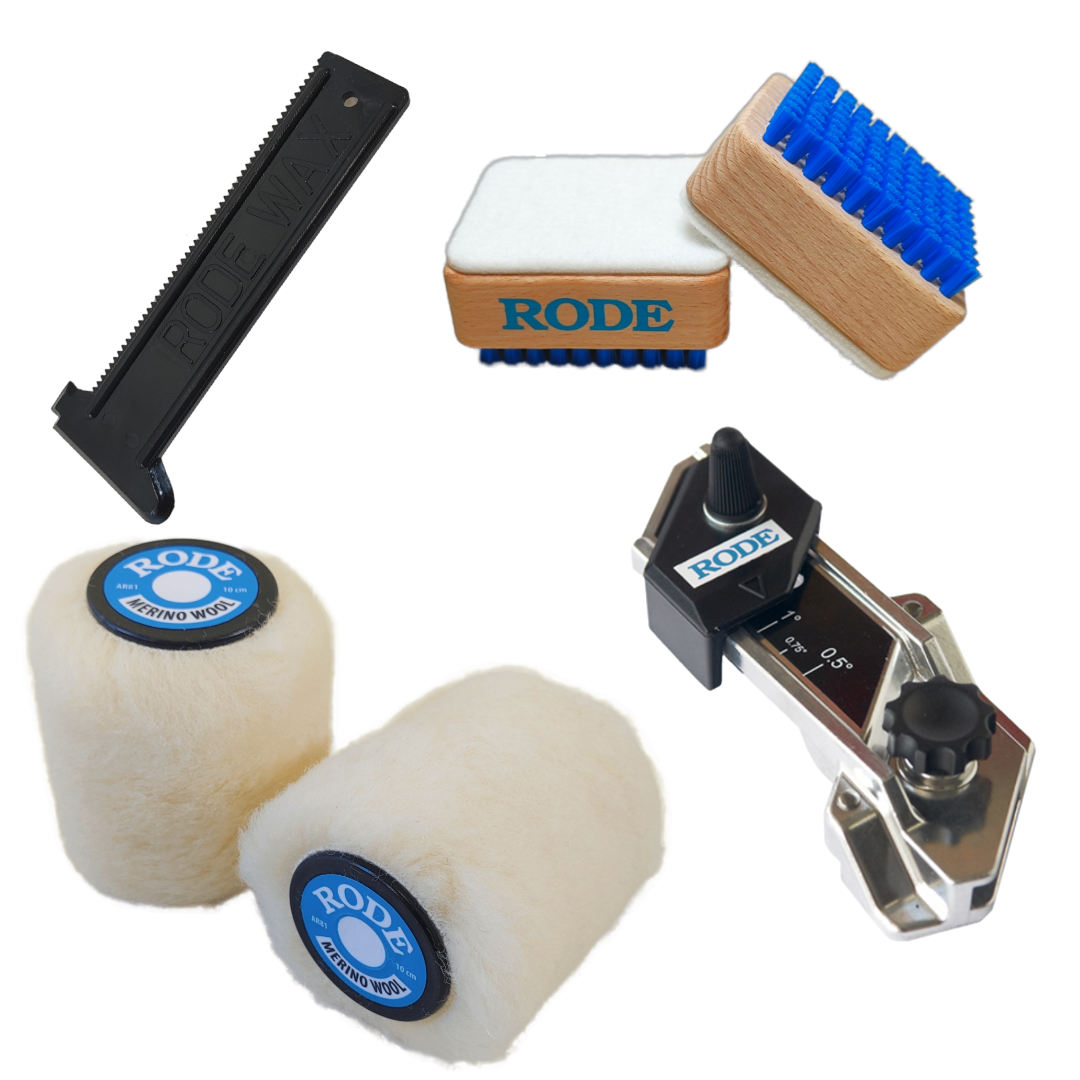
Rode Waxing Tools
All the tools you need for successful waxing from Rode!
-
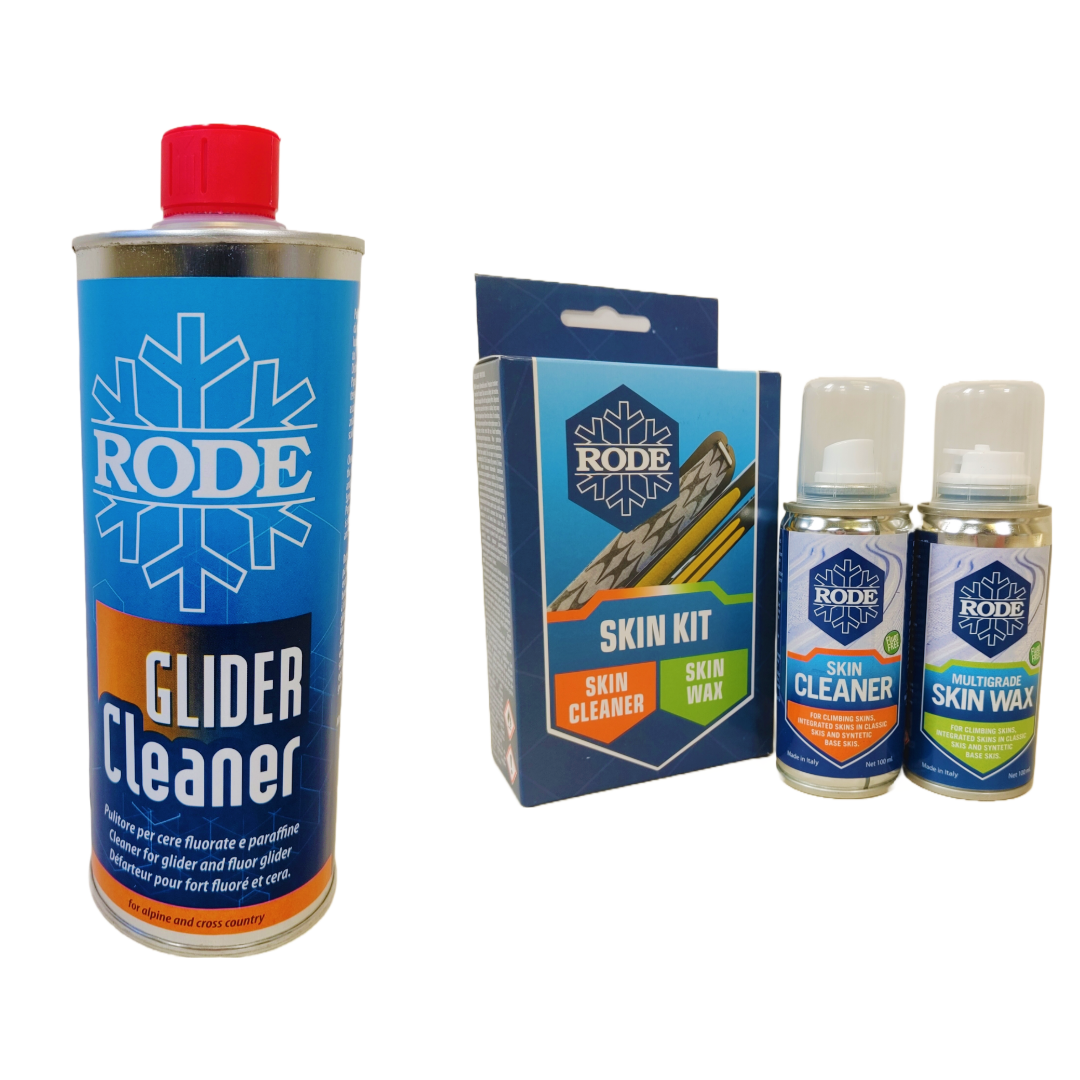
Rode Ski Care Liquids
Affordable options for cleaning and caring for your skis and skins!
-
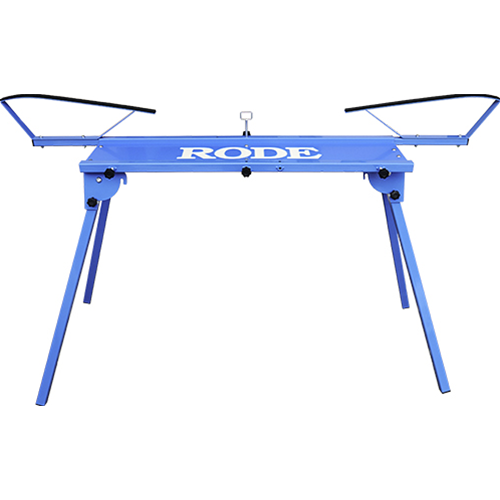
Rode Waxing Tables and Accessories
Rode`s affordable line of EU-made waxing tables and accessories!
-
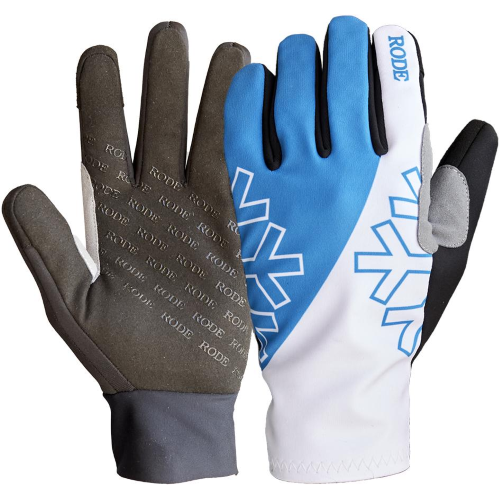
Rode Gloves
Rode's entry into the ski glove market.
-
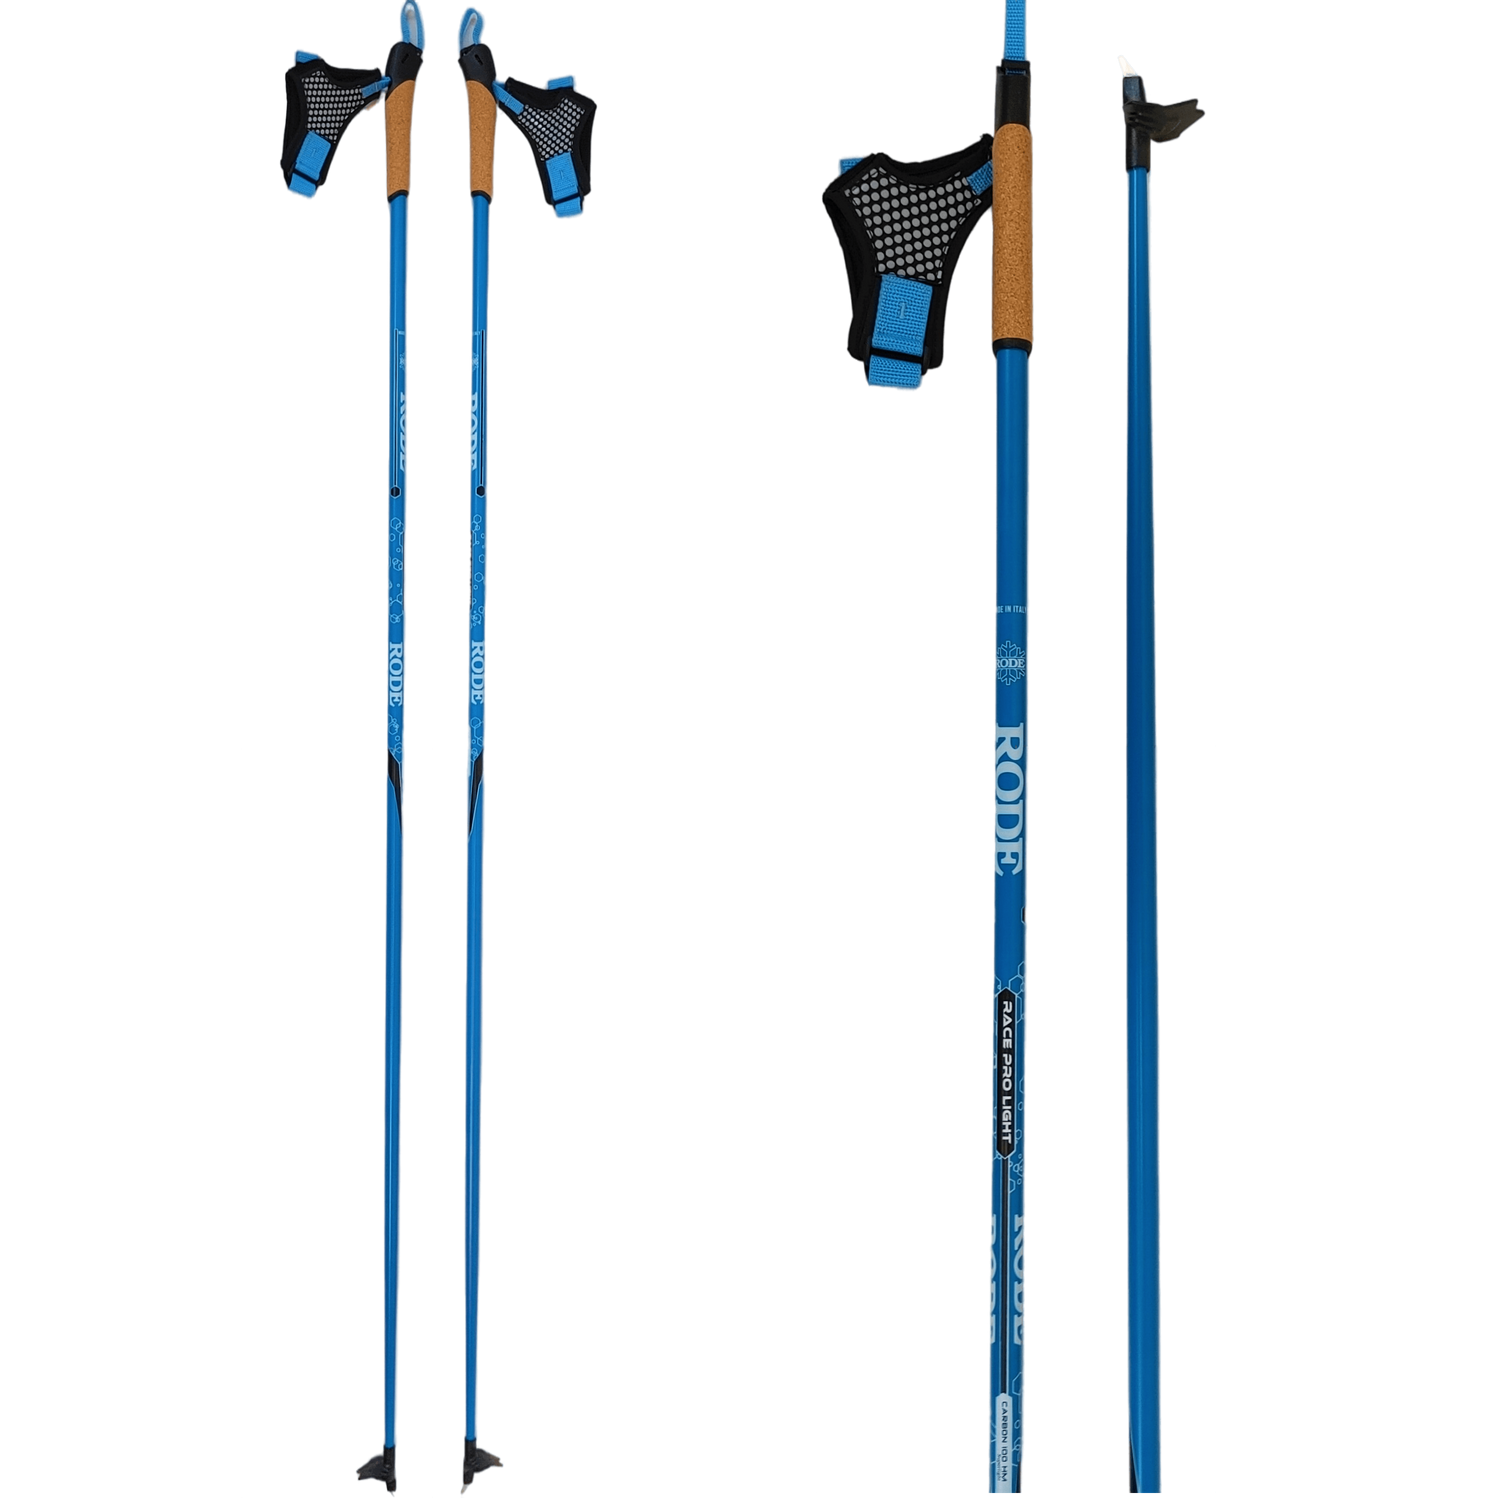
Rode Poles
Rode's entry into the pole market. Ranging from top of the line...
-
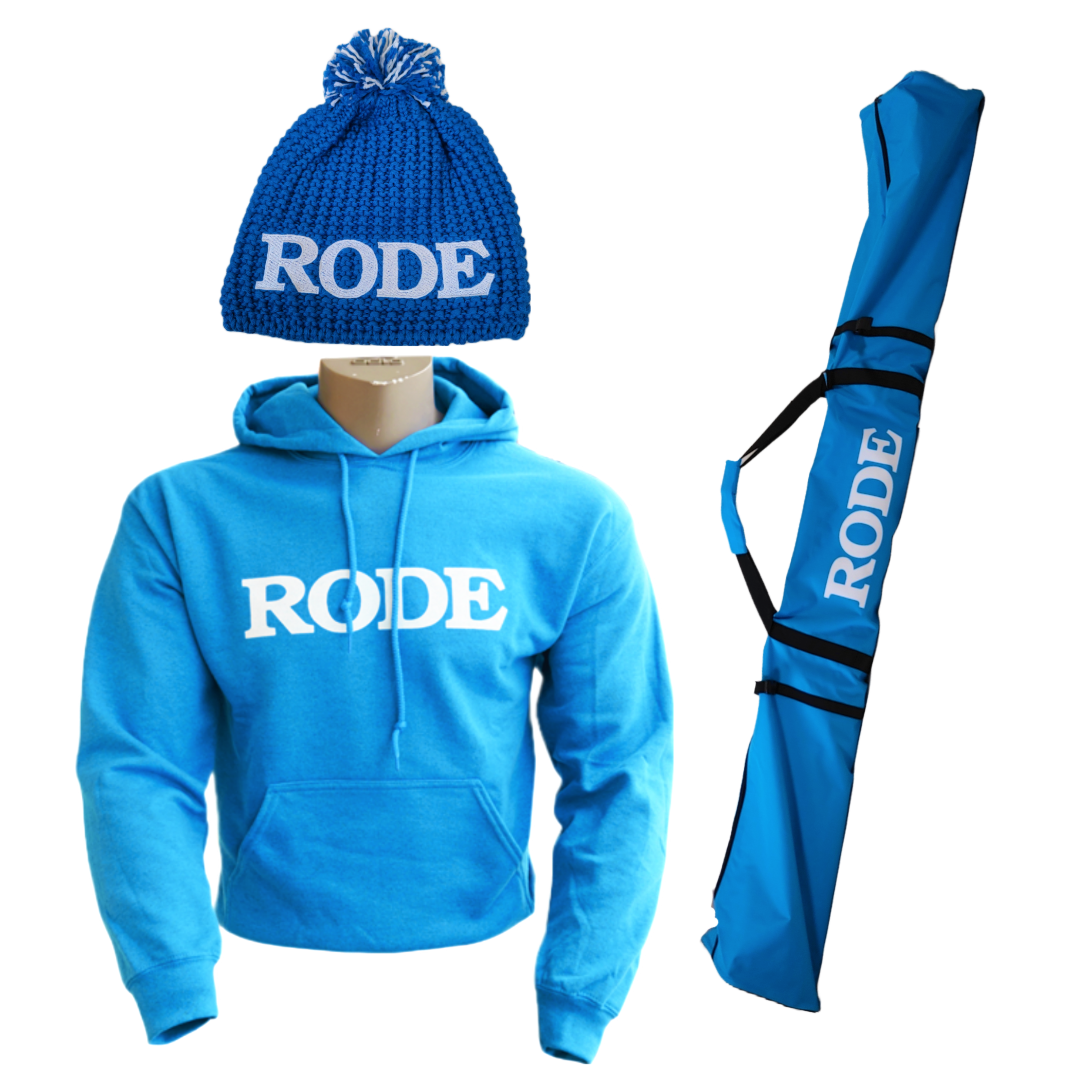
Rode Promo Items
All Rode branded promotional items to match your favourite Italian wax manufacturer!


0
Total items
$0.00
Taxes, discounts and shipping calculated at checkout. $5 shipping on orders above $100 & Free-Shipping above $250 to all North American addresses.
Product subtotal