Features:
- • Comes in a standard 45g tin.

Recommended for these snow ages:
- Fresh Falling
- New
- Transforming
- Transformed
- Old
- Icy
- Man-Made

Certified Fluor-Free!


Cost Breakdown: How many pairs of skis can be waxed with this product?
45g
60
$0.33 CAD
$
$
$
$
$
More from Vauhti GS Hardwaxes
-
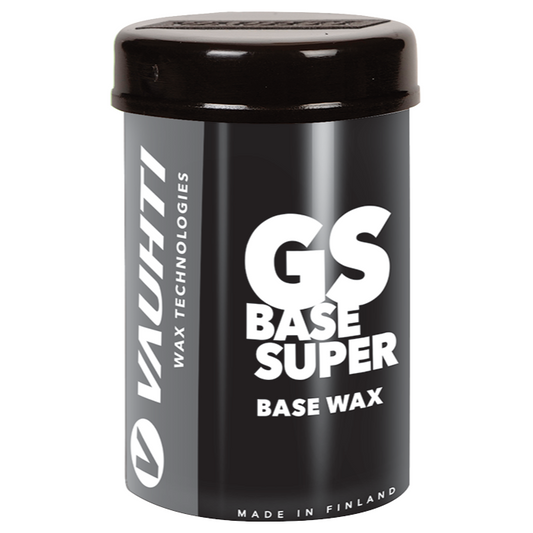
Vauhti GS BASE SUPER BASE Binder | 45g
Unit price $0.44 per gRegular price $20.00 CADRegular price -
Vauhti GS BASE AT BASE Binder | 45g
Unit price $0.44 per gRegular price $20.00 CADRegular price -
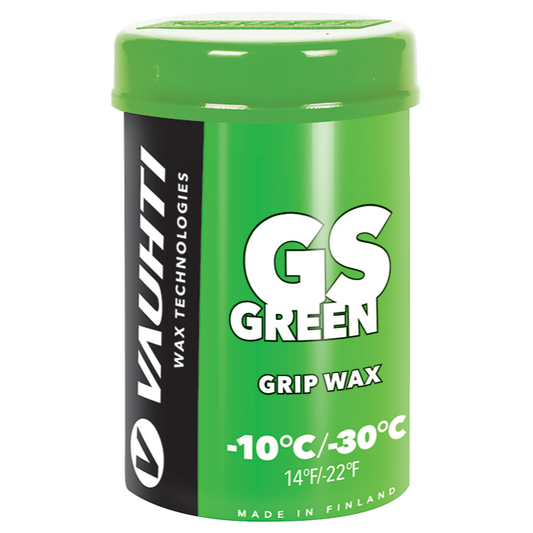
Vauhti GS GREEN Hardwax | 45g (-10C/-30C)
Unit price $0.44 per gRegular price $20.00 CADRegular price -
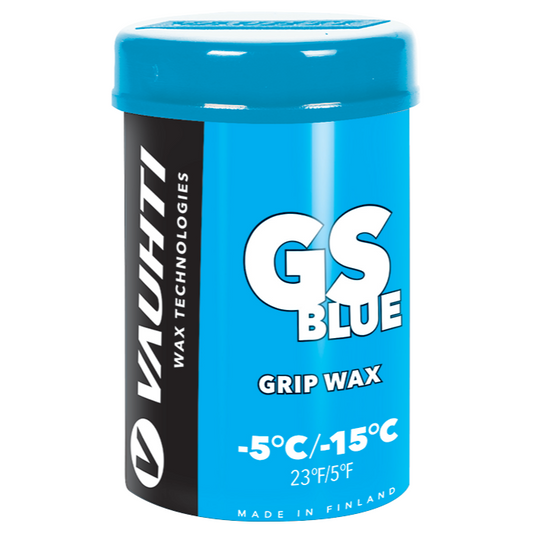
Vauhti GS BLUE Hardwax | 45g (-5C/-15C)
Unit price $0.44 per gRegular price $20.00 CADRegular price -
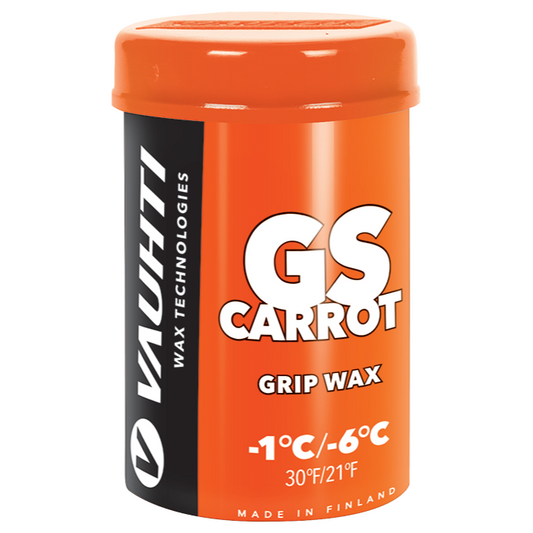
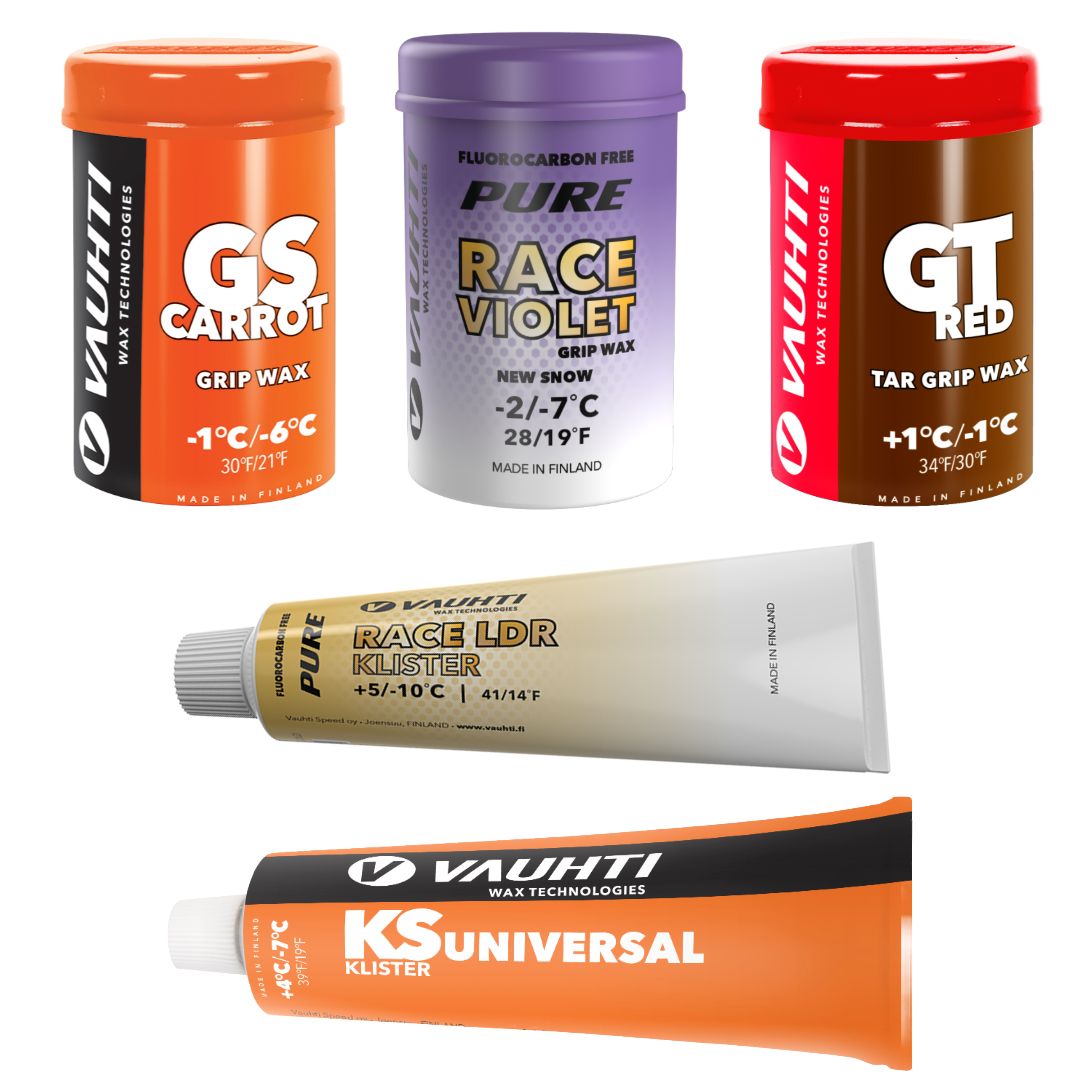
Vauhti GS CARROT Hardwax | 45g (-1C/-6C)
Unit price $0.44 per gRegular price $20.00 CADRegular price -
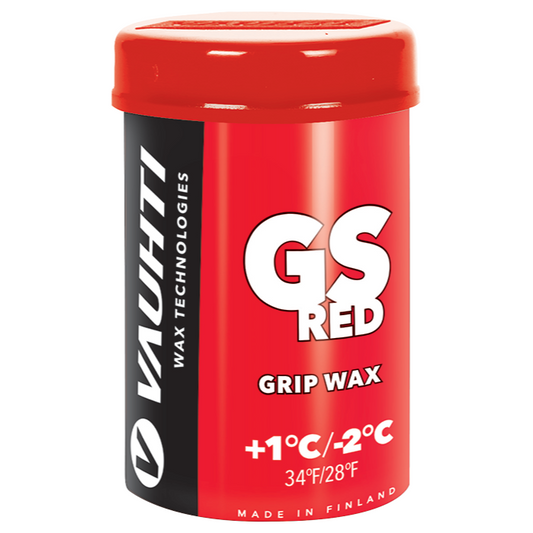
Vauhti GS RED Hardwax | 45g (1C/-2C)
Unit price $0.44 per gRegular price $20.00 CADRegular price

Vauhti
The Vauhti Ski wax company was founded all the way back in 1912. That's over 100 years ago! Based in Eastern Finland, their waxes have since traveled the world. Vauhti has gone through a major rebranding over the past few years and has put major effort into their new liquid waxes. The good news is the liquids live up to the reputation Vauhti built with its FOX fluoros, TEHO grips, and of course the beloved Carrot kick wax. Get some for yourself and enjoy the Finnish speed!
Vauhti Products
-
Vauhti Glide Waxes
One of the most well known wax companies in the world with...
-
Vauhti Grip Waxes
One of the most well known wax companies in the world with...
-
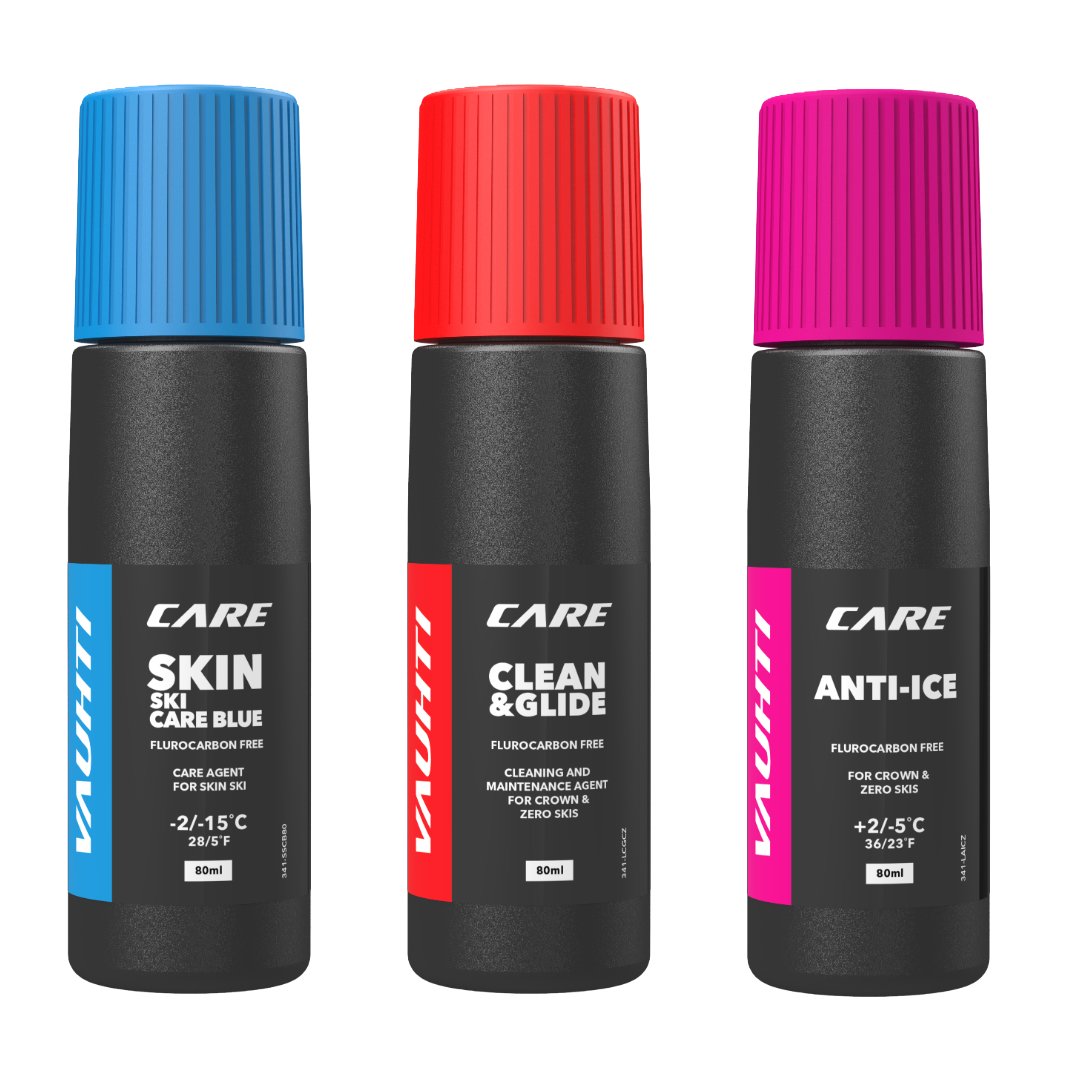
Vauhti Care Liquids
Vauhti CARE line products have been developed especially to clean and maintain...
-
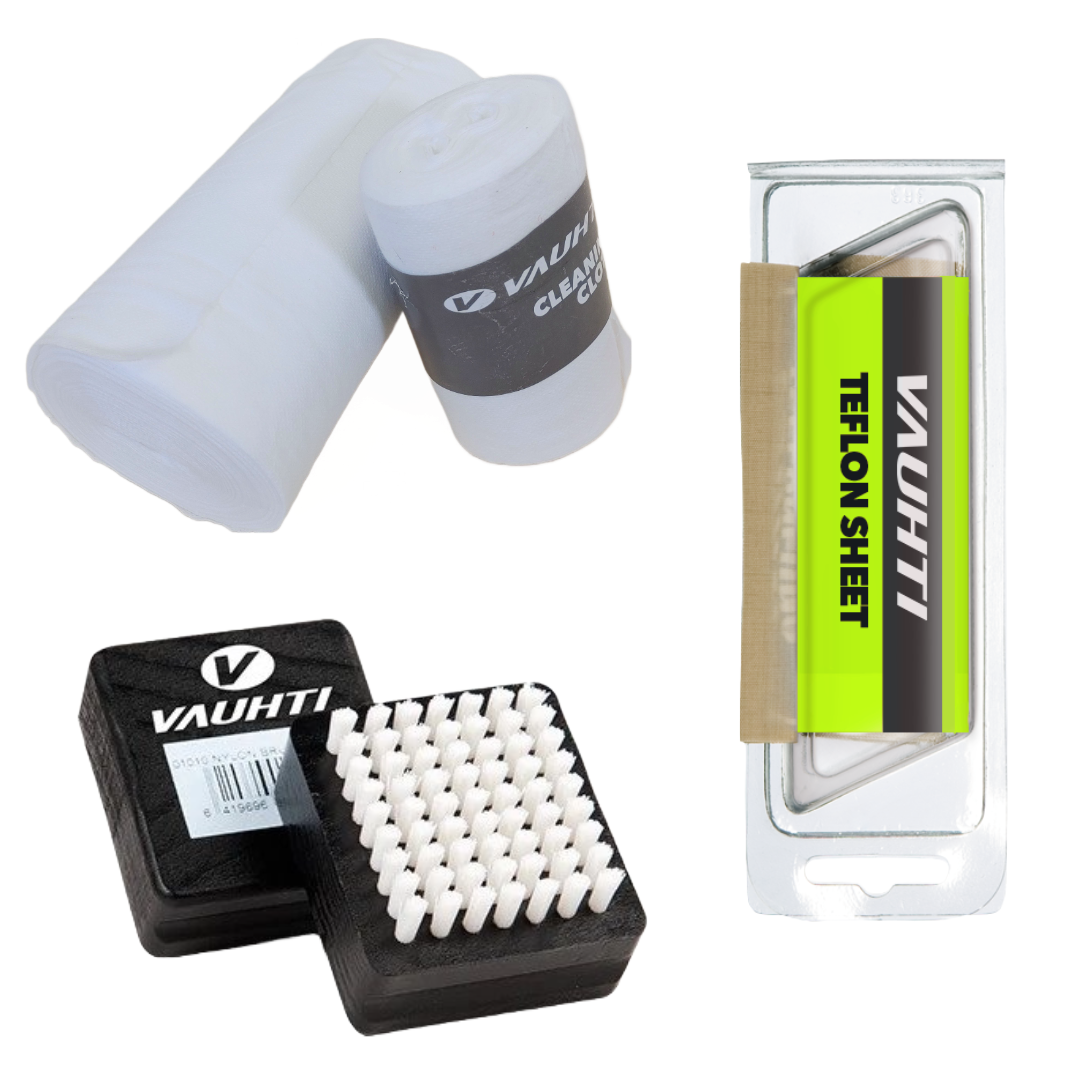
Vauhti Waxing Tools
A small assortment of standout Vauhti Waxing tools that we carry!