Liquid Glide Wax Application
How-To Video
Step-by-Step
Products for Liquid Glide Wax Application
-
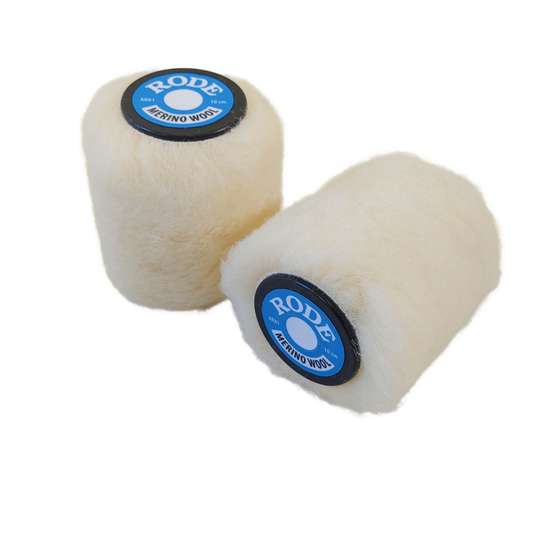
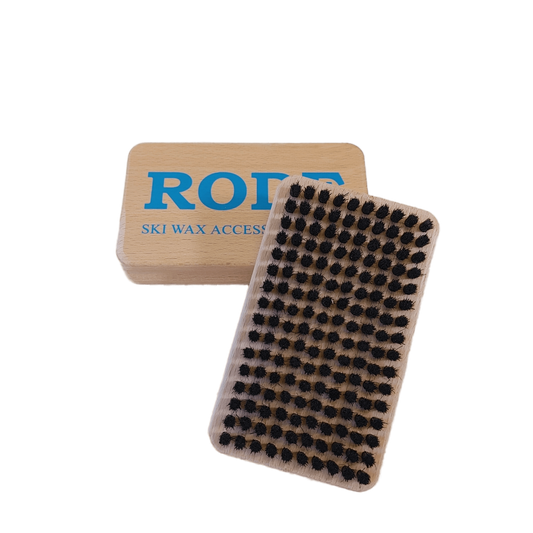
Rode Merino LONG HAIR Wool Roto Brush
Regular price From $56.00 CADRegular priceRode Merino LONG HAIR Wool Roto Brush
Regular price From $56.00 CADRegular priceRode Merino LONG HAIR Wool Roto Brush
Regular price From $56.00 CADRegular price -
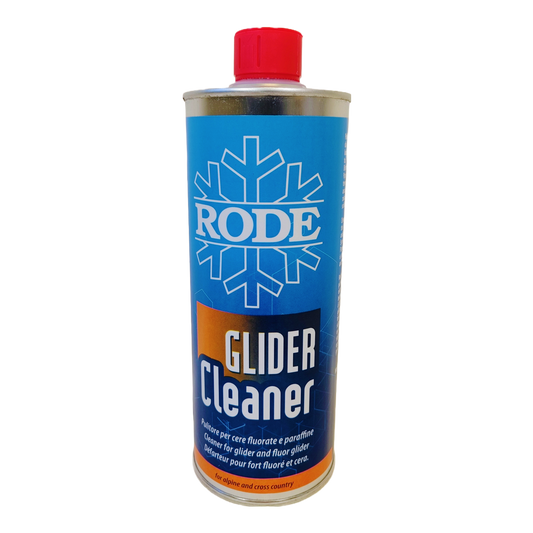
Rode Glider Cleaner Bulk (500ml, 1000ml)
Unit price $0.07 - $0.08 per mlRegular price From $42.00 CADRegular priceRode Glider Cleaner Bulk (500ml, 1000ml)
Unit price $0.07 - $0.08 per mlRegular price From $42.00 CADRegular priceRode Glider Cleaner Bulk (500ml, 1000ml)
Unit price $0.07 - $0.08 per mlRegular price From $42.00 CADRegular price -
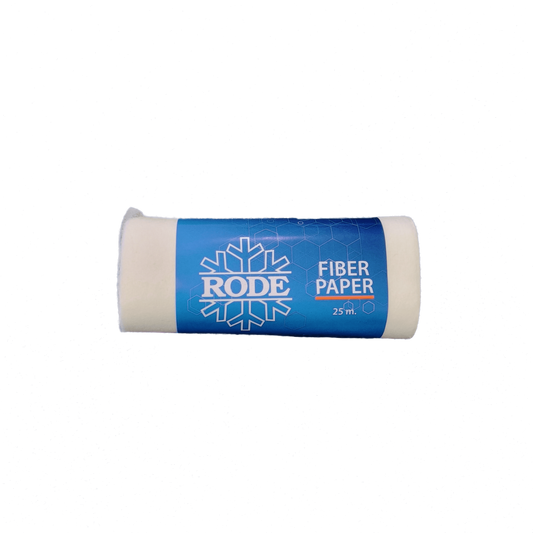
Rode Fiber Paper | 25m
Unit price $0.72 per mRegular price $18.00 CADRegular price -
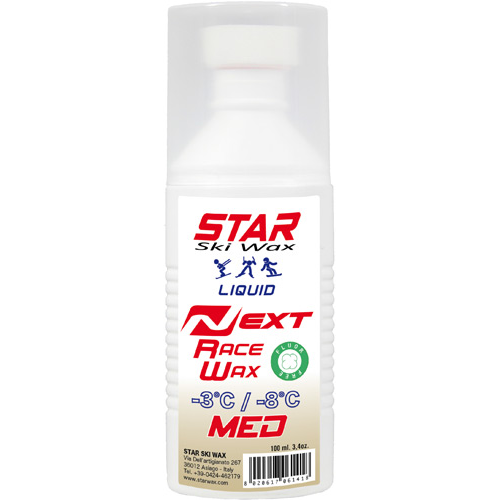
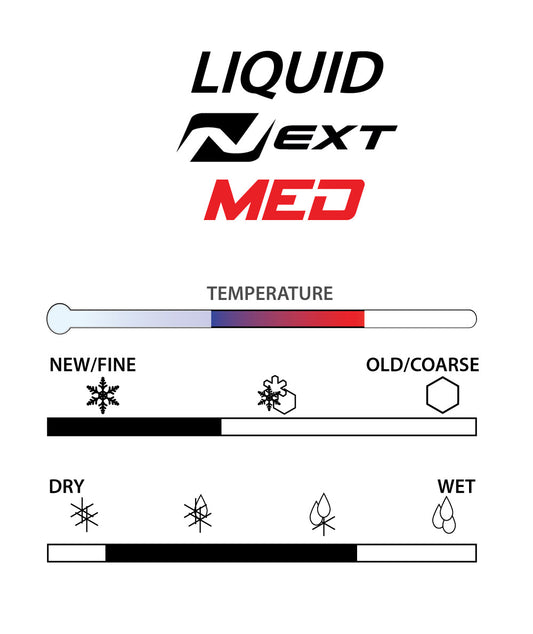
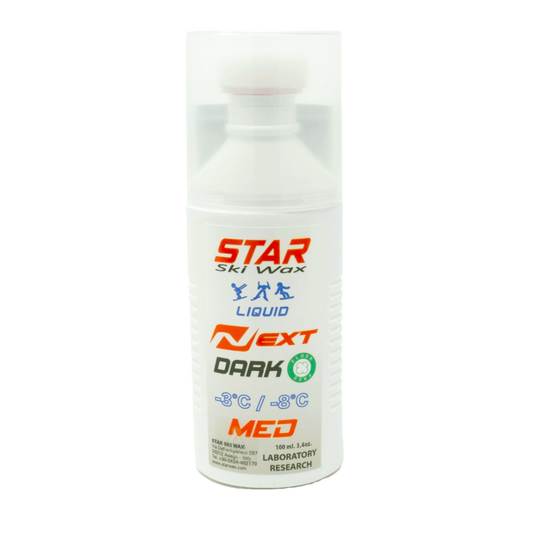
STAR NEXT MED Fluoro-Free Racing Liquid (Sponge Application) | 100mL (-3C/-8C)
Unit price $0.80 per mlRegular price $80.00 CADRegular price -
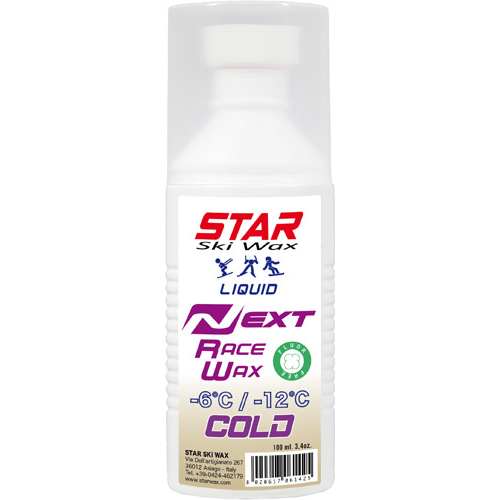
STAR NEXT COLD Fluoro-Free Racing Liquid (Sponge Application) | 100mL (-6C/-12C)
Unit price $0.80 per mlRegular price $80.00 CADRegular price -
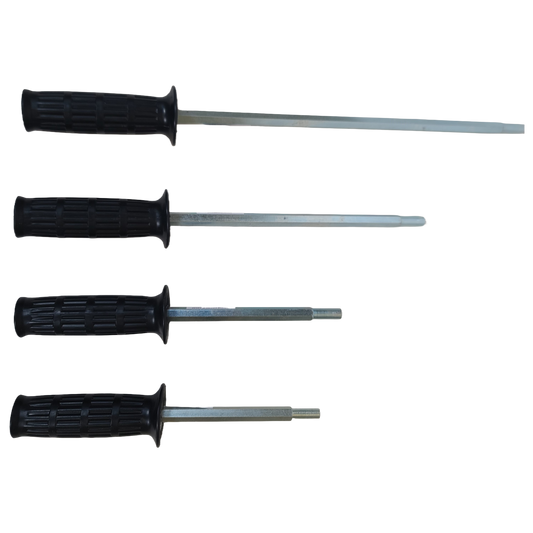
Rode Roto Handle (100mm, 120mm, 200mm, or 300mm)
Regular price $100.00 CADSale price $100.00 CAD62 in stockRode Roto Handle (100mm, 120mm, 200mm, or 300mm)
Regular price $100.00 CADSale price $100.00 CADRode Roto Handle (100mm, 120mm, 200mm, or 300mm)
Regular price $100.00 CADSale price $100.00 CADSale -
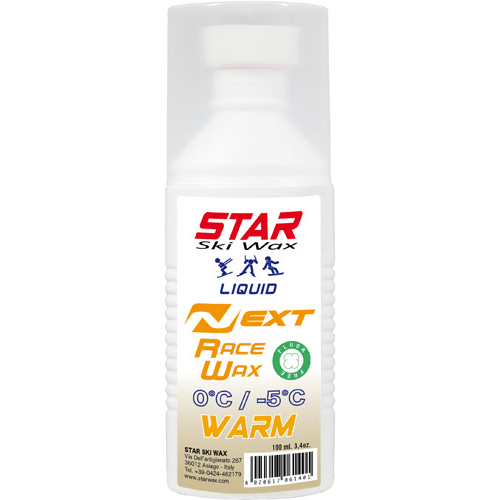
STAR NEXT WARM Fluoro-Free Racing Liquid (Sponge Application) | 100mL (0C/-5C)
Unit price $0.80 per mlRegular price $80.00 CADRegular price -
 Save $5.96
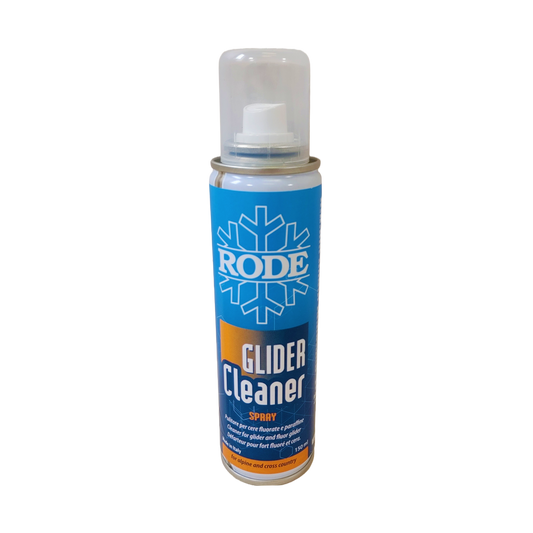
Rode Glider Cleaner Spray | 150mL
Unit price $0.11 per mlRegular price $16.00 CADRegular price$21.96 CADSale price $16.00 CAD3 in stockSale -
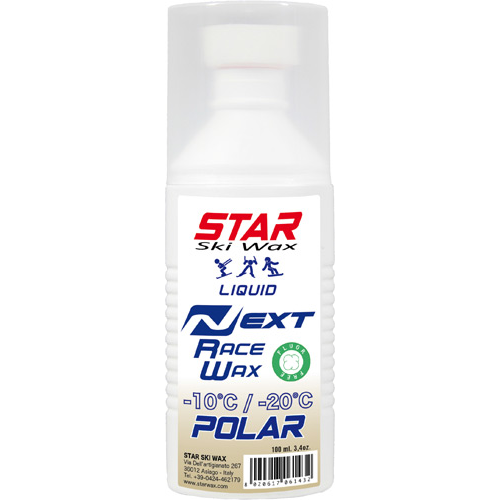
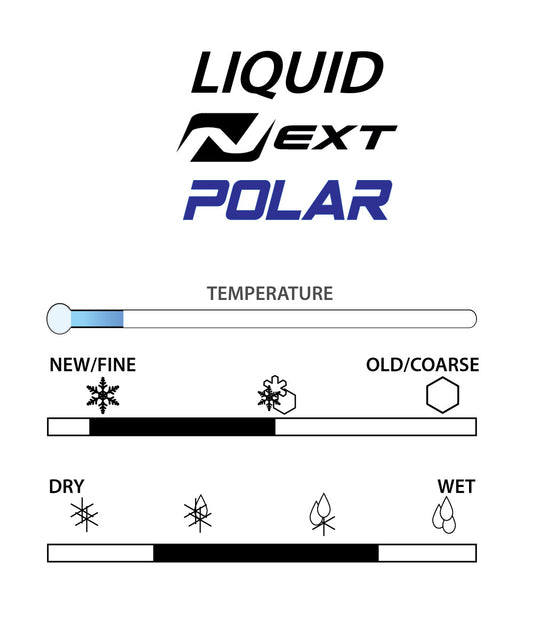
STAR NEXT POLAR Fluoro-Free Racing Liquid (Sponge Application) | 100mL (-10C/-20C)
Unit price $0.80 per mlRegular price $80.00 CADRegular price -
Rode Soft Nylon Handbrush
Regular price $26.00 CADRegular price -
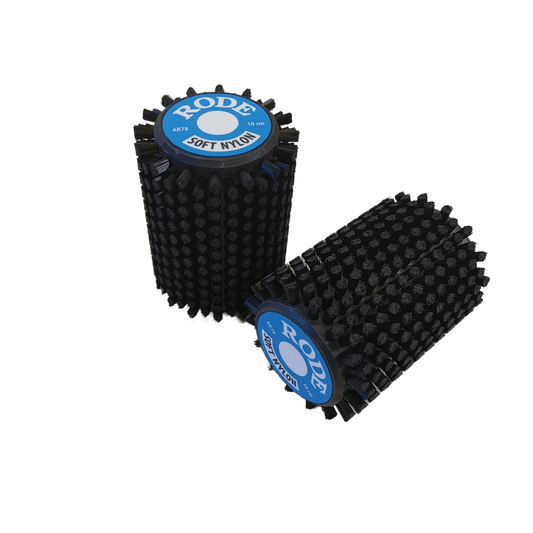
Rode Soft Nylon Roto Brush
Regular price From $70.00 CADRegular priceRode Soft Nylon Roto Brush
Regular price From $70.00 CADRegular priceRode Soft Nylon Roto Brush
Regular price From $70.00 CADRegular price -
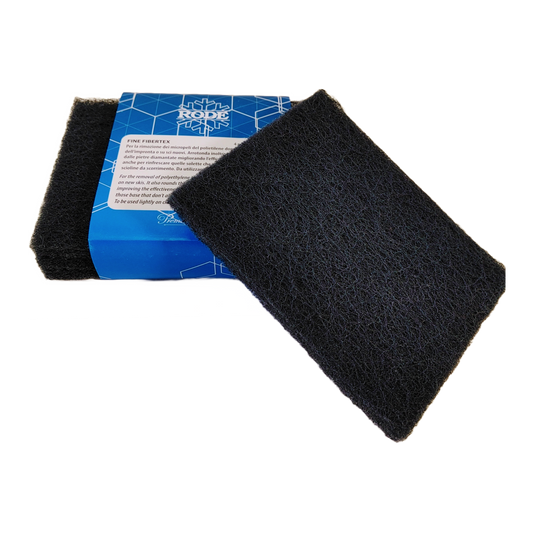
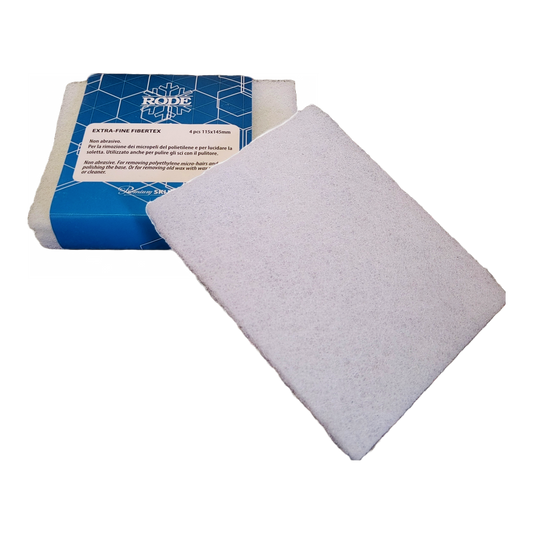
Rode FiberTex
Regular price From $14.00 CADRegular priceRode FiberTex
Regular price From $14.00 CADRegular priceRode FiberTex
Regular price From $14.00 CADRegular price -
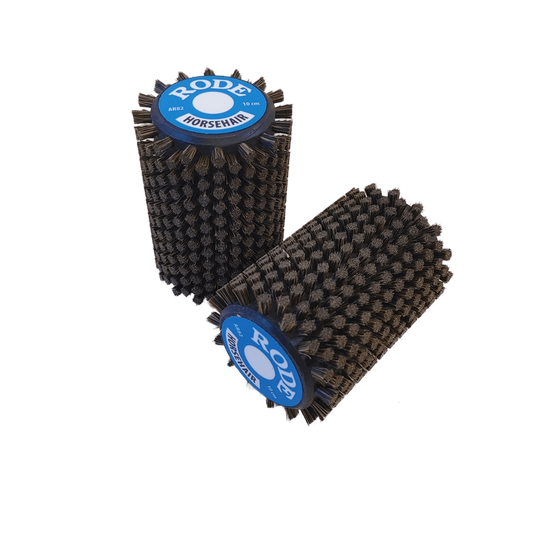
Rode Horsehair Roto Brush
Regular price From $70.00 CADRegular priceRode Horsehair Roto Brush
Regular price From $70.00 CADRegular priceRode Horsehair Roto Brush
Regular price From $70.00 CADRegular price -
STAR NEXT Durable Long Distance Base Liquid (Sponge Application) | 100ml
Unit price $0.90 per mlRegular price $90.00 CADRegular price -
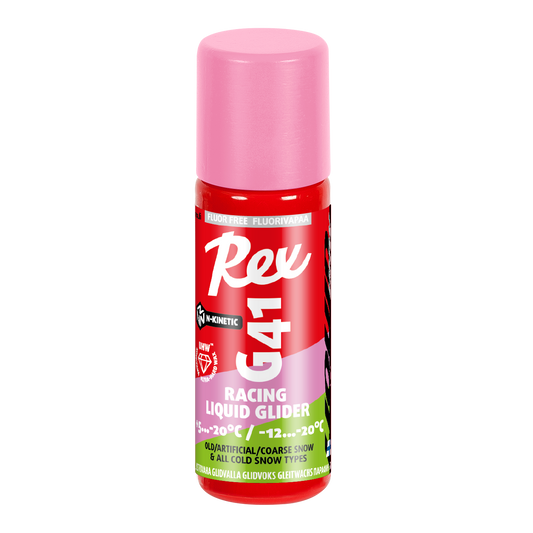
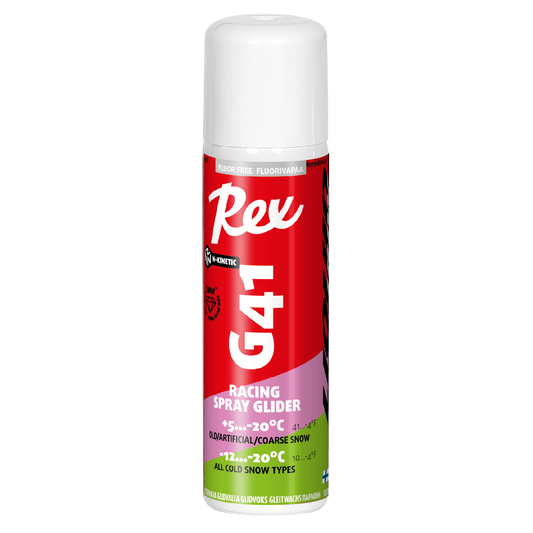
Rex Wax G41 Pink/Green 'UHW' N-Kinetic Liquid Glider (5C/-20C)
Unit price $0.53 - $0.67 per mlRegular price From $40.00 CADRegular priceRex Wax G41 Pink/Green 'UHW' N-Kinetic Liquid Glider (5C/-20C)
Unit price $0.53 - $0.67 per mlRegular price From $40.00 CADRegular priceRex Wax G41 Pink/Green 'UHW' N-Kinetic Liquid Glider (5C/-20C)
Unit price $0.53 - $0.67 per mlRegular price From $40.00 CADRegular price -
Rode Horsehair Handbrush
Regular price $26.00 CADRegular price -
STAR NEXT All Conditions Fluoro-Free Racing Liquid (Sponge Application) | 100ml
Unit price $0.90 per mlRegular price $90.00 CADRegular price -
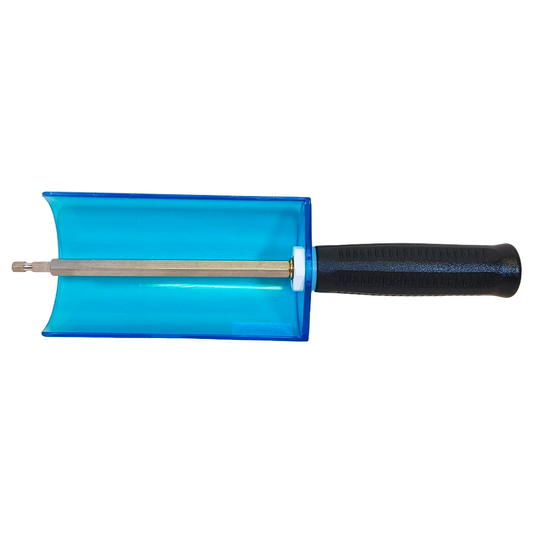
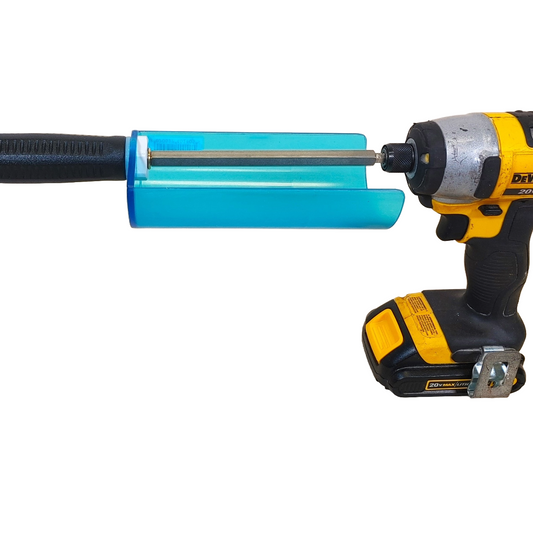
STAR Rotary Brush Handle with Cover FAST RELEASE/ IMPACT DRIVER- 140mm | 140mm
Regular price $220.00 CADRegular price -
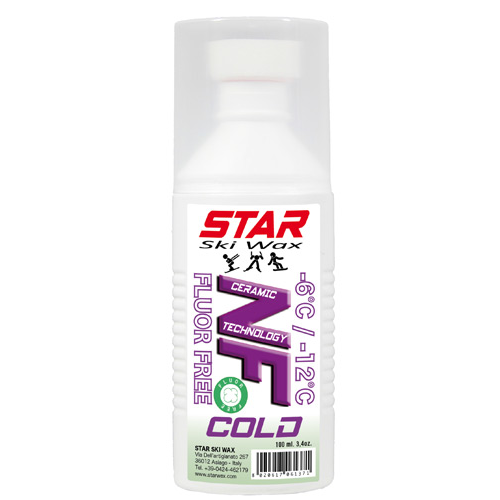
STAR NF COLD Fluoro-Free Liquid (Sponge Application) | 100mL (-6C/-20C)
Unit price $0.45 per mlRegular price $45.00 CADRegular price -
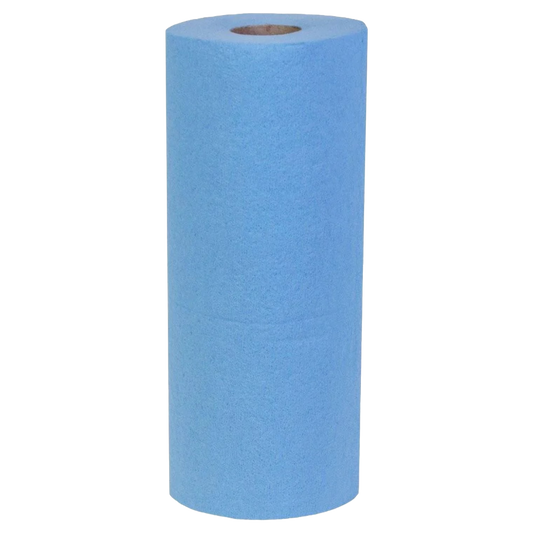
Shop Towel for Ski & Snowboard Waxing
Unit price $0.13 per itemRegular price $7.00 CADRegular price -
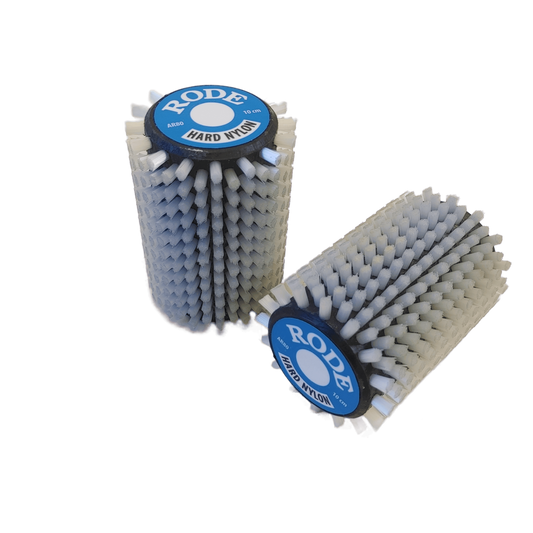
Rode Hard Nylon Roto Brush
Regular price From $70.00 CADRegular priceRode Hard Nylon Roto Brush
Regular price From $70.00 CADRegular priceRode Hard Nylon Roto Brush
Regular price From $70.00 CADRegular price -
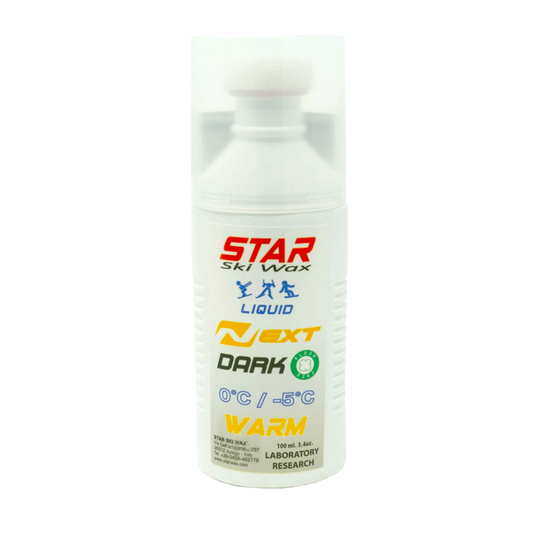
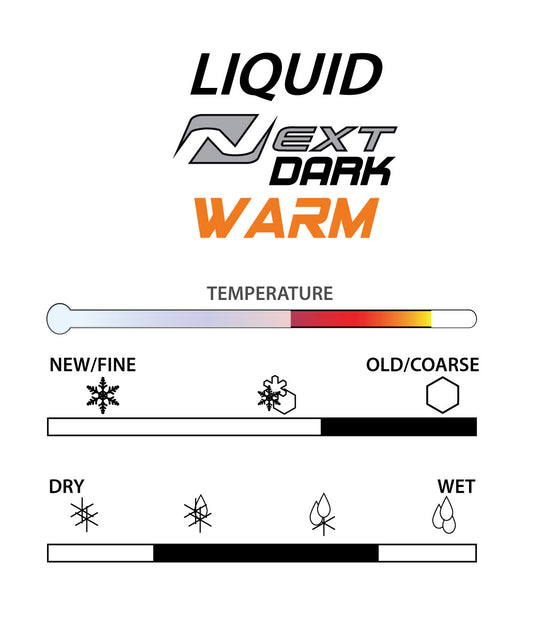
STAR NEXT DARK WARM Fluoro-Free Racing Liquid (Sponge Application) (0C/-5C) | 100ml
Unit price $0.90 per mlRegular price $90.00 CADRegular price -
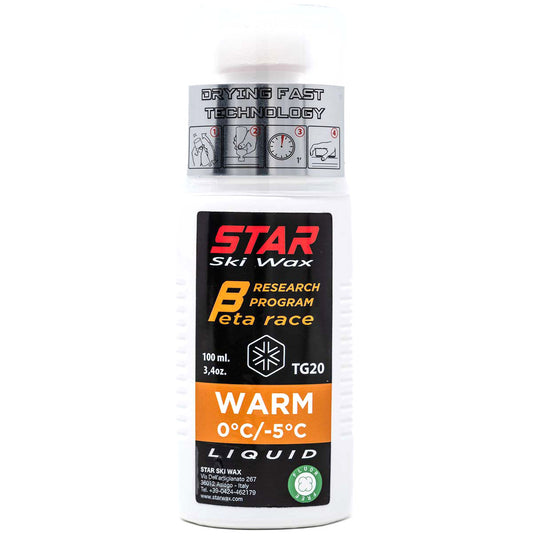
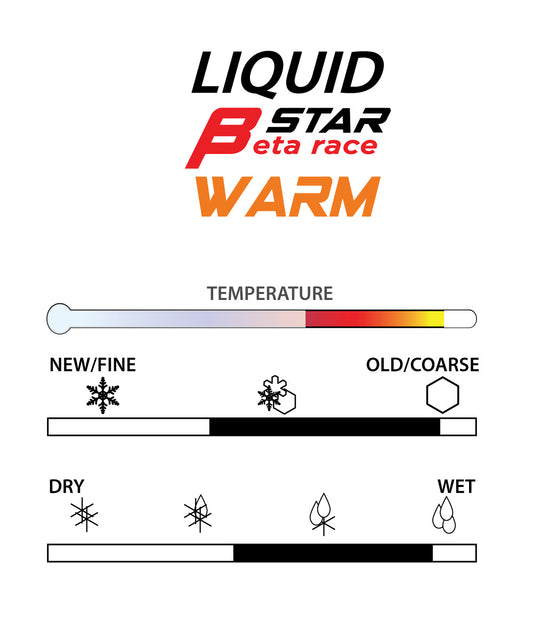
STAR BETA WARM Fluoro-Free Liquid (Sponge Applicator) | 100ml
Unit price $0.90 per mlRegular price $90.00 CADRegular price -
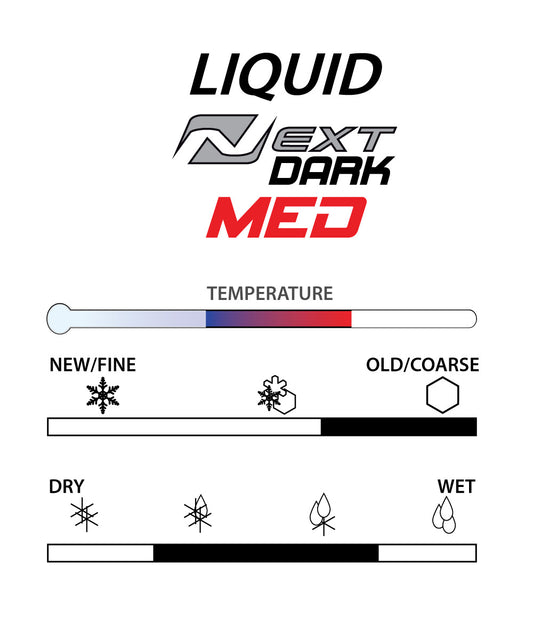
STAR NEXT DARK MED Fluoro-Free Racing Liquid (Sponge Application) (-3C/-8C) | 100ml
Unit price $0.90 per mlRegular price $90.00 CADRegular price