1
/
of
2
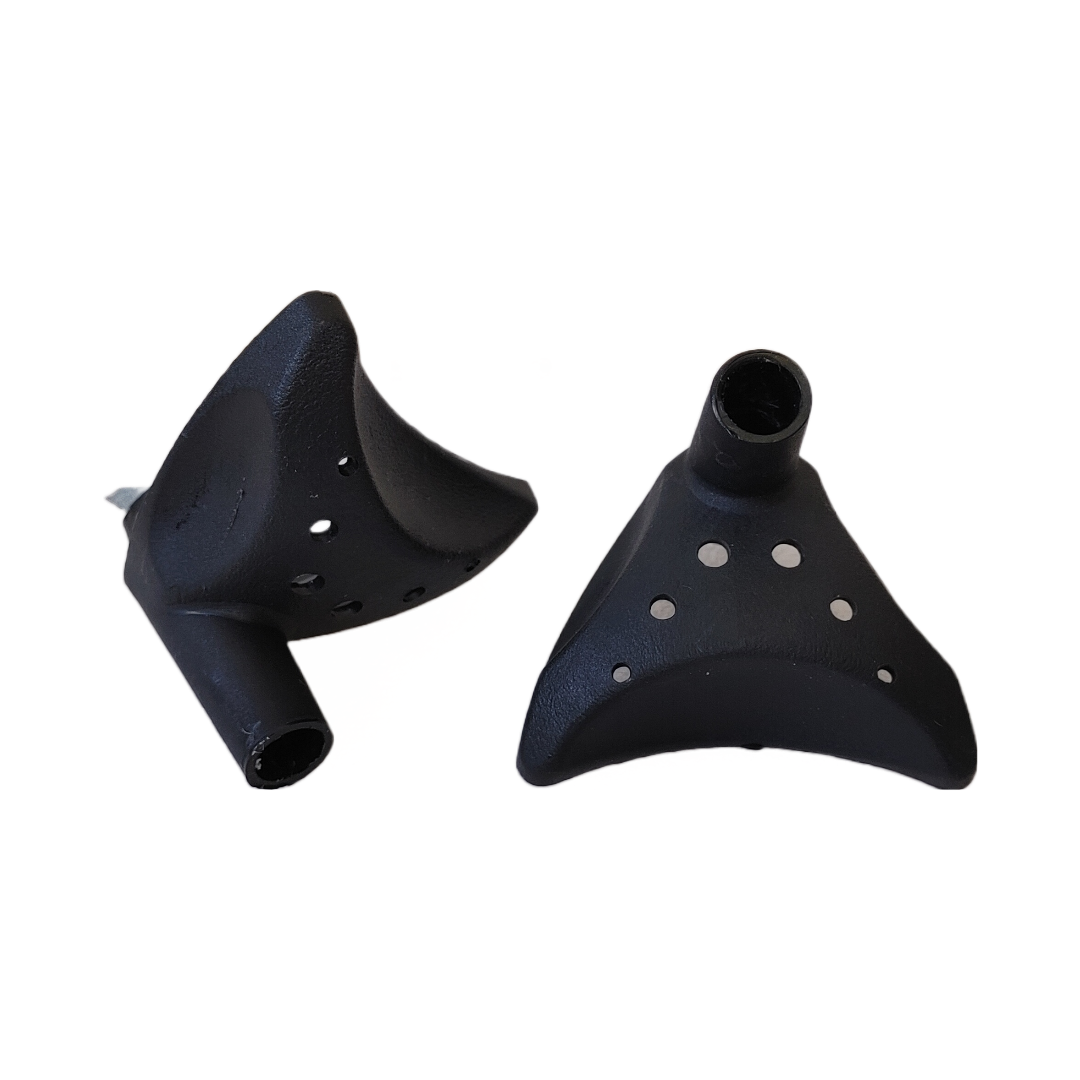
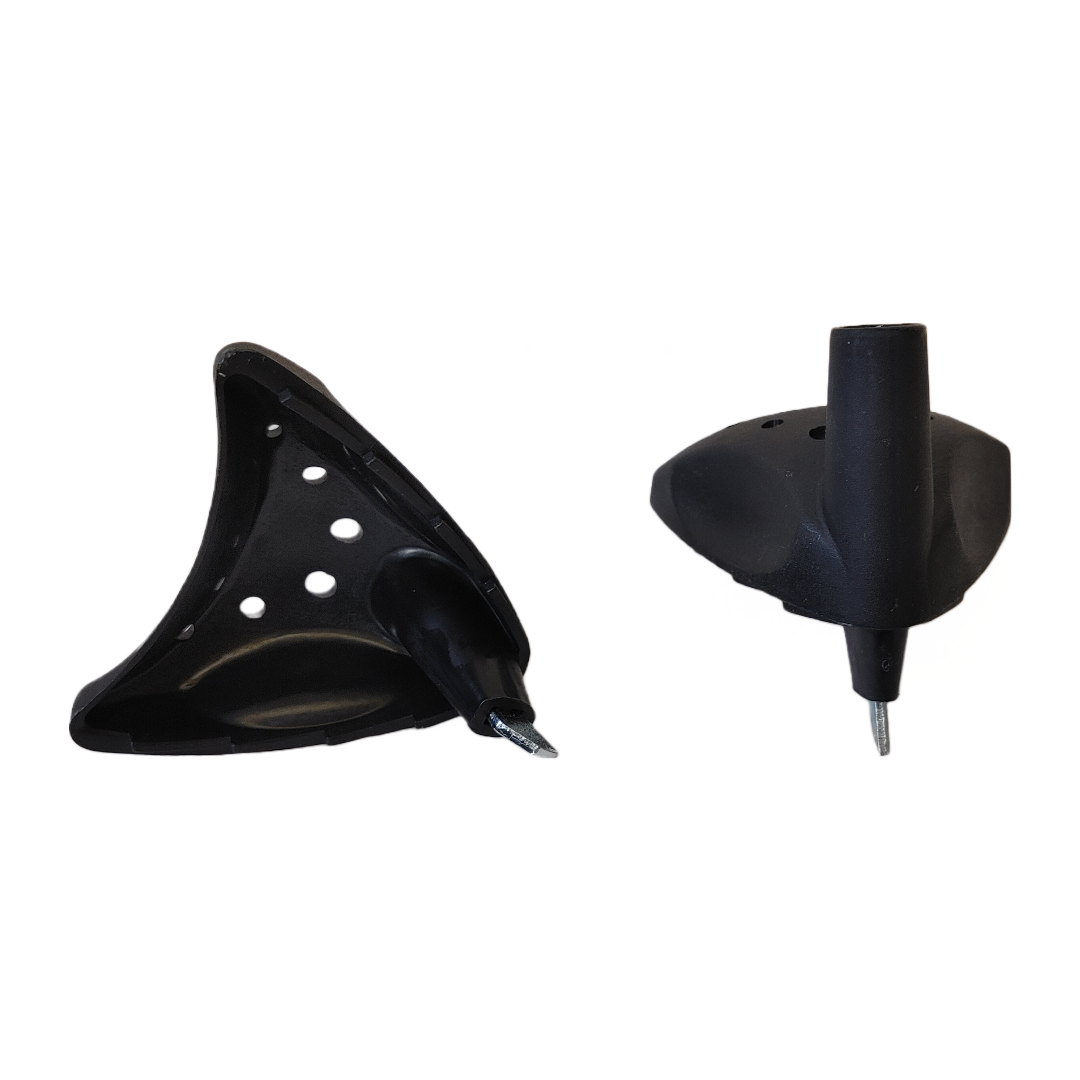
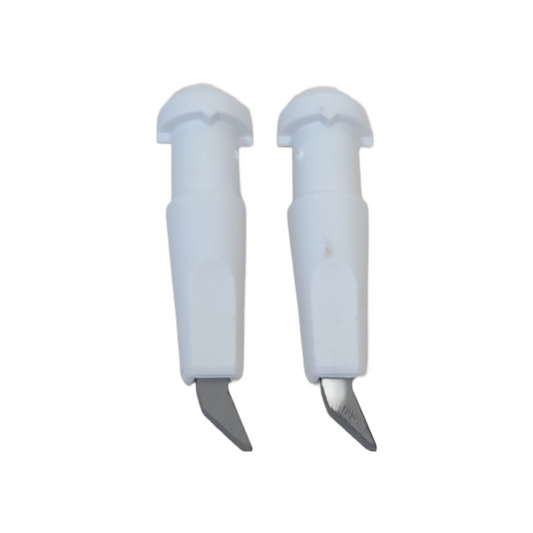
Canadian Wintersports Inc Clearance 10mm Wide Baskets
Canadian Wintersports Inc Clearance 10mm Wide Baskets
- Wide baskets for 10mm tipped poles, perfect for touring, soft snow, backcountry, or children's poles.
Clearance wide baskets that fit 10mm tipped poles. Great for touring, soft snow, backcountry, or children's poles. All sales are final.
Inventory
Inventory
CWS-WB
Unavailable
Regular price
$12.95 CAD
Regular price
$19.95 CAD
Sale price
$12.95 CAD
Unit price
/
per
SKU:CWS-WB
Out of stock
⚠️ Check out other products in Ski Pole Parts to find something in-stock.
Regular price
$12.95 CAD
Regular price
$19.95 CAD
Sale price
$12.95 CAD
Unit price
/
per
Taxes, discounts and shipping calculated at checkout. $5 shipping on orders above $100 & Free-Shipping above $250 to all North American addresses.
Couldn't load pickup availability
- Ships World-Wide! $5 shipping on orders over $100, Free-Shipping over $250 to North American addresses
- Full Refunds on Undamaged Items Refunds Policy
- All in-stock items ship next-business-day from Thunder Bay, Ontario, Canada. Shipping Policy
Share
Changing Pole Tips
Items Needed:
- A new set of tips that are the correct diameter for your poles
- A Heat Gun
- Special ski pole glue
- A pair of work gloves
Step 1: Removing the Old Tips
Start by heating the old tips with a heat gun or dipping them in hot water for a few minutes. This softens the adhesive and makes it easier to remove the tips. Once heated, wear your gloves and pull the old tips off the poles.
Step 2: Preparing the Pole Shafts
Inspect the ends of the pole shafts for any leftover adhesive or debris. Clean them thoroughly to ensure a smooth surface for the new tips. Use your heat gun on the glue until it becomes transparent then apply a small quantity to the portion of the shaft that inserts into the tip.
Step 3: Heating the New Tips (If required)
If the new tips are tight, you can heat them slightly to expand the opening. Use the heat gun or dip them in hot water for a minute or two. If this doesn`t do enough, you can use 120-grit sandpaper to reduce the diameter. If the tips fit loose, you can wrap one layer of electrical tape around the bottom of the shaft to act as a spacer and be sure to add extra glue!
Step 4: Installing the New Tips
Heat the glue you applied to the pole shaft until it`s translucent. Slide the heated tips onto the pole shafts until you`re sure they`re fully inserted to the bottom. Eyeball the tips to ensure they`re pointing in the same direction as the pole`s handles.
Step 5: Securing the Ferrules
Allow the glue to cool and set. Double-check to ensure they are firmly attached and aligned correctly!
Features:
- • 10mm pole tip fit.
- • Affordable pricing!
More from All Products
-
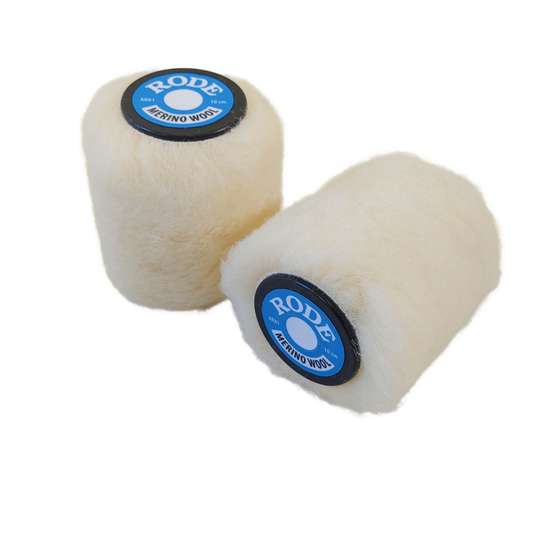
Rode Merino LONG HAIR Wool Roto Brush
Regular price From $55.96 CADRegular priceUnit price / perRode Merino LONG HAIR Wool Roto Brush
Regular price From $55.96 CADRegular priceUnit price / perRode Merino LONG HAIR Wool Roto Brush
Regular price From $55.96 CADRegular priceUnit price / per -
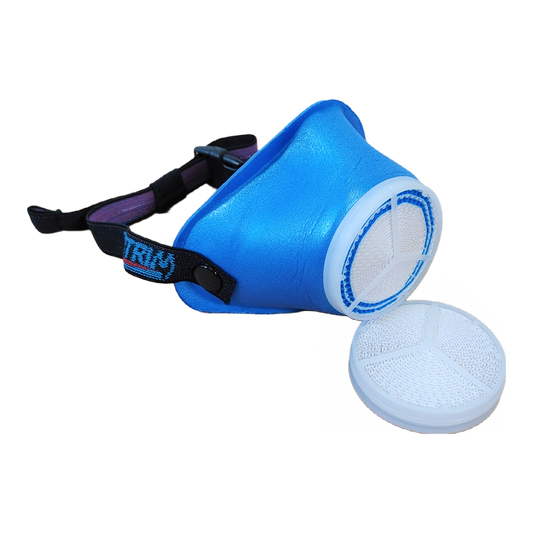
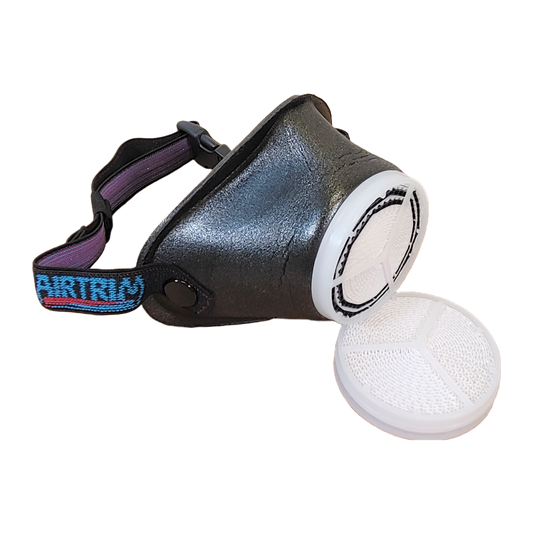
AirTrim Sport Mask (Includes: Mask, Sport Filter and Racing1 Filter)
Regular price From $49.99 CADRegular priceUnit price / per$89.95 CADSale price From $49.99 CAD43 in stockAirTrim Sport Mask (Includes: Mask, Sport Filter and Racing1 Filter)
Regular price From $49.99 CADRegular priceUnit price / per$89.95 CADSale price From $49.99 CADAirTrim Sport Mask (Includes: Mask, Sport Filter and Racing1 Filter)
Regular price From $49.99 CADRegular priceUnit price / per$89.95 CADSale price From $49.99 CADSale -
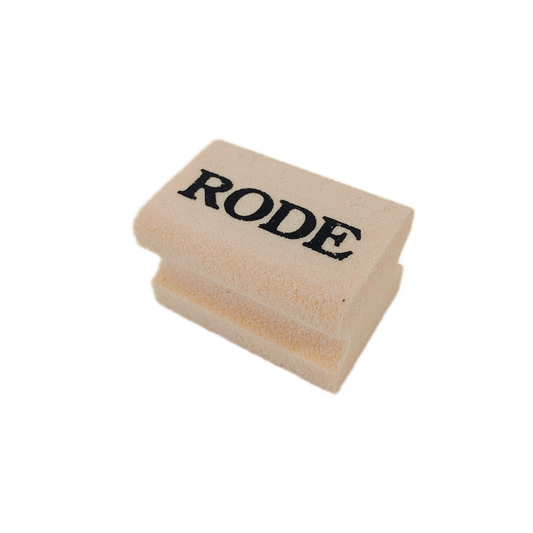
Rode Synthetic Cork
Regular price $11.96 CADRegular priceUnit price / per -
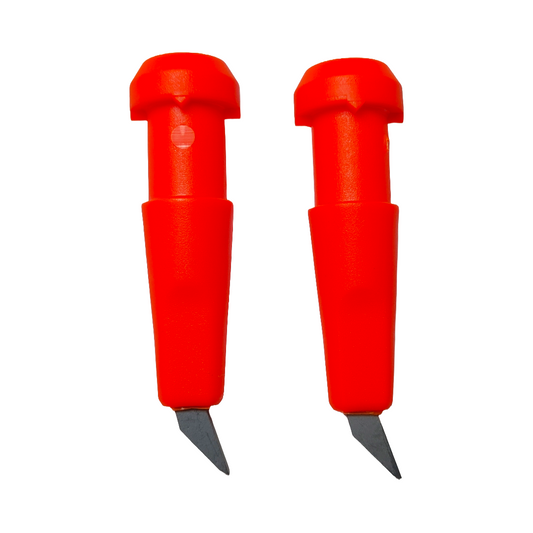
Canadian Wintersports Inc Bulk Rollerski Tips (Ferrules)
Regular price From $29.97 CADRegular priceUnit price / per$0.00 CADSale price From $29.97 CAD3280 in stockCanadian Wintersports Inc Bulk Rollerski Tips (Ferrules)
Regular price From $29.97 CADRegular priceUnit price / per$0.00 CADSale price From $29.97 CADCanadian Wintersports Inc Bulk Rollerski Tips (Ferrules)
Regular price From $29.97 CADRegular priceUnit price / per$0.00 CADSale price From $29.97 CAD -
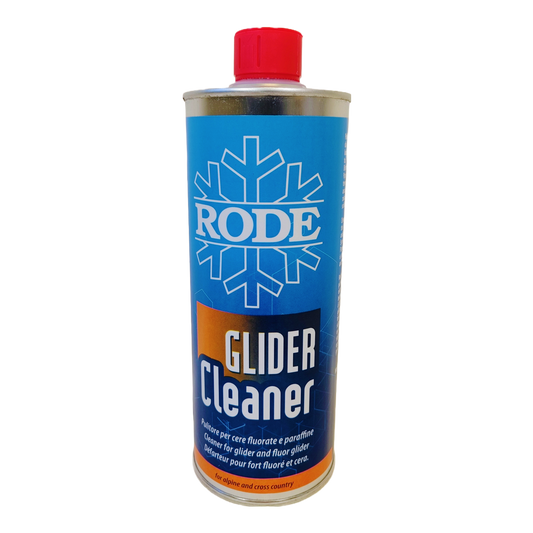
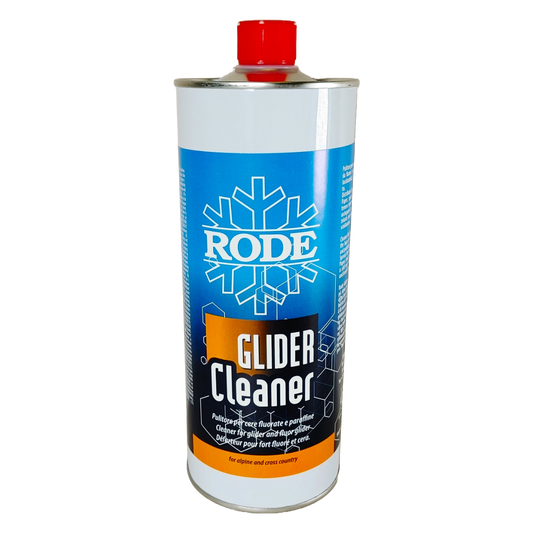
Rode Glider Cleaner
Regular price From $41.96 CADRegular priceUnit price / per$0.00 CADSale price From $41.96 CAD34 in stockRode Glider Cleaner
Regular price From $41.96 CADRegular priceUnit price / per$0.00 CADSale price From $41.96 CADRode Glider Cleaner
Regular price From $41.96 CADRegular priceUnit price / per$0.00 CADSale price From $41.96 CAD -
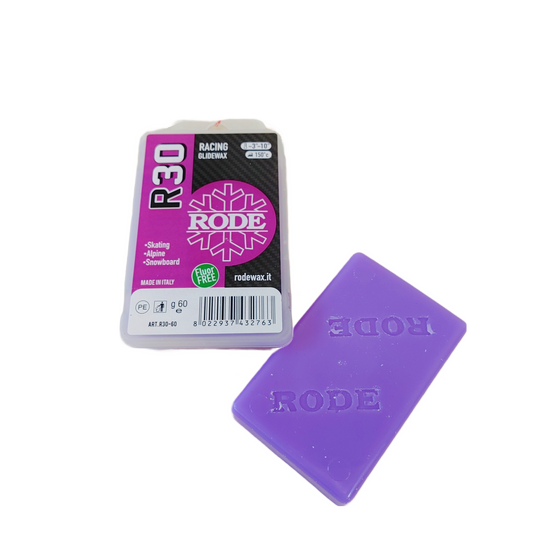
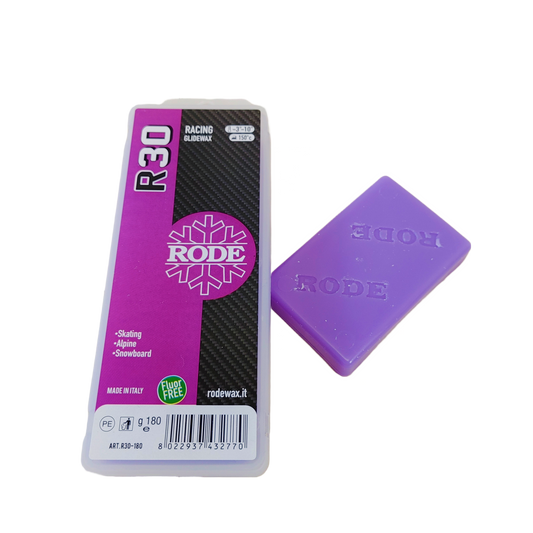
Rode R30 RACING GLIDER VIOLET MELT WAX (-3C/-10C)
Regular price From $24.96 CADRegular priceUnit price / per$0.00 CADSale price From $24.96 CAD116 in stockRode R30 RACING GLIDER VIOLET MELT WAX (-3C/-10C)
Regular price From $24.96 CADRegular priceUnit price / per$0.00 CADSale price From $24.96 CADRode R30 RACING GLIDER VIOLET MELT WAX (-3C/-10C)
Regular price From $24.96 CADRegular priceUnit price / per$0.00 CADSale price From $24.96 CAD -
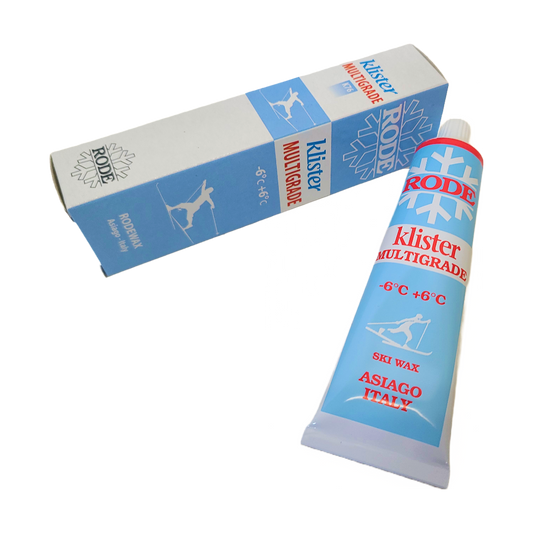
Rode Multigrade Klister K76 | 60g (6C/-6C)
Regular price $23.96 CADRegular priceUnit price / per$0.00 CADSale price $23.96 CAD183 in stock -
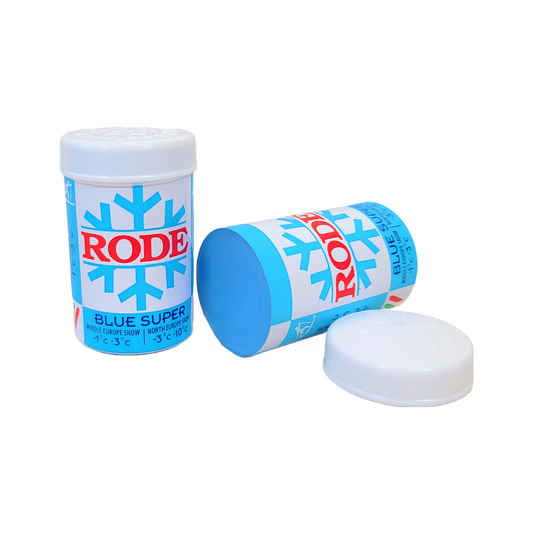
Rode Blue Super Hardwax P32 | 45g (-1C/-10C)
Regular price $16.96 CADRegular priceUnit price / per$0.00 CADSale price $16.96 CAD118 in stock -
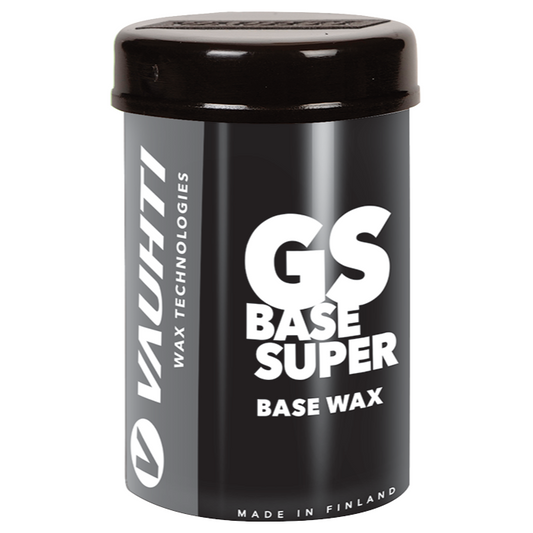
Vauhti GS BASE SUPER BASE Binder | 45g
Regular price $17.00 CADRegular priceUnit price / per$0.00 CADSale price $17.00 CAD45 in stock -
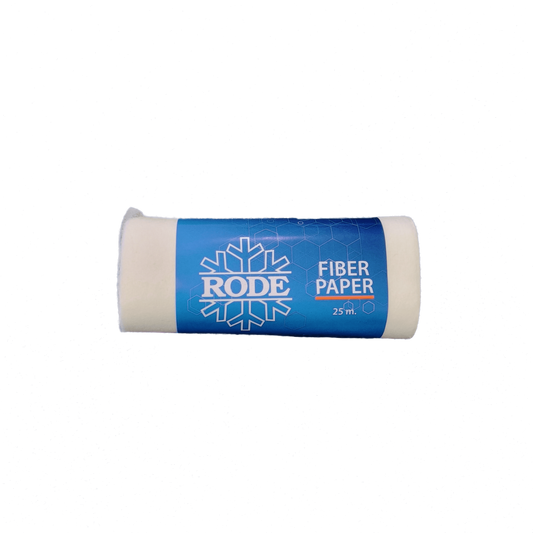
Rode Fiber Paper | 25m
Regular price $17.96 CADRegular priceUnit price / per$0.00 CADSale price $17.96 CAD196 in stock -
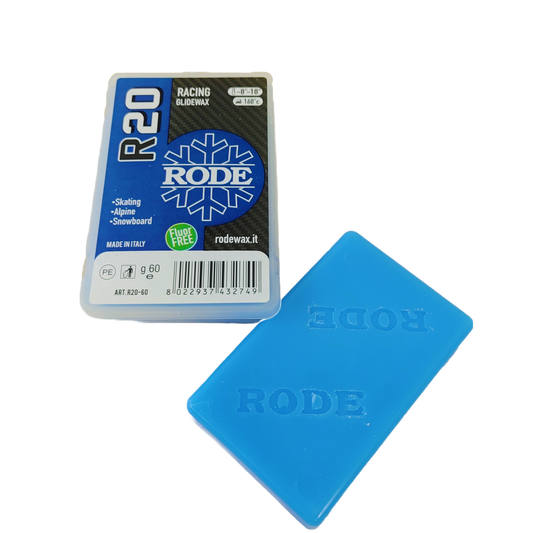
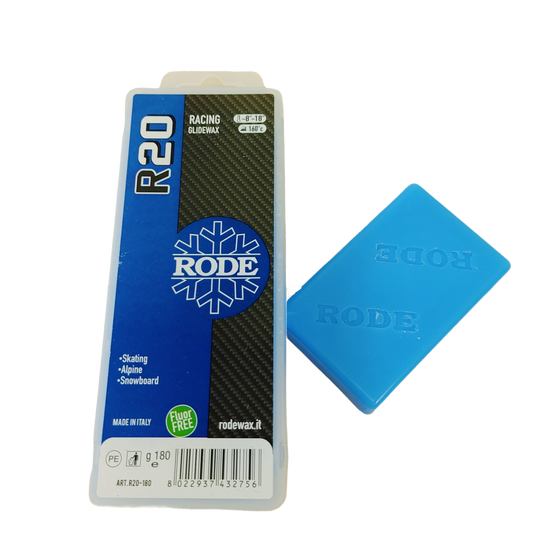
Rode R20 RACING GLIDER BLUE MELT WAX (-8C/-18C)
Regular price From $24.96 CADRegular priceUnit price / per$0.00 CADSale price From $24.96 CAD53 in stockRode R20 RACING GLIDER BLUE MELT WAX (-8C/-18C)
Regular price From $24.96 CADRegular priceUnit price / per$0.00 CADSale price From $24.96 CADRode R20 RACING GLIDER BLUE MELT WAX (-8C/-18C)
Regular price From $24.96 CADRegular priceUnit price / per$0.00 CADSale price From $24.96 CAD -
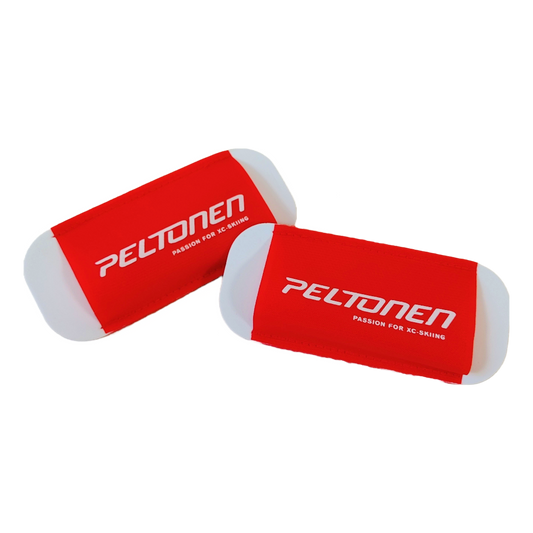
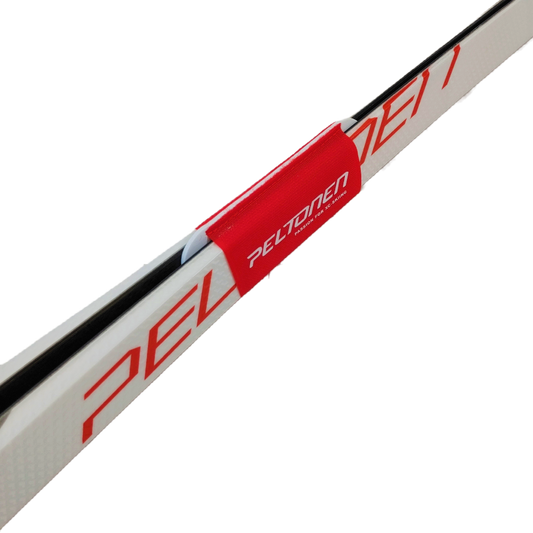
Peltonen Ski Ties
Regular price $8.96 CADRegular priceUnit price / per -
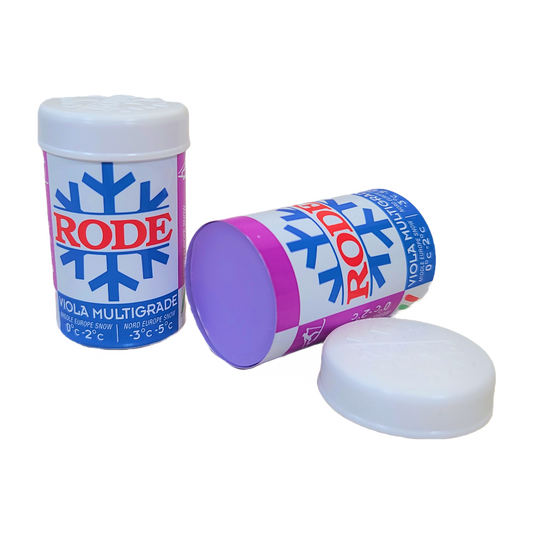
Rode Viola Special Multigrade Hardwax P46 | 45g (0C/-5C)
Regular price $16.96 CADRegular priceUnit price / per$0.00 CADSale price $16.96 CAD59 in stock -
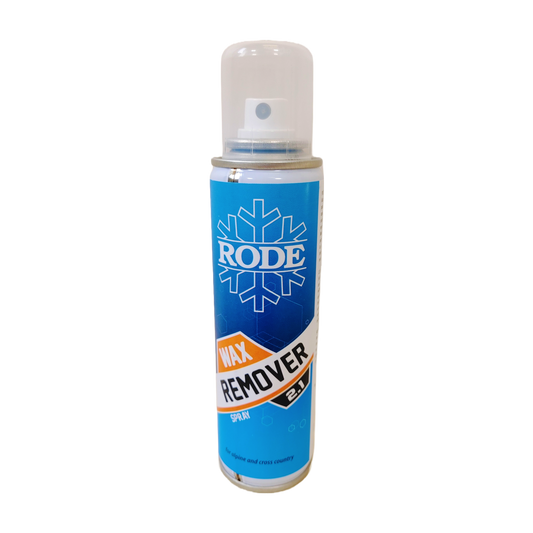
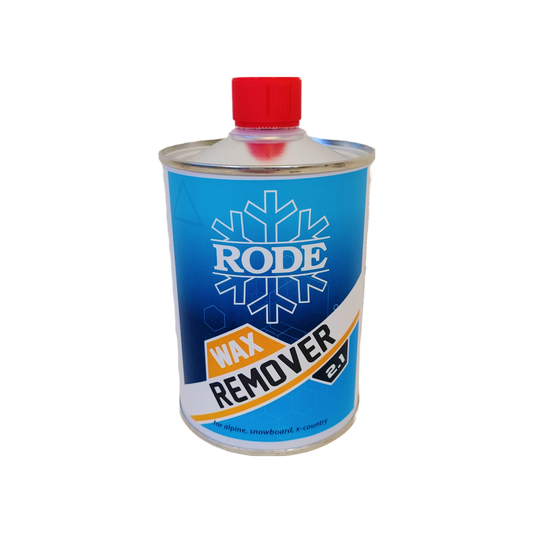
Rode Wax Remover 2.1 (150ml, 500ml, 1L)
Regular price From $18.96 CADRegular priceUnit price / per$0.00 CADSale price From $18.96 CAD409 in stockRode Wax Remover 2.1 (150ml, 500ml, 1L)
Regular price From $18.96 CADRegular priceUnit price / per$0.00 CADSale price From $18.96 CADRode Wax Remover 2.1 (150ml, 500ml, 1L)
Regular price From $18.96 CADRegular priceUnit price / per$0.00 CADSale price From $18.96 CAD -
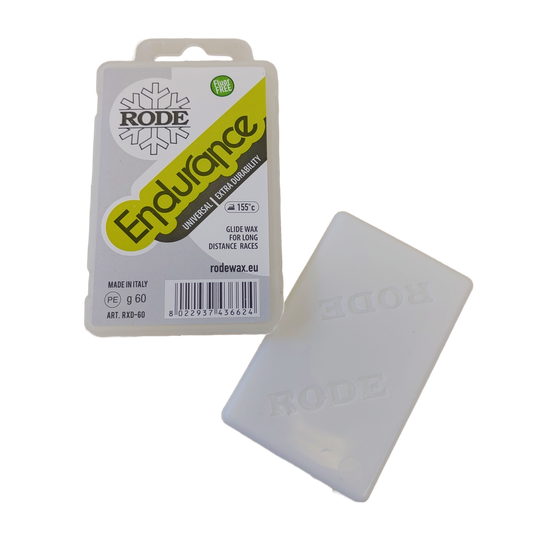
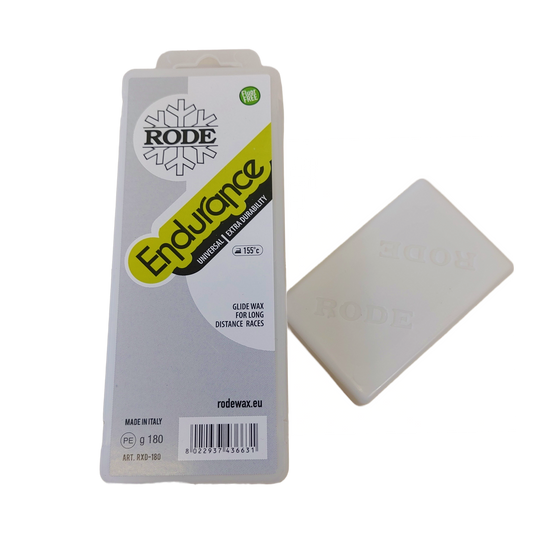
Rode RXD ENDURANCE GLIDER MELT WAX (10C/-20C)
Regular price From $34.96 CADRegular priceUnit price / per$0.00 CADSale price From $34.96 CAD134 in stockRode RXD ENDURANCE GLIDER MELT WAX (10C/-20C)
Regular price From $34.96 CADRegular priceUnit price / per$0.00 CADSale price From $34.96 CADRode RXD ENDURANCE GLIDER MELT WAX (10C/-20C)
Regular price From $34.96 CADRegular priceUnit price / per$0.00 CADSale price From $34.96 CAD -
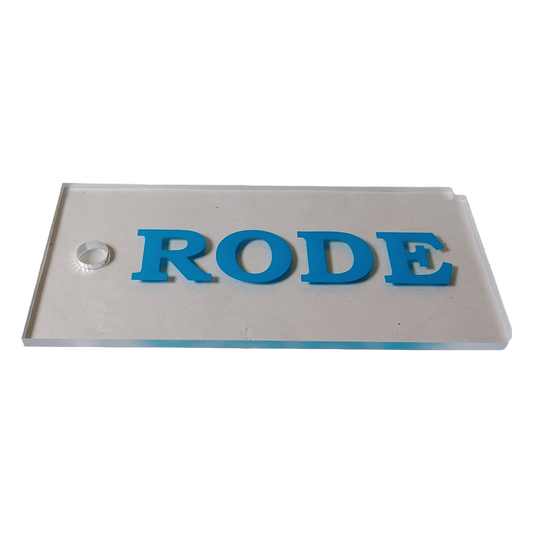
Rode Plexiglass Scraper
Regular price From $9.96 CADRegular priceUnit price / per$0.00 CADSale price From $9.96 CAD203 in stockRode Plexiglass Scraper
Regular price From $9.96 CADRegular priceUnit price / per$0.00 CADSale price From $9.96 CADRode Plexiglass Scraper
Regular price From $9.96 CADRegular priceUnit price / per$0.00 CADSale price From $9.96 CAD -
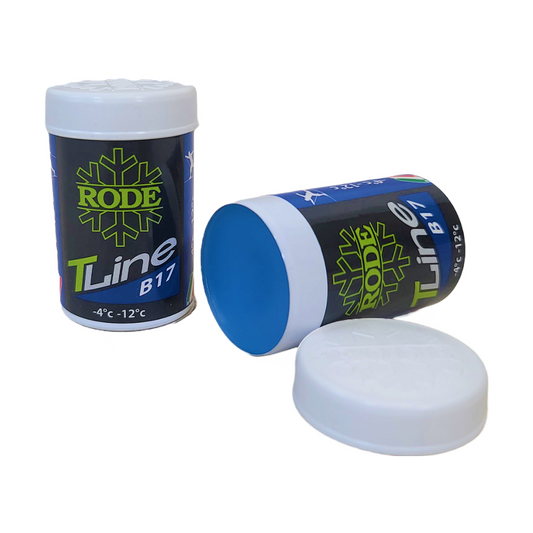
Rode Top Line Hardwax B17 | 45g (-4C/-12C)
Regular price $33.96 CADRegular priceUnit price / per$0.00 CADSale price $33.96 CAD75 in stock -
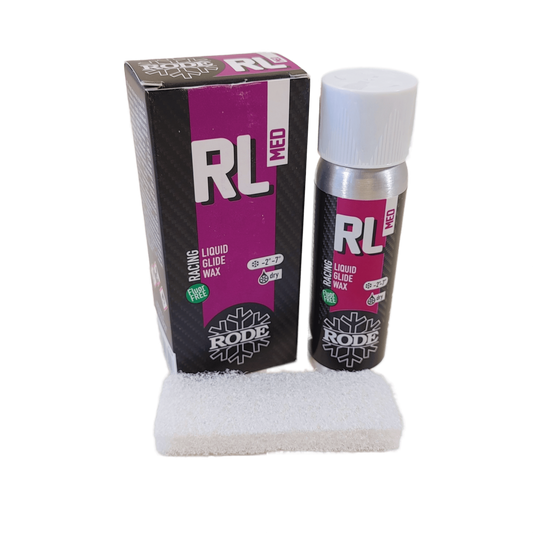
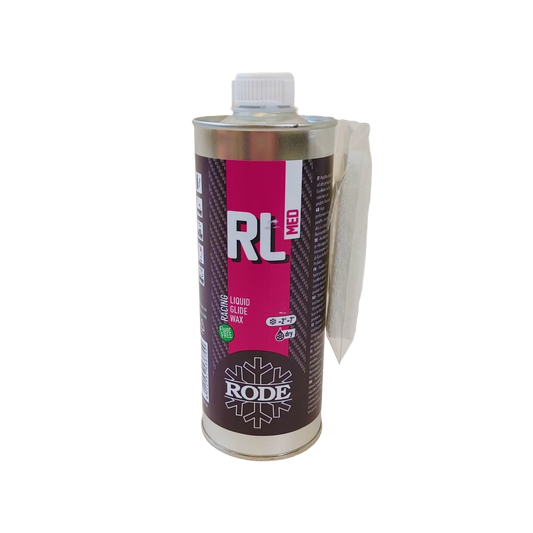
Rode RLM RACING LIQUID MED (-2C/-7C)
Regular price From $27.96 CADRegular priceUnit price / per$0.00 CADSale price From $27.96 CAD158 in stockRode RLM RACING LIQUID MED (-2C/-7C)
Regular price From $27.96 CADRegular priceUnit price / per$0.00 CADSale price From $27.96 CADRode RLM RACING LIQUID MED (-2C/-7C)
Regular price From $27.96 CADRegular priceUnit price / per$0.00 CADSale price From $27.96 CAD -
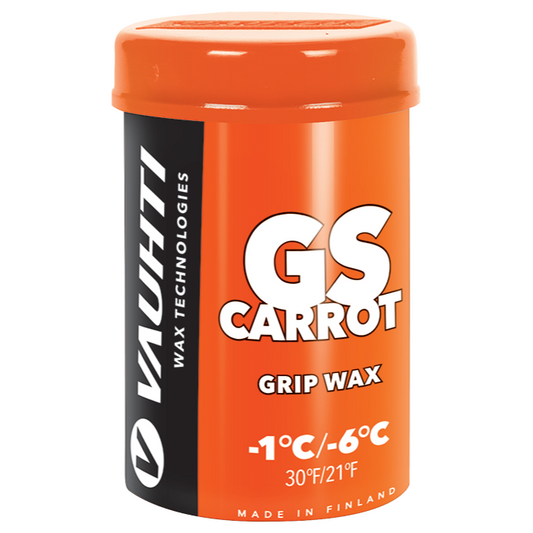
Vauhti GS CARROT Hardwax | 45g (-1C/-6C)
Regular price $17.00 CADRegular priceUnit price / per$0.00 CADSale price $17.00 CAD8 in stock -
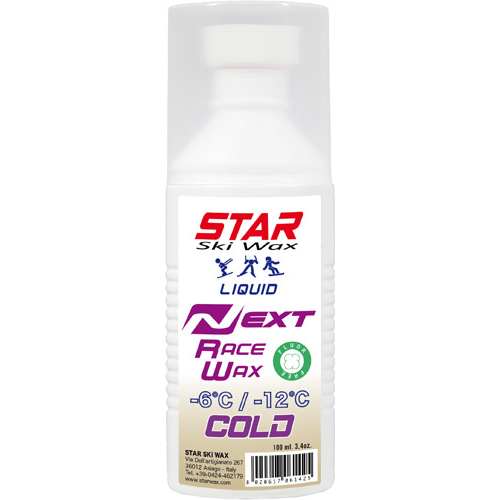
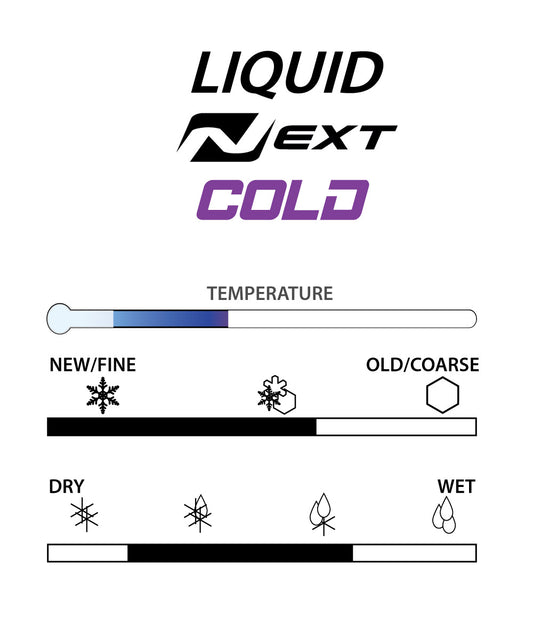
STAR NEXT COLD Fluoro-Free Racing Liquid (Sponge Application) | 100mL (-6C/-12C)
Regular price $79.00 CADRegular priceUnit price / per$0.00 CADSale price $79.00 CAD12 in stock

